In today’s digital world, web security is more critical than ever. Also, administrators (or we) work to protect sensitive information and ensure secure communication. But, of course, the choice of management protocols is of great importance.
Frankly, Telnet is the more common method. However, we all know that it is weak in terms of security. SSH stands out by providing strong encryption and secure connection. We prefer this protocol, especially in LAN or WAN management. In this straightforward guide, I will explain the steps of configuring SSH on Cisco Routers with GNS3.

How to Configure & Enable SSH on a Cisco Router using GNS3
To configure Cisco routers for the first time, we usually make a console connection. However, we need to connect to the device using the console and then assign an IP address. After that, you can make a few settings so that we can manage over LAN & WAN. For example, you can enable Telnet or SSH protocol for remote management.
Actually, I do not recommend configuring Routers with Telnet over LAN & WAN. Because of that, neither Cisco nor other manufacturers recommend it in terms of network security. Instead, I recommend setting up the SSH connection, which provides more protection.
In short, you get a secure connection thanks to Secure Shell. In this way, you encrypt your data in a transaction phase. Therefore, I can say that it is the most effective way to manage your network securely.
In our previous article, we examined how to make a Telnet connection. In this article, we will configure the SSH protocol on the Cisco Router using the network simulator program in the same way.
How to Prepare Network Topology for SSH on GNS3
We will use GNS3 and VMware Workstation programs for configuration. For this reason, let’s create a new virtual machine on VMware and install a Windows operating system.
If this is the first time you have added a Router IOS image, you can take a look at our article called Adding a Router to GNS3.
After completing the necessary preparations for SSH configuration with GNS3, follow the steps below in order.
Step 1
First of all, let’s start by running the GNS3 program. As soon as you open the program, type a name for a new project in the current window.

Step 2
Click on the devices section on the left panel to view the Routers. Here, drag and drop a Cisco router that you added earlier onto the workspace.

Step 3
Now add a Switch & Host to the topology and cable the network devices.

Step 4
We have created a sample network topology for the Secure Shell connection. Now, open the Virtual Network Editor of VMware virtualization program. Then, configure a VMnet for the virtual machine.

Step 5
For example, create a VMnet3 in the Virtual Network Editor program. Then, open the network and share center settings on your host. Then, assign an IP address to VMnet3, as shown in the image below.

Step 6
In the virtual editor, write the IP block for VMxnet3. On the other hand, select the Host-Only option and click the OK button.

Step 7
Now, change your VM’s network adapter setting to Custom (VMnet3).

Step 8
Click the Start/Resume all nodes button to run the Router in your topology.

How to Enable SSH on the Cisco Router
Step 1
After powering up the Router, we will configure a secure terminal connection. So, let’s open the CLI command prompt and execute the commands below in order.
R1# conf t
R1(config)# interface fastethernet0/0
R1(config-if)# ip address 192.168.8.1 255.255.255.0
R1(config-if)# no shutdown
R1(config-if)# exit
R1(config)#ip domain-name sysnettechsolutions.com
R1(config)#crypto key generate rsa general-keys modulus 1024
The name for the keys will be: R1.sysnettechsolutions.com
% The key modulus size is 1024 bits
% Generating 1024 bit RSA keys, keys will be non-exportable...[OK]
R1(config)# ip ssh time-out 15
R1(config)# ip ssh authentication-retries 2
R1(config)# ip ssh version 2
R1(config)# username cisco privilege 15 password cisco123
R1(config)# line vty 0 4
R1(config-line)# login local
R1(config-line)# privilege level 15
R1(config-line)# transport input ssh
R1(config-line)# exit
R1(config)# end
R1# wr

Step 2
Open the Putty program on your virtual computer. Here, in the IP address section, write the IP address of the Router’s FastEthernet0/0 interface.
Also, in the Port number section, type 22 and click the Open button.

Step 3
Click the Yes button in the Putty security warning window.

Step 4
You will be able to gain encrypted, remote access to your Cisco Router, as shown in the image below. At this stage, type the username you created in the Login As section and press Enter.

Step 5
Proceed by typing the user password you created (cisco123) in the Password section.

Step 6
You have connected to the Cisco Router via SSH. Now, you can easily manage your device via LAN & WAN.

Step 7
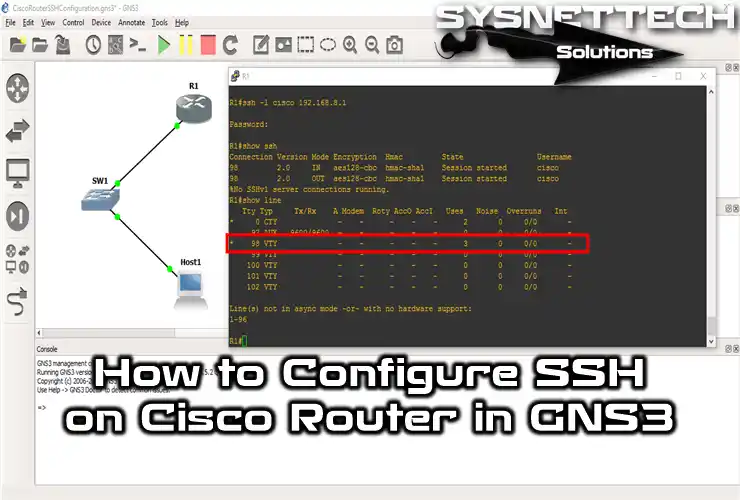
In addition, you can also examine the Secure Shell sessions on your device. To do this, type the show line command in Privileged Mode and press Enter.
You can check the Telnet or SSH connections from the image below.

Step 8
You can also check the Secure Shell version. To do this, type the show ssh command in privileged configuration mode. You can check that the version is 2.0 in the show command output.

Step 9
You can start a secure terminal session via PC or another Router in the network. You need to execute the command [ ssh -l (User Name) (Router IP Address) ] in the command prompt.

Step 10
You can also connect from a Cisco Router to another Router. To do this, type ssh -l cisco 192.168.8.1 and enter your password.

Step 11
When you use the show ssh command again, you can see the remote access sessions.

Step 12
Display current sessions with the show line command.

Step 13
You can use the exit command to end the remote management connection.

How to Connect from Router to Router with SSH Protocol ⇒ Video
Watch the video to set up an SSH connection from your virtual machine to the Router. Also, this tutorial will guide you through each step of the process. So you can quickly learn how to set up the connection effectively.
Additionally, if you find our content helpful, consider supporting us. Plus, subscribe to our YouTube channel to stay up to date with our latest videos!
Frequently Asked Questions (FAQ)
- Why do we use SSH with GNS3?
- How do I connect to a Cisco device via SSH?
- What common issues might I encounter when configuring Secure Shell?
Conclusion
In conclusion, configuring SSH on Cisco routers is easy. So, this is very important for your secure network management. Also, with this configuration, you reduce the risks associated with insecure protocols like Telnet. Moreover, you can create encrypted and secure connections by following the steps I have mentioned.
In addition, if you use tools like GNS3 and VMware, you will enhance your learning experience. These tools allow you to practice in simulated environments. However, thanks to them, you will increase your network knowledge.
In conclusion, SSH not only protects your data but also strengthens your network security. First of all, thank you for reading this guide, and I recommend that you do more research on network security protocols.


In a lab environment of Gns3, I had two routers R1 & R2, connected with each other by fast ethernet cable, with one loopback address on each. Done all of my ssh configuration on R2 and lastly able to send ssh requests from the R1-physical interface to the R2-physical interface and to the loopback of R2.
#ssh -l
Now my question is that is it possible to send an ssh request from R1’s loopback address to R2-any interface