Are you experiencing screen resolution errors when using macOS VM in Oracle VM VirtualBox? You may have encountered difficulties when changing the screen resolution, but fear not!
I’ve created a simple guide on how to change the screen resolution for new or old versions of macOS in VirtualBox. Whether you drive High Sierra, Catalina, or Ventura & Sonoma, it doesn’t matter! You will be able to easily configure the screen size of your VM with the steps in our article!
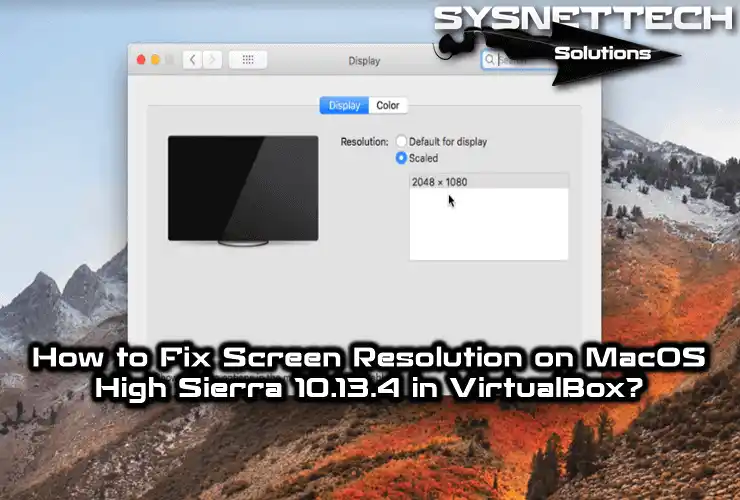
How to Change Screen Resolution on macOS High Sierra / macOS Catalina in VirtualBox
After installing the macOS Sierra / High Sierra operating system with VMware Workstation, you can change the screen size after installing VMware Tools. However, the installation fails when attempting to install the macOS system on VirtualBox because Guest Additions support is unavailable.
As a result, we will configure the virtual machine resolution setting using the CMD command prompt. In this article, we will solve the screen resolution problem on Mac OS High Sierra 10.13.x running on VirtualBox.
How to Change Mac OS VM Display Resolution on VirtualBox (1920×1080/2K/4K/5K)
In VirtualBox, you can only change the display resolution with specific values. Moreover, macOS has a default resolution setting of 1024×768. If you set the resolution to 1366×768, the virtual system automatically assigns a supported screen size.
Mac screen size values are as follows:
- 1280×720 (HD)
- 1920×1080 (FHD)
- 2560×1440 (QHD)
- 2048×1080 (2K)
- 3840×2160 (4K)
- 5120×2880 (5K)
To modify the screen size of your virtual machine on VirtualBox, please adhere to the following steps in sequence.
Step 1
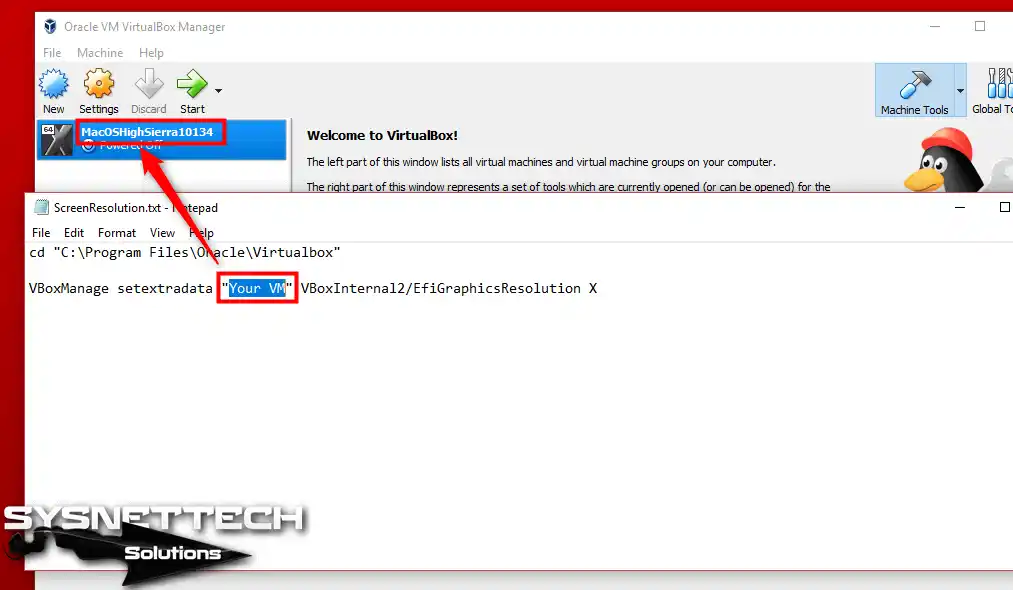
You need to use the succeeding code to change the macOS display resolution in VBox. In the “Your VM” section of the code, you must type the name of your macOS virtual machine.
cd "C:\Program Files\Oracle\Virtualbox"
VBoxManage setextradata "MacOSHighSierra10134" VBoxInternal2/EfiGraphicsResolution 1920x1080
Something vital to note here is that you must exit the VBox program before executing the command.
Step 2
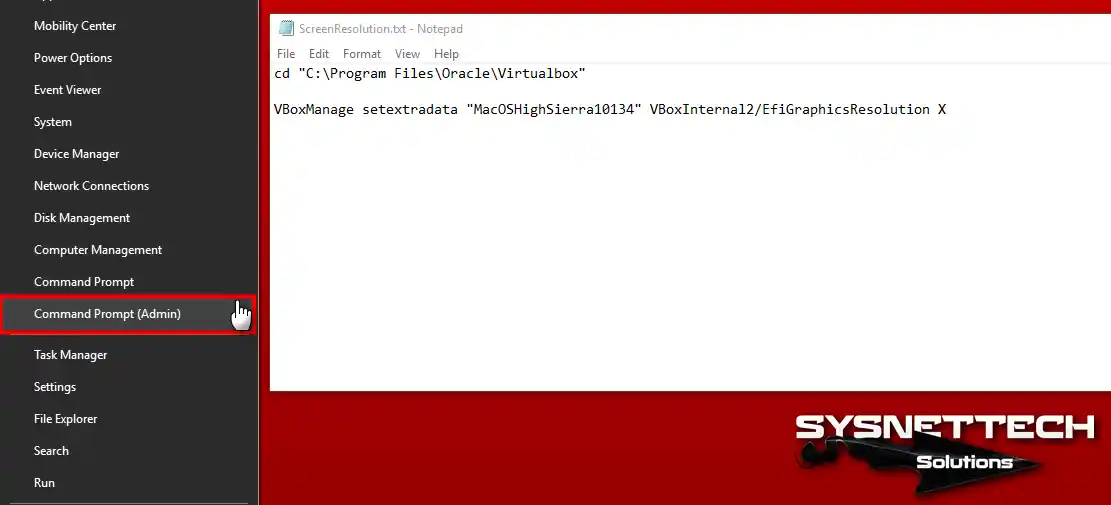
Operating the CMD command prompt with administrative privileges is necessary to alter the resolution. Otherwise, the screen size cannot be modified. In the Windows 10 search container, type CMD and run it as administrator.
You can also access Command Prompt (Admin) by pressing the Windows Key + X keys together.
Step 3
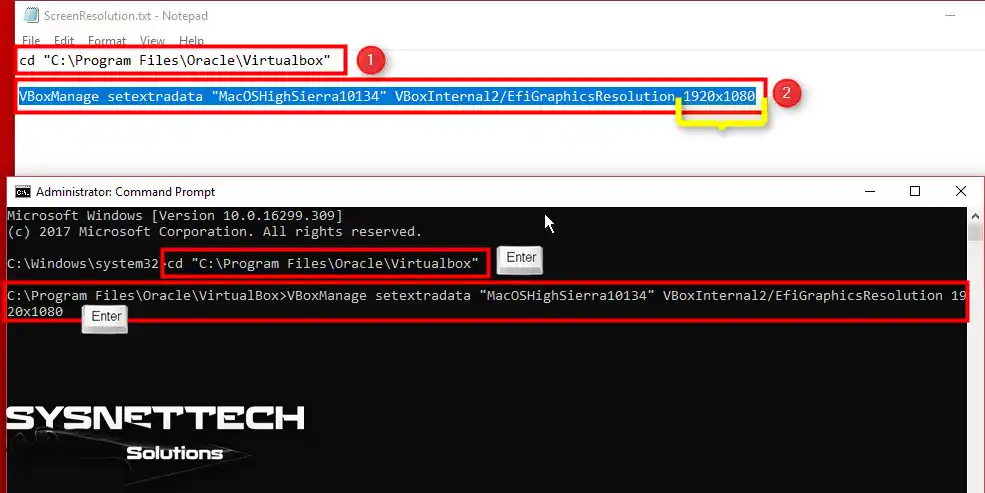
After opening the CMD prompt, first, move into the VBox folder. Then, type in the resolution you want to change to the X part of the code and copy the code.
Paste the code into the CMD and press Enter.
Step 4
Now open the VBox program and run the virtual machine.

Step 5
The display resolution of the High Sierra virtual machine is configured to 1920×1080.

Step 6
If you want to try various resolution sizes again, type an additional value in the X section and apply the command on the CMD.

Step 7
This time, the screen resolution is configured as 2048×1080! You can easily adjust the screen size of your virtual machine to your preferred dimensions.

Conclusion
As a result, it is easy to adjust the screen resolution of a macOS virtual machine in VirtualBox. You can do this through the command prompt or with manual configurations.
If you follow the steps I mentioned carefully, you can easily choose your preferred screen size. As a result, you can use the resolution of your virtual machine in accordance with the screen size of your host PC.
However, do not forget to exit VirtualBox before running the commands. Plus, remember to always run with administrative privileges when using the command prompt. As a result of everything, you will get a more customized visual experience in your macOS virtual environment.

just followed the guide to install 10.13.4 and worked flawlessly, had to type the commands by hand tho… please let me copy and paste from here, commands to enable screen are too long to type
Doesn’t work with Catalina. Anything above 1920×1080 makes the display go crazy.
Thanks very much! This worked for me.
You’re welcome bro!
hello, it work but the vram turn into 128mo to 7mo so it’s very slow, how can i have a full 1920×1080 screen with 128mo or higher vram?