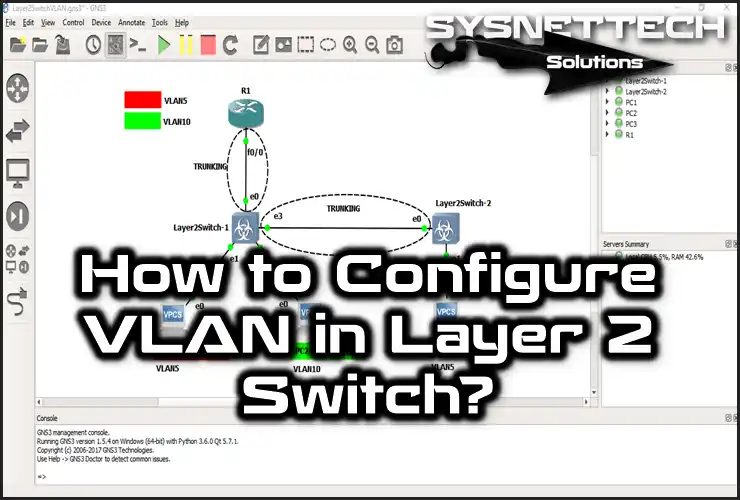
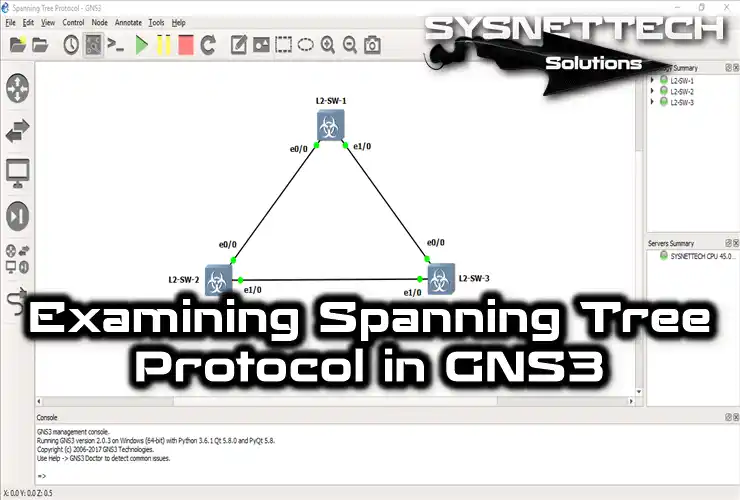
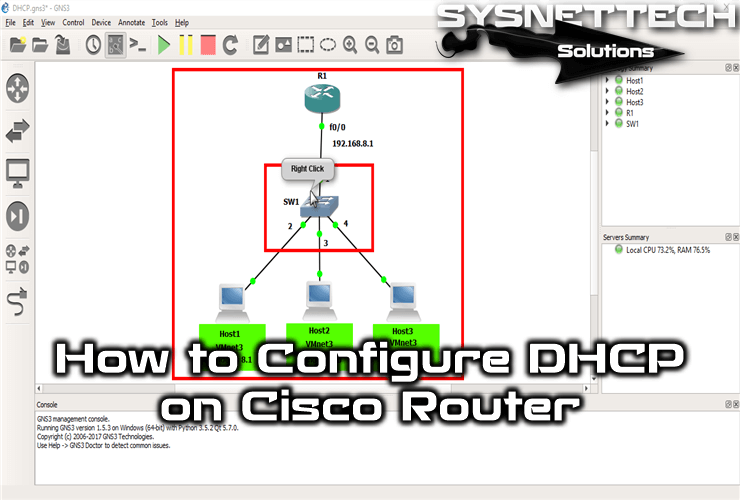
You can gain experience by designing network topologies on GNS3 or using IOS images of real Cisco devices. By adding IOU devices to your network project, you can use the Cisco Layer 2 Switch and Layer 3 Switch.
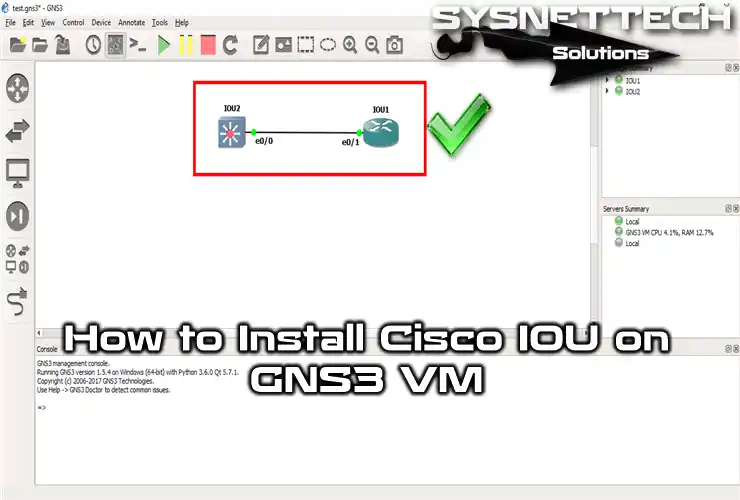
How to Add IOU to the GNS3 Server
You can easily use real Cisco Switch IOS in the GNS3 program. However, in order to fully utilize the Switches you add, you need to use IOU (IOS on Unix/Linux).
What is Cisco IOU?
First of all, let me briefly explain what IOU (IOS on Unix) is.
IOU stands for IOS on Unix / Linux. In short, they are Cisco IOS images running on Unix and Linux operating systems.
IOU functions are similar to Dynamips but use fewer resources. While Dynamips simulates the Cisco Router and Switch devices, you can add the same devices in the IOU structure.
In addition, as Cisco employees design this structure for experimental purposes, it is strictly prohibited to distribute and reproduce these images to customers or any platform.
The most significant guest advantage of using this image is the ability to design more complex networks than Dynamips. In addition, the GNS3 VM virtual machine installed on an external drive provides more performance.
Additionally, you don’t have to fill your computer’s disk capacity with Cisco images and GNS3 projects.
Our recommendation is to Insert a high-speed SSD drive into the USB 3.0 external drive box, which makes it healthier and more efficient to use.
What is a GNS3 VM?
In the early stages, GNS3 only simulated Cisco IOS images with Dynamips. Together with the development of the program, they provided a solution due to Dynamips’ high resource usage while creating network designs and running the GNS3 Server on the virtual machine, resulting in less resource usage.
How to Add and Run IOU Images on the GNS3 Server
After briefly discussing what IOS is on Unix and GNS3 VM, let’s examine how to upload and use an image onto the server.
Step 1
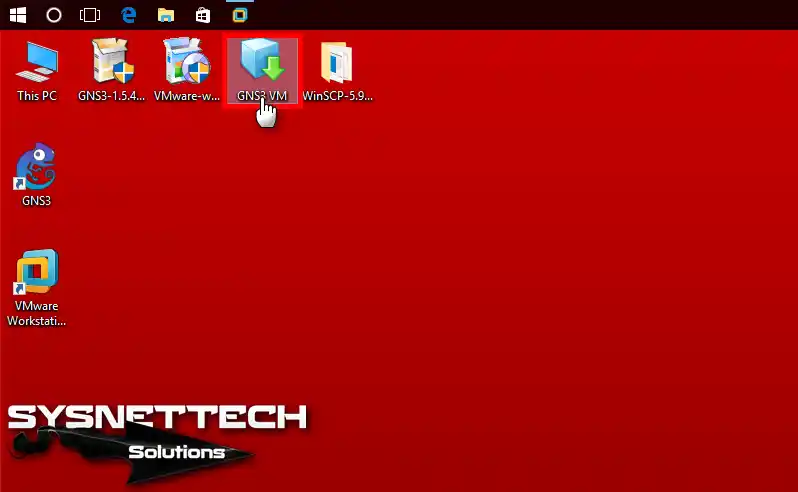
Once you have the necessary tools, the first thing you do is install the GNS3 VM. Double-click the setup file to start the installation.
Step 2
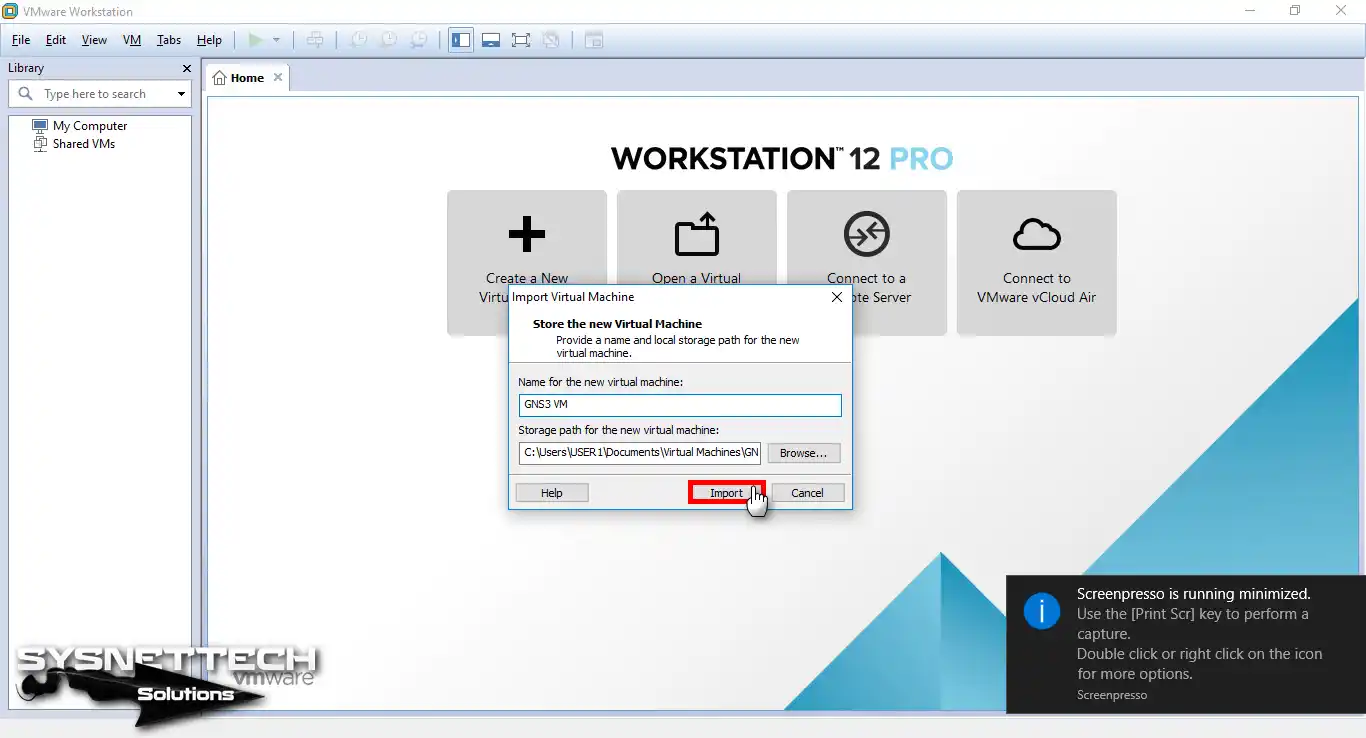
After running the VMware Workstation program, click the Import button to add the GNS3 OVA file to the virtual machine.
Step 3
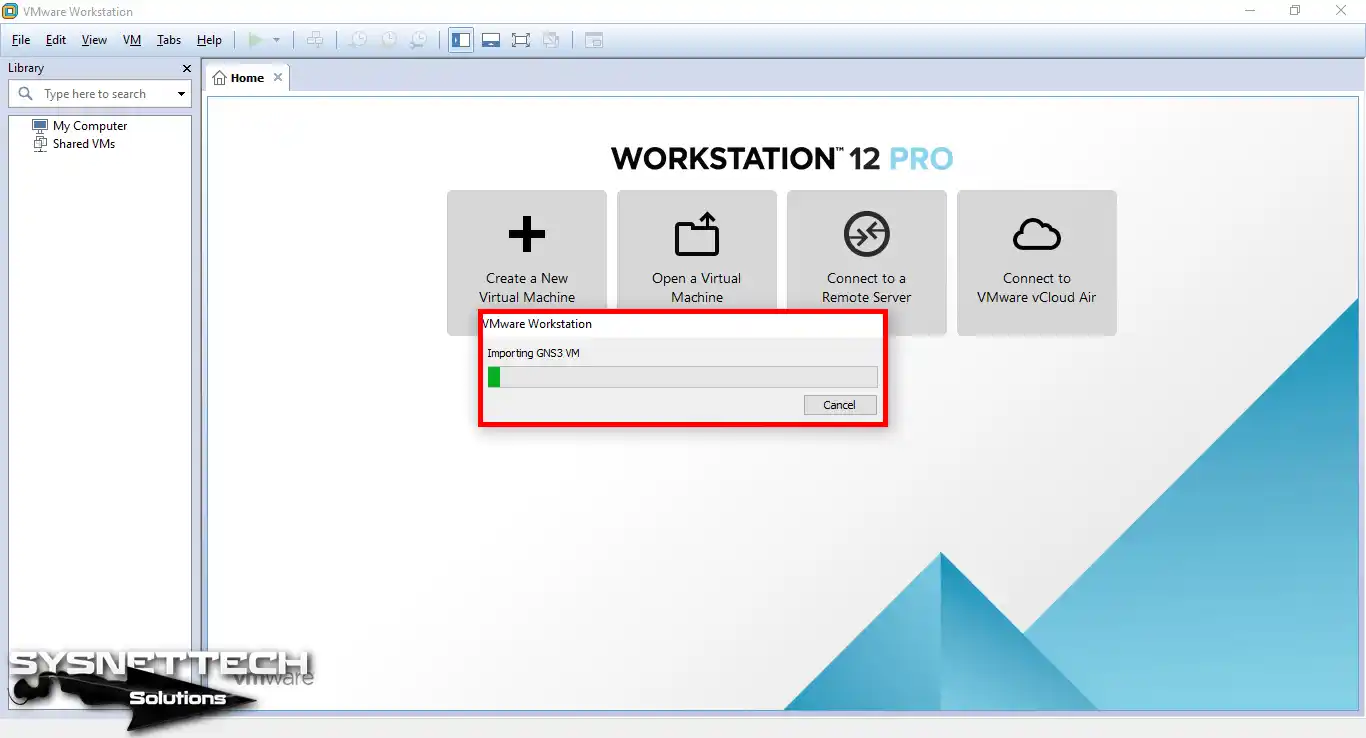
Please wait while importing the GNS3 VM OVA file.
Step 4
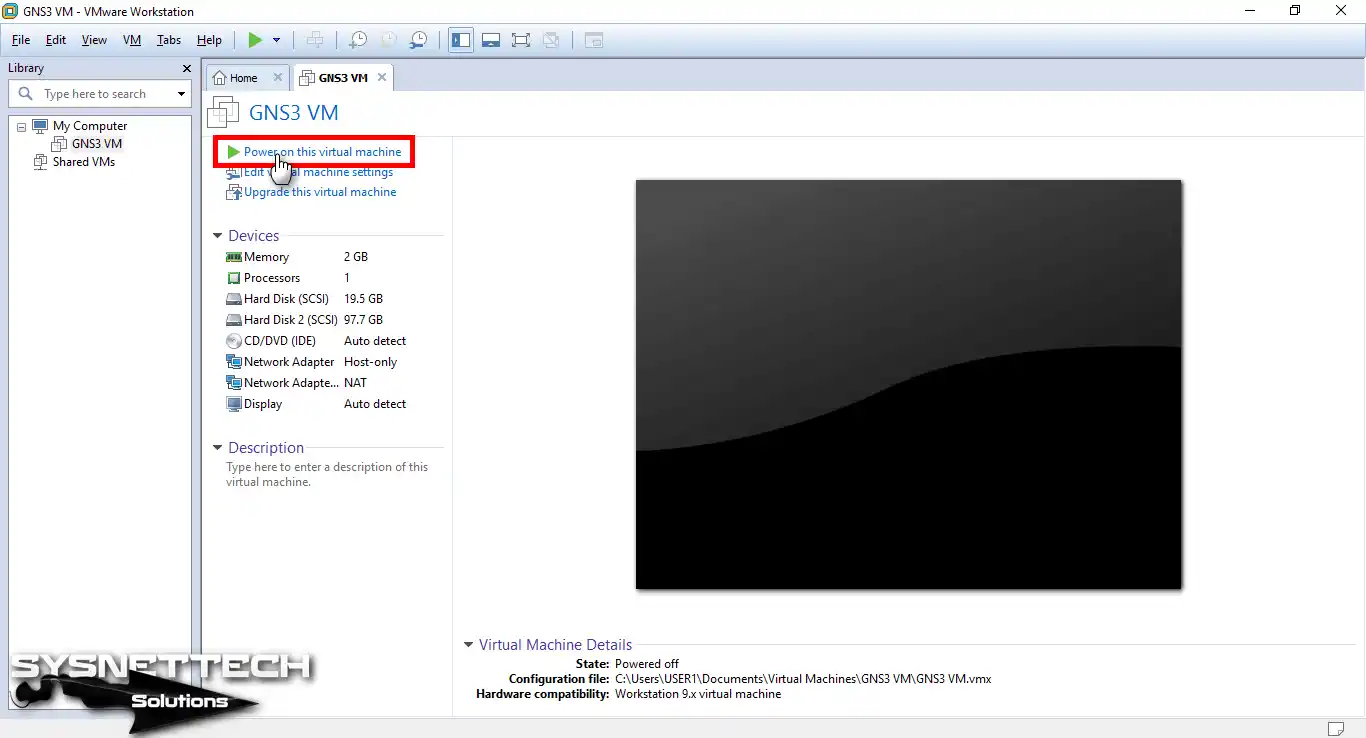
Once the GNS3 OVA is added to the virtual machine, run the VM.
Step 5
The first boot view of the GNS3 VM server is as follows.
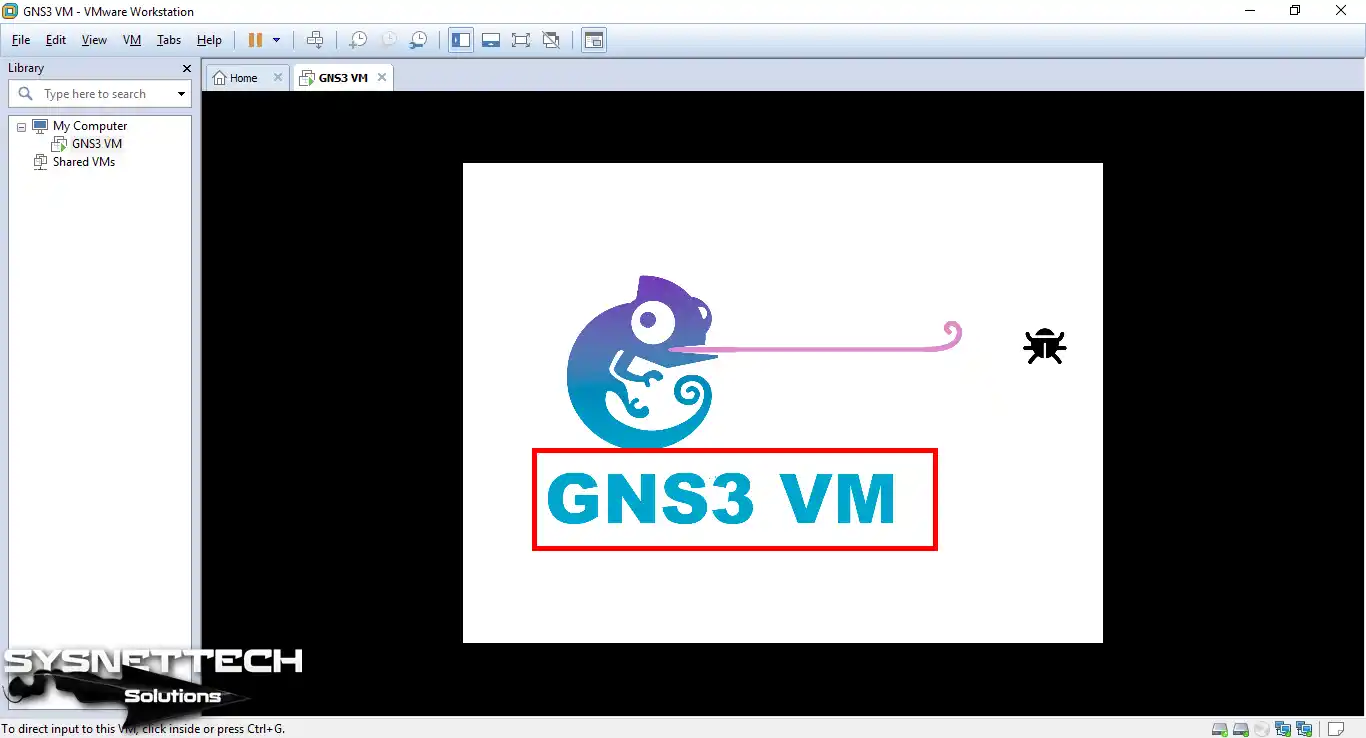
Step 6
Opening GNS3 Server.
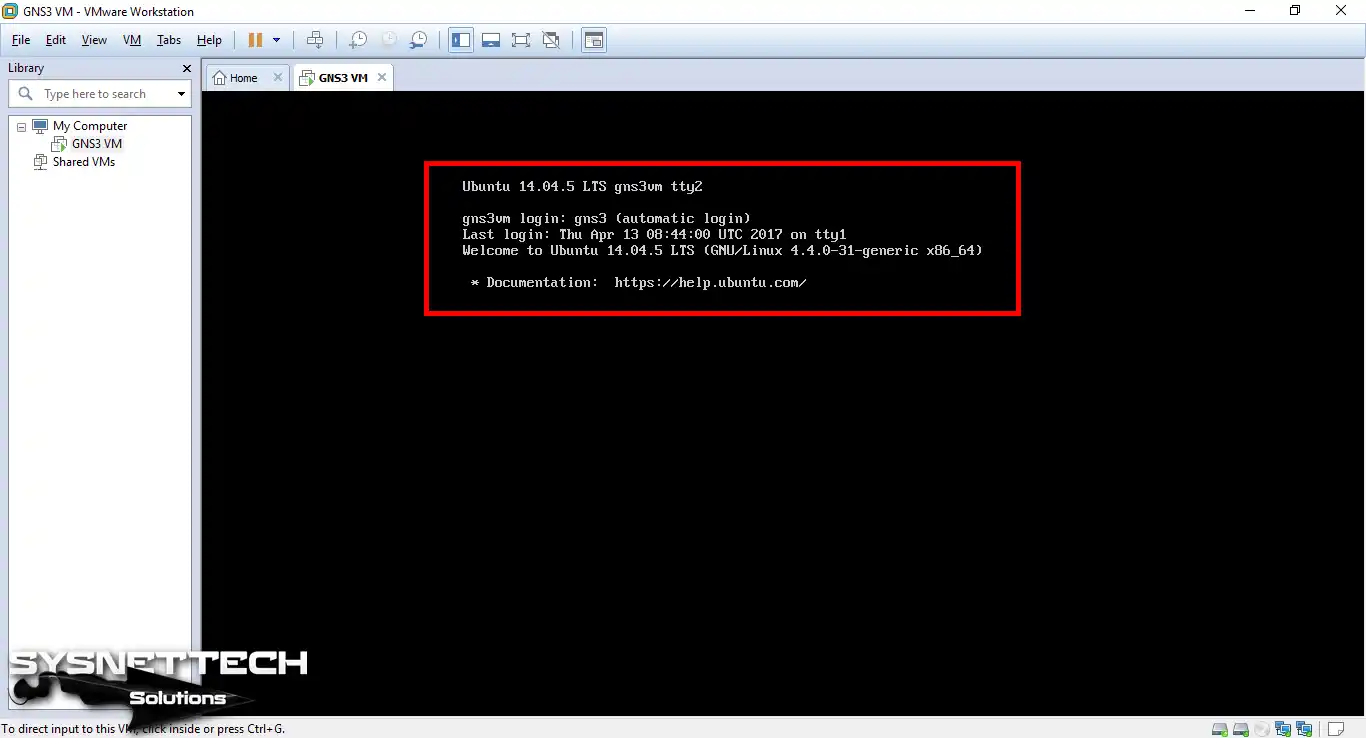
Step 7
Make a note of the IP address of the server and press the Enter key on the OK option to switch to Advanced Setup.
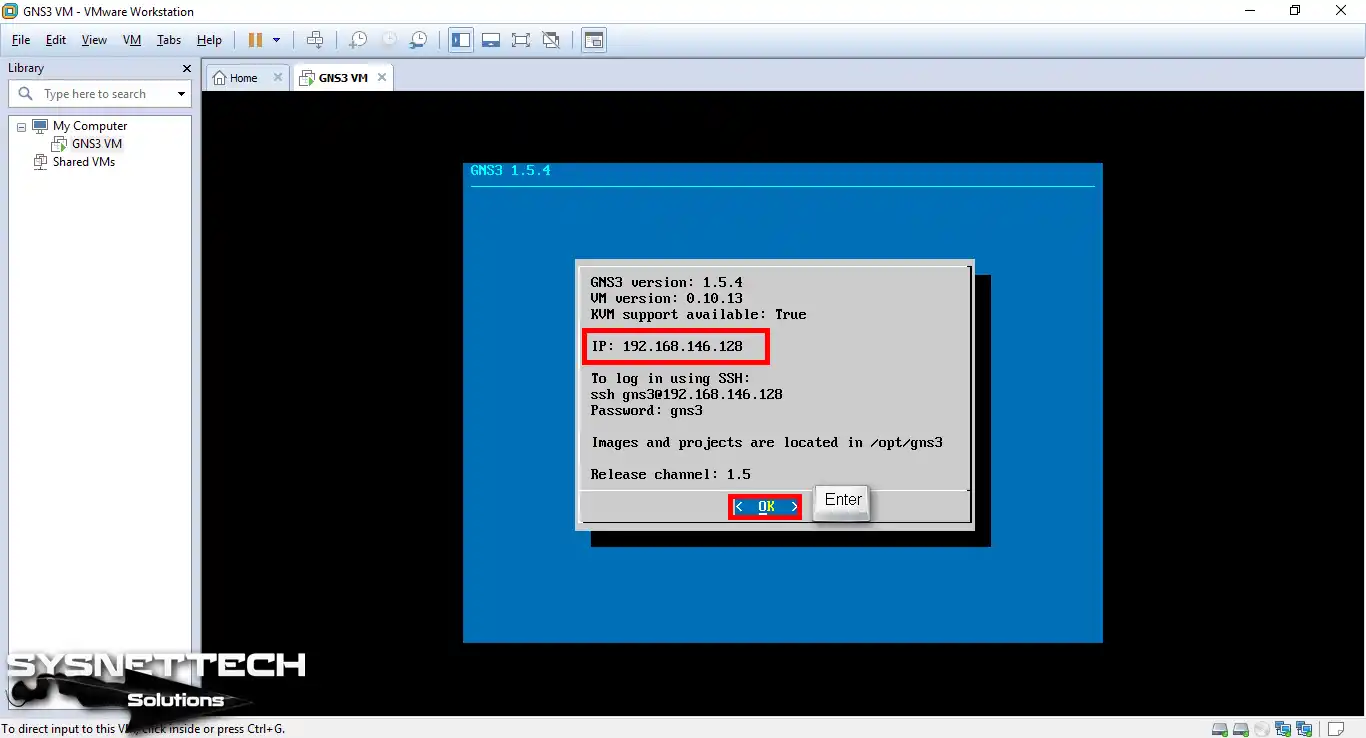
Step 8
On the Shell (Open a console) option, press Enter.
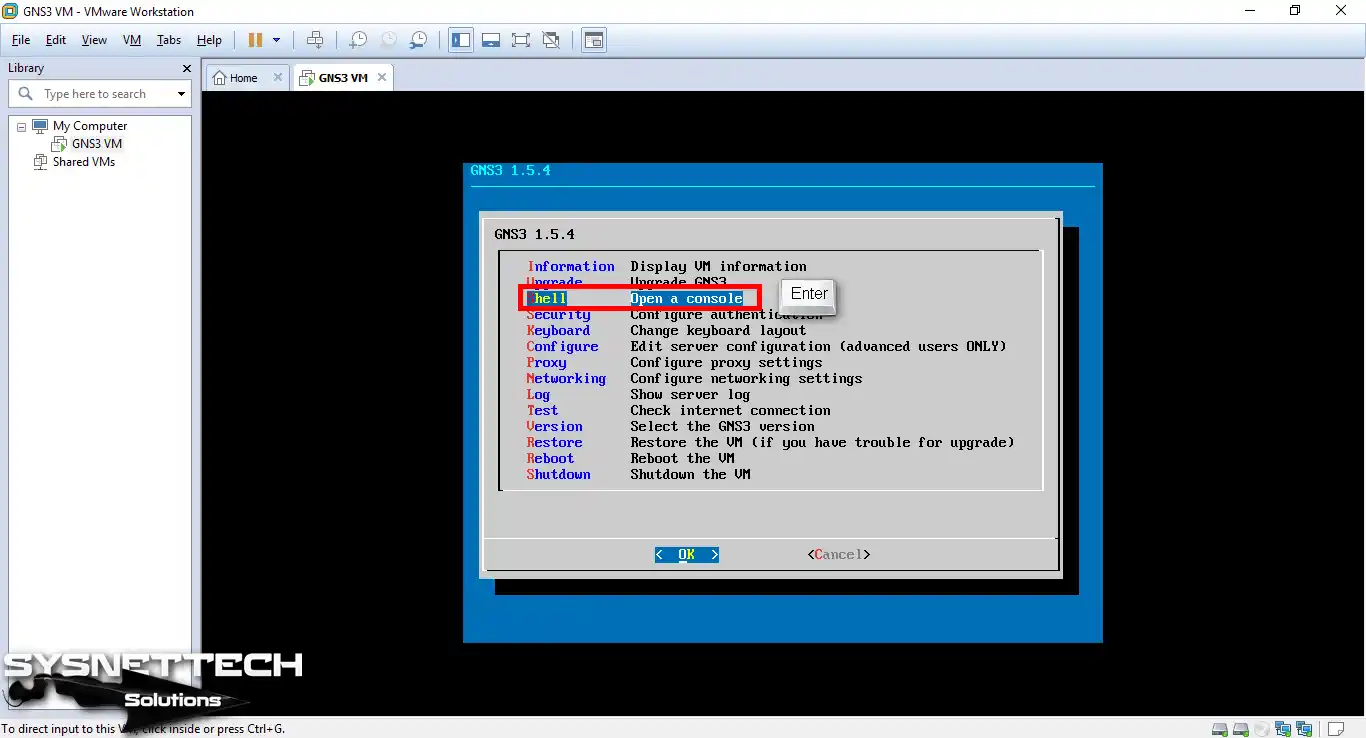
Step 9
You will need a license file to upload an IOU image to the GNS3 server.
Since the distribution of IOU images is prohibited, we have hidden some points during the licensing process.
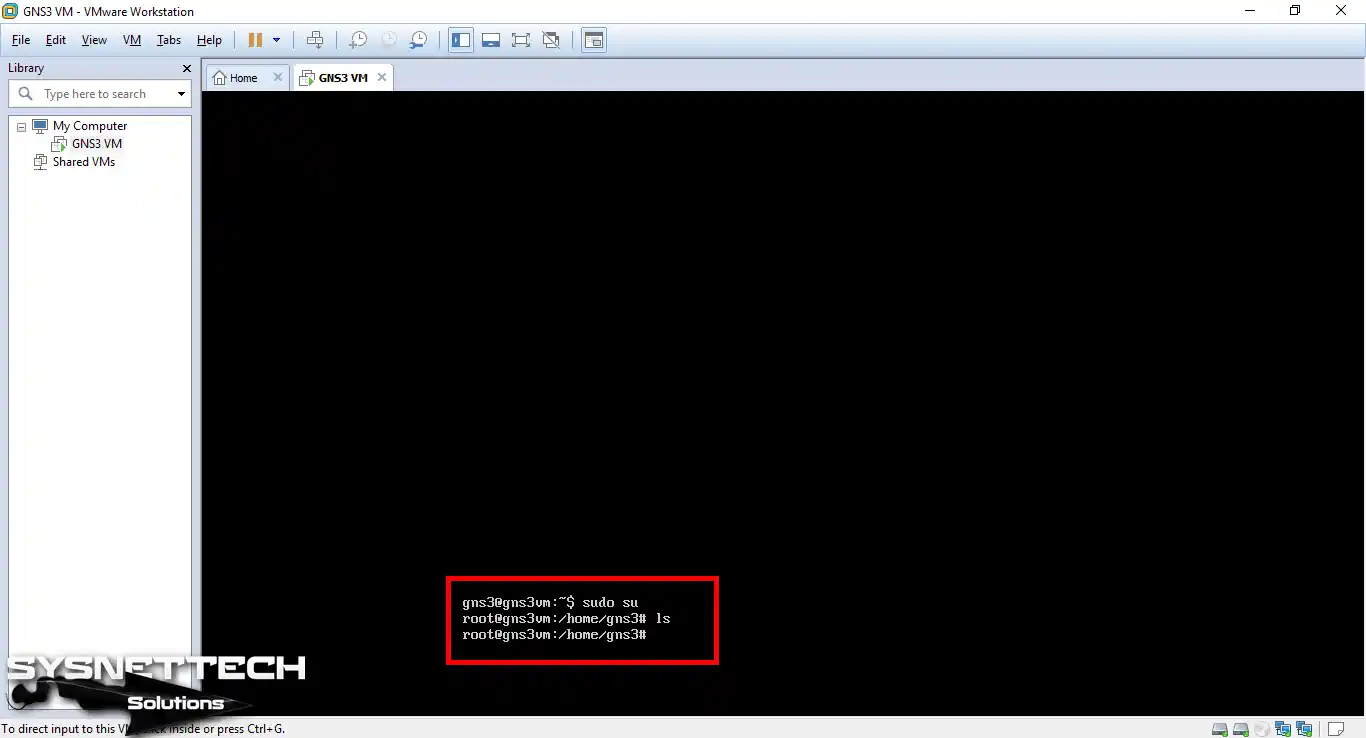
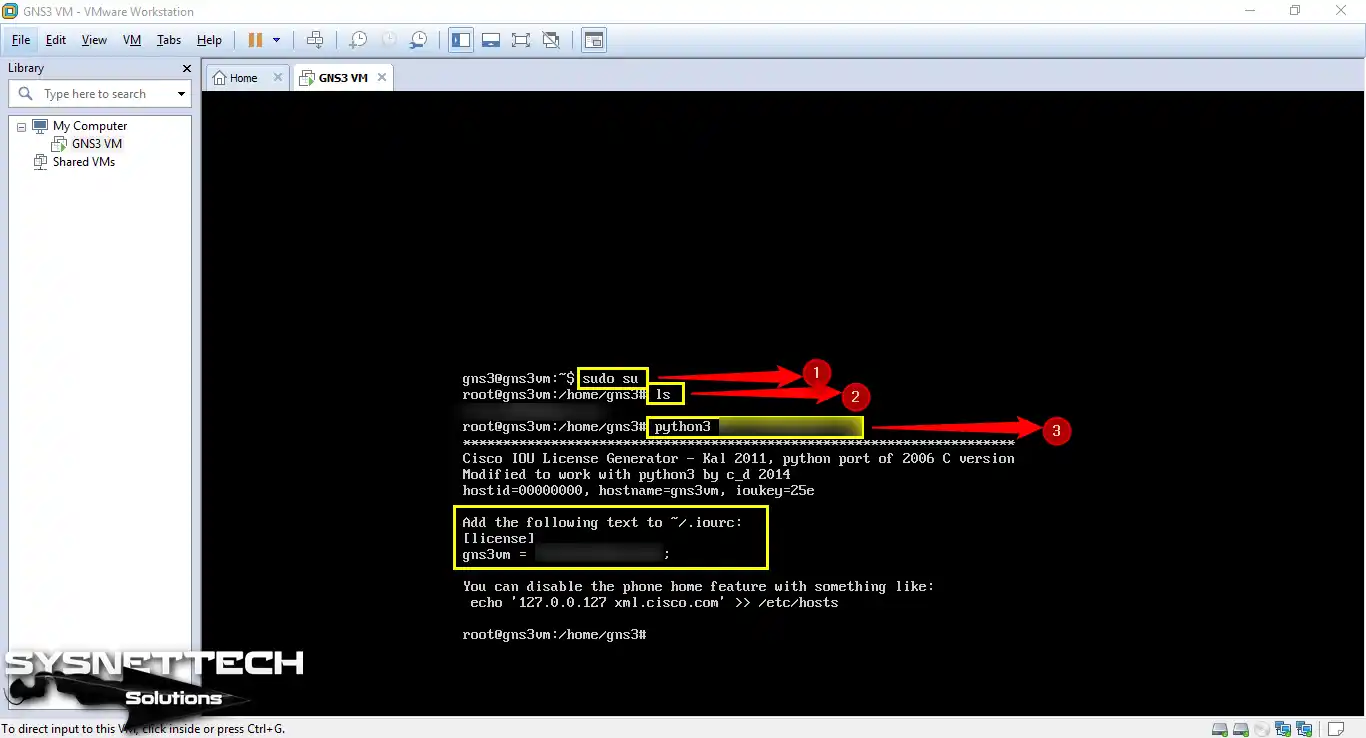
Run the following commands to check the presence of the license file in the GNS3 Server root folder. If there is no license file, go to the next step.
gns3@gns3vm:~$ sudo su
root@gns3vm:/home/gns3# ls
Step 10
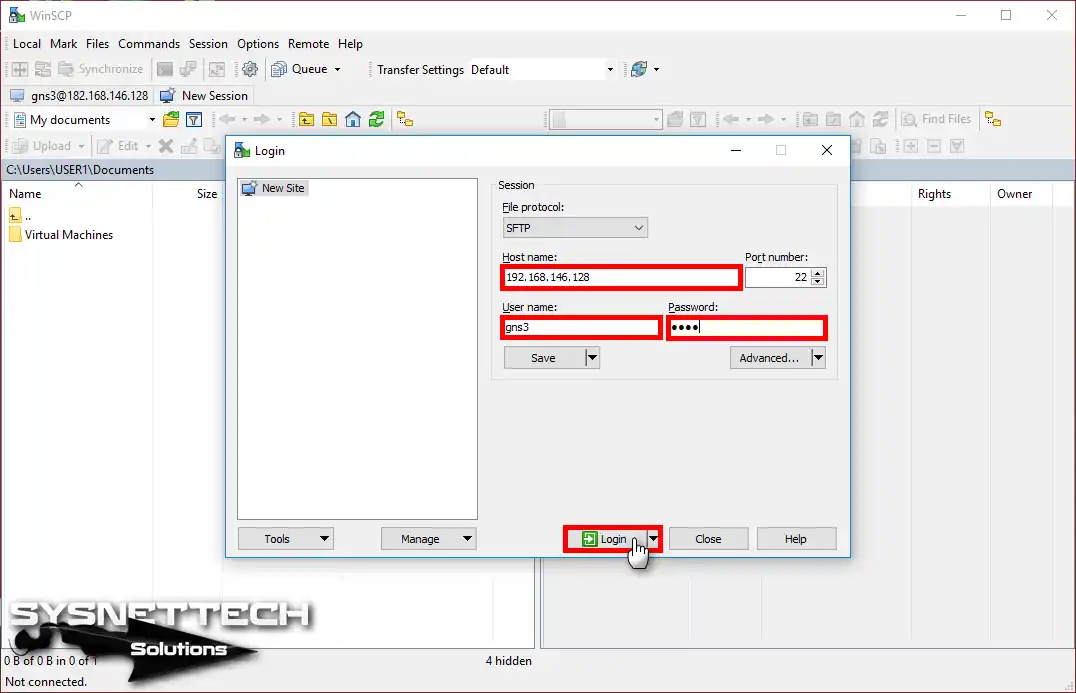
To access the GNS3 VM root folder, open the WinSCP program, type in the IP address of the server, type gns3 in the user name and password and click Login.
Step 11
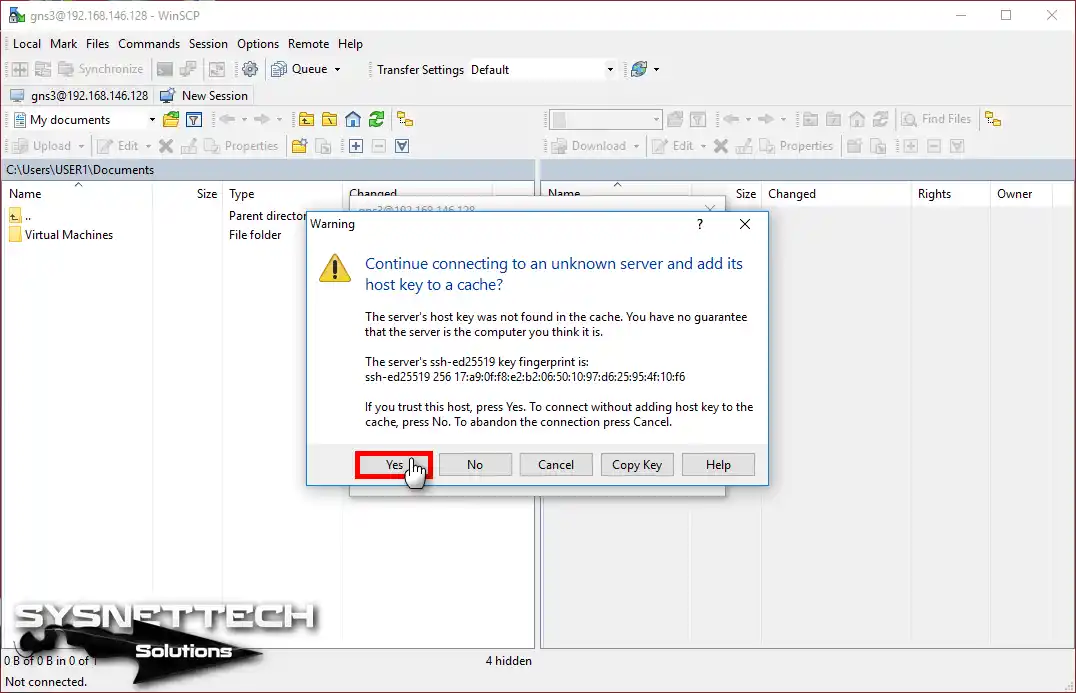
Click the Yes button on the security alert of the WinSCP program.
Step 12
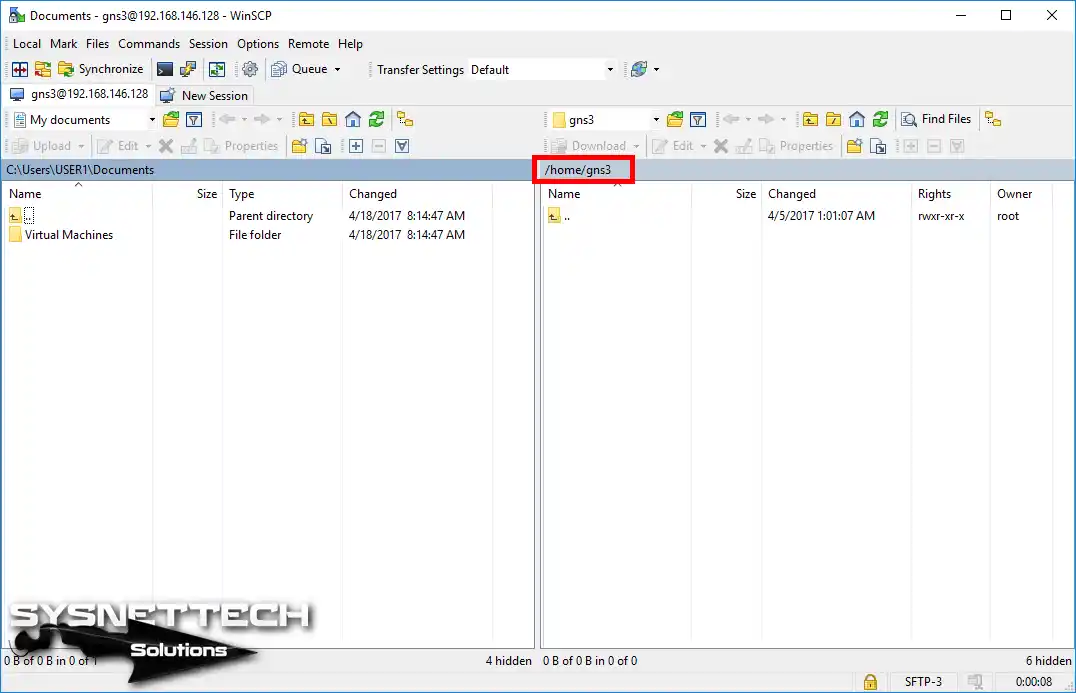
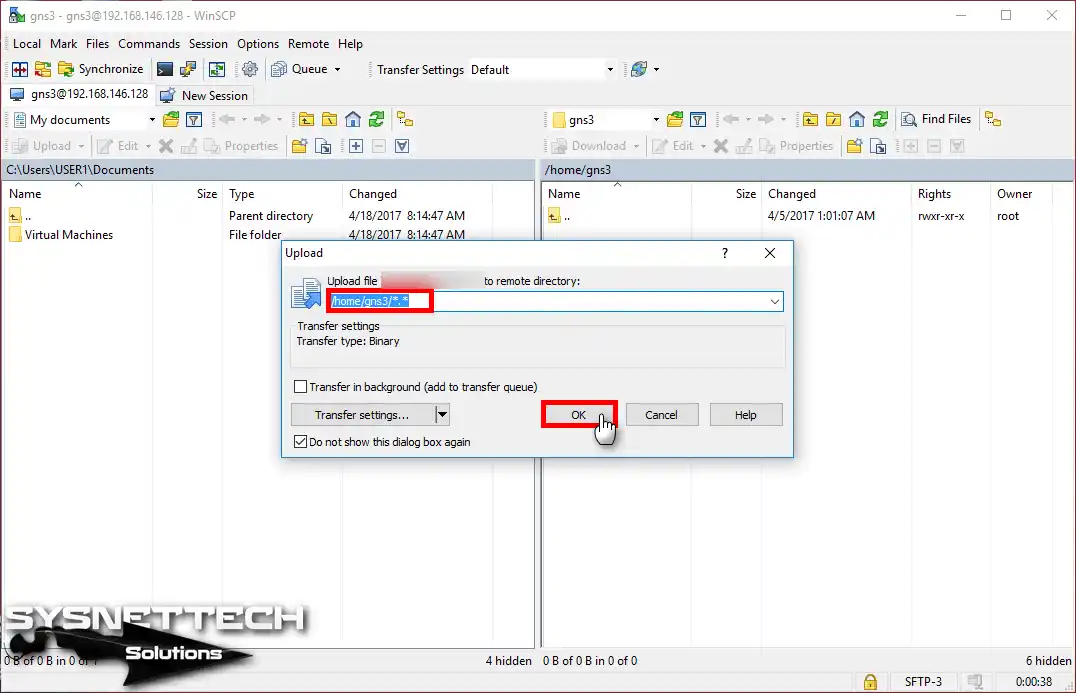
Drag and drop the CiscoIOUKeygen.py file to the /home/gns3/root folder.
Step 13
Click OK to complete the process.
Step 14
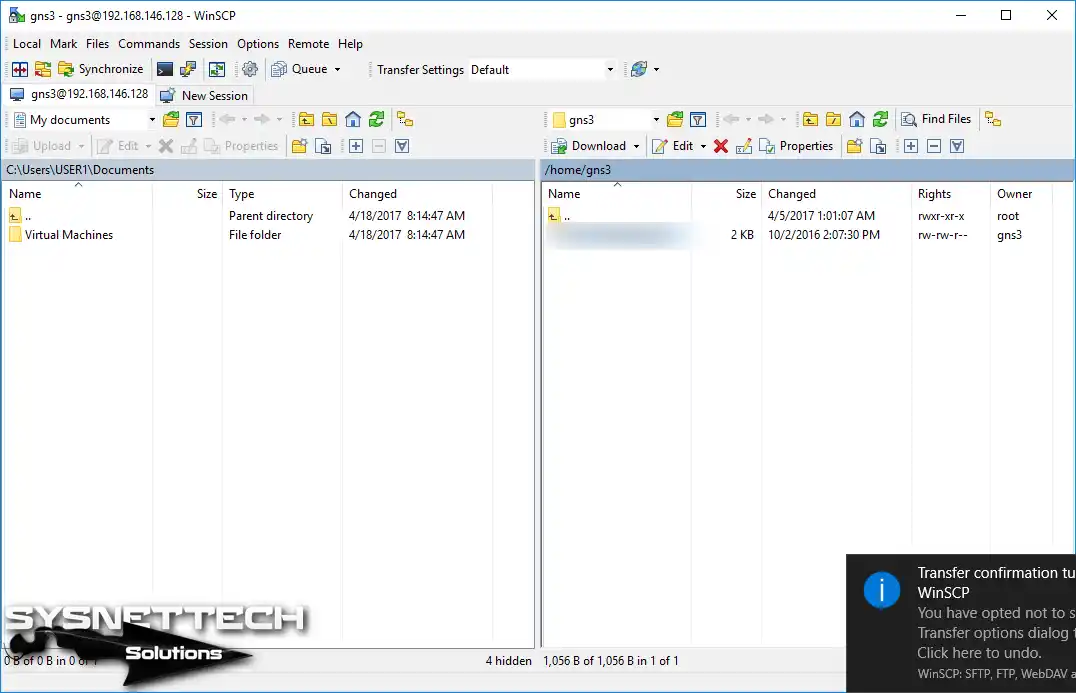
After copying CiscoIOUKeygen.py to the GNS3 VM root directory, continue to the next step.
Step 15
Execute python3 CiscoIOUKeygen.py at the Shell command prompt of the GNS3 VM. Then, add the generated license number to the iourc.txt file.
Step 16
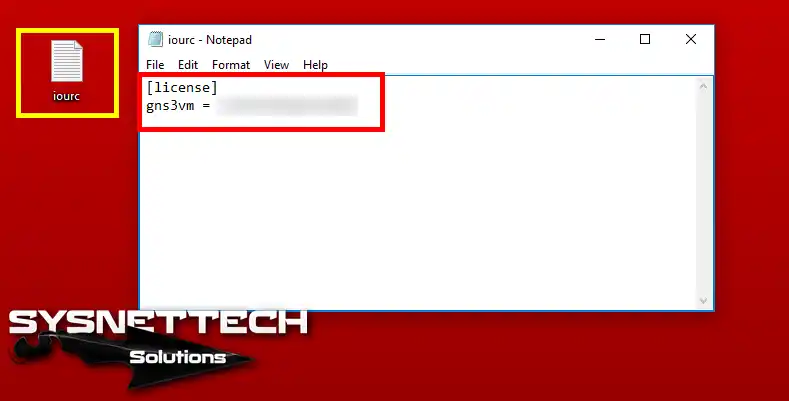
Create a text document named iourc.txt on your desktop, then write the license and save the file.
Step 17
Copy the iourc.txt file you created to the location where you installed the GNS3 VM.
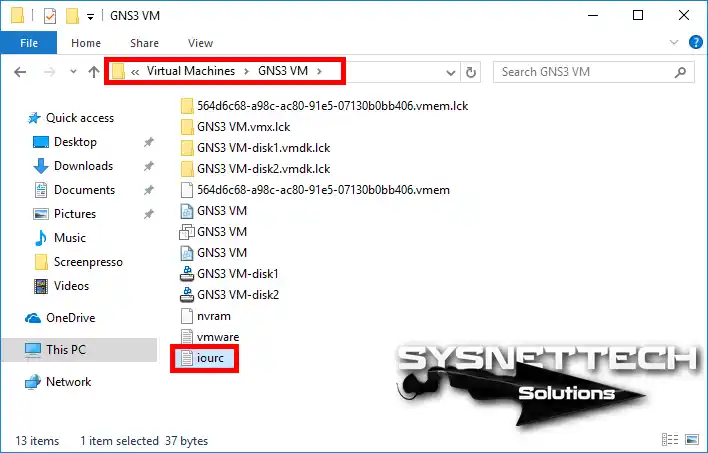
Step 18
After running GNS3, select Local GNS3 VM and click Next.
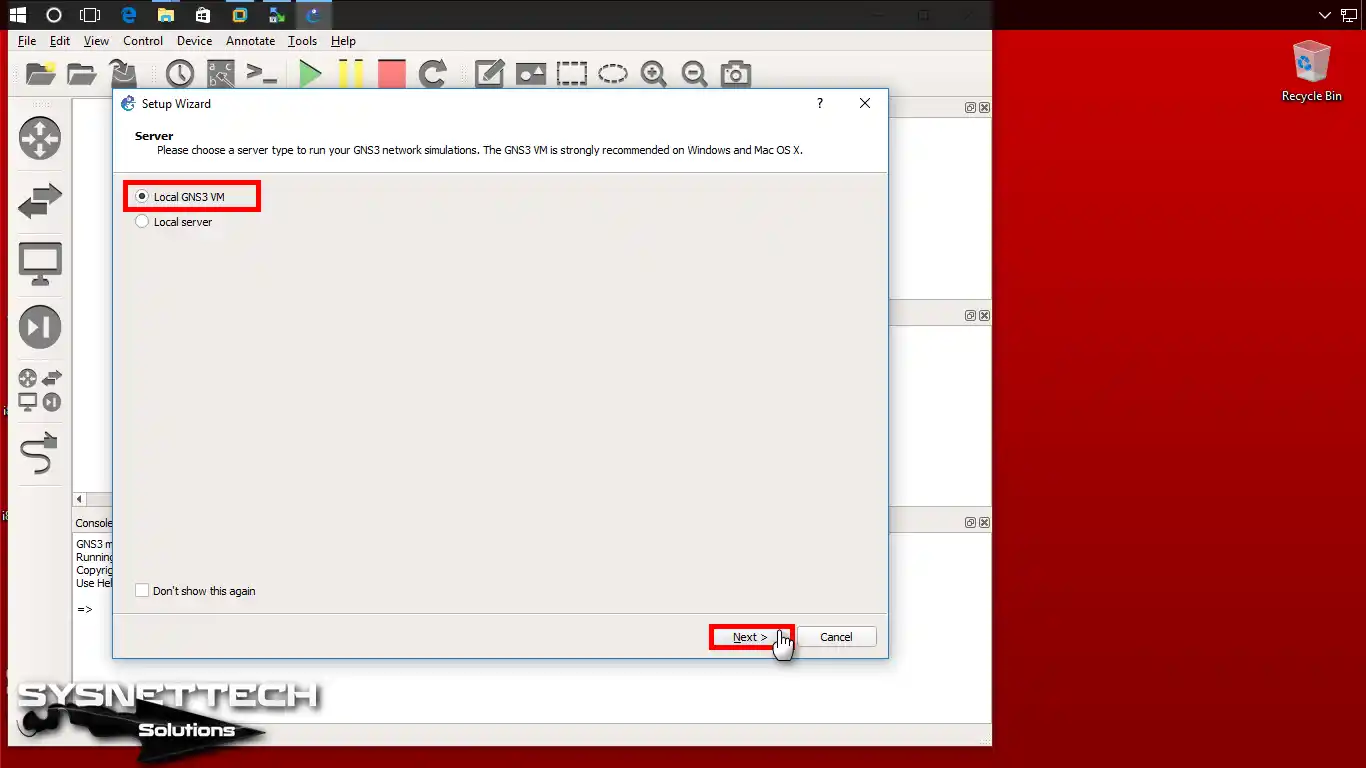
Step 19
On the next screen, select VMware (Recommend) to continue. In this step, it will connect to the GNS3 Server automatically.
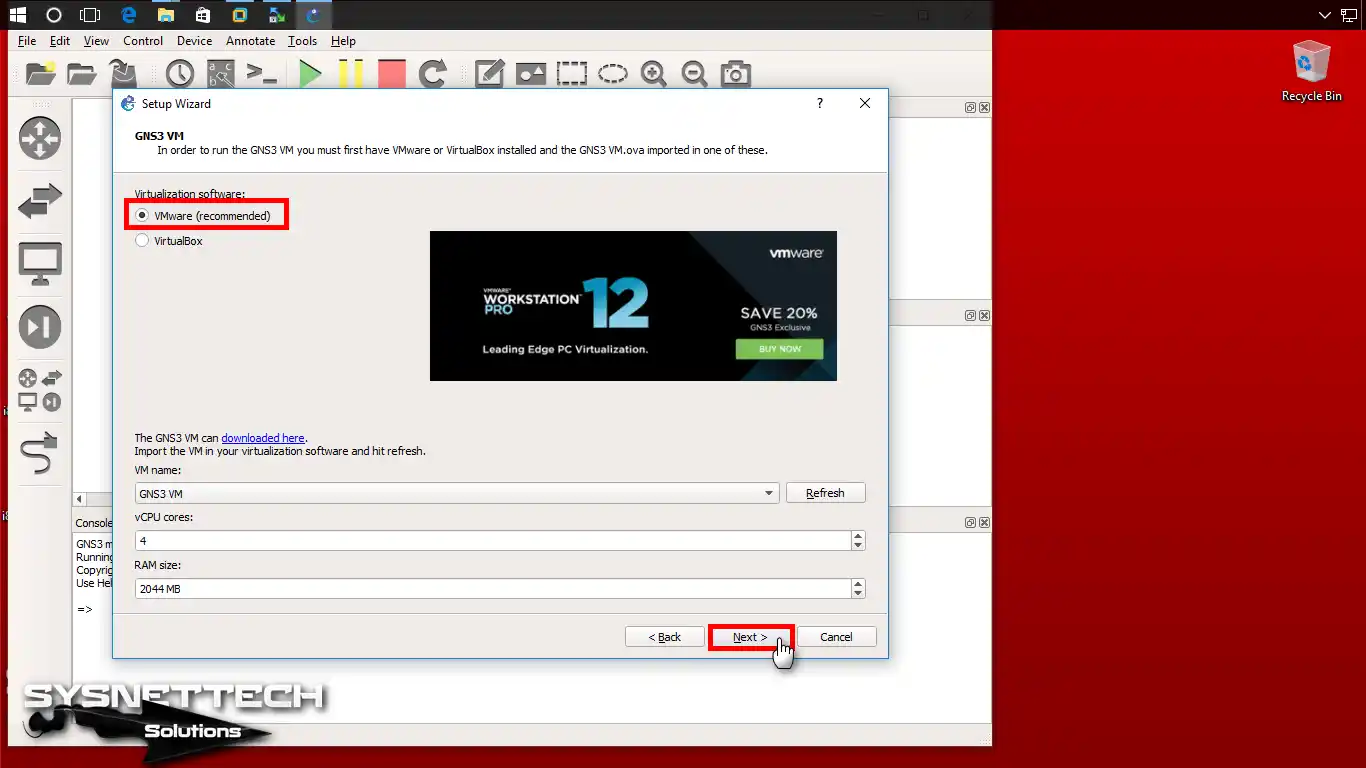
Step 20
Connecting to GNS3 Server.
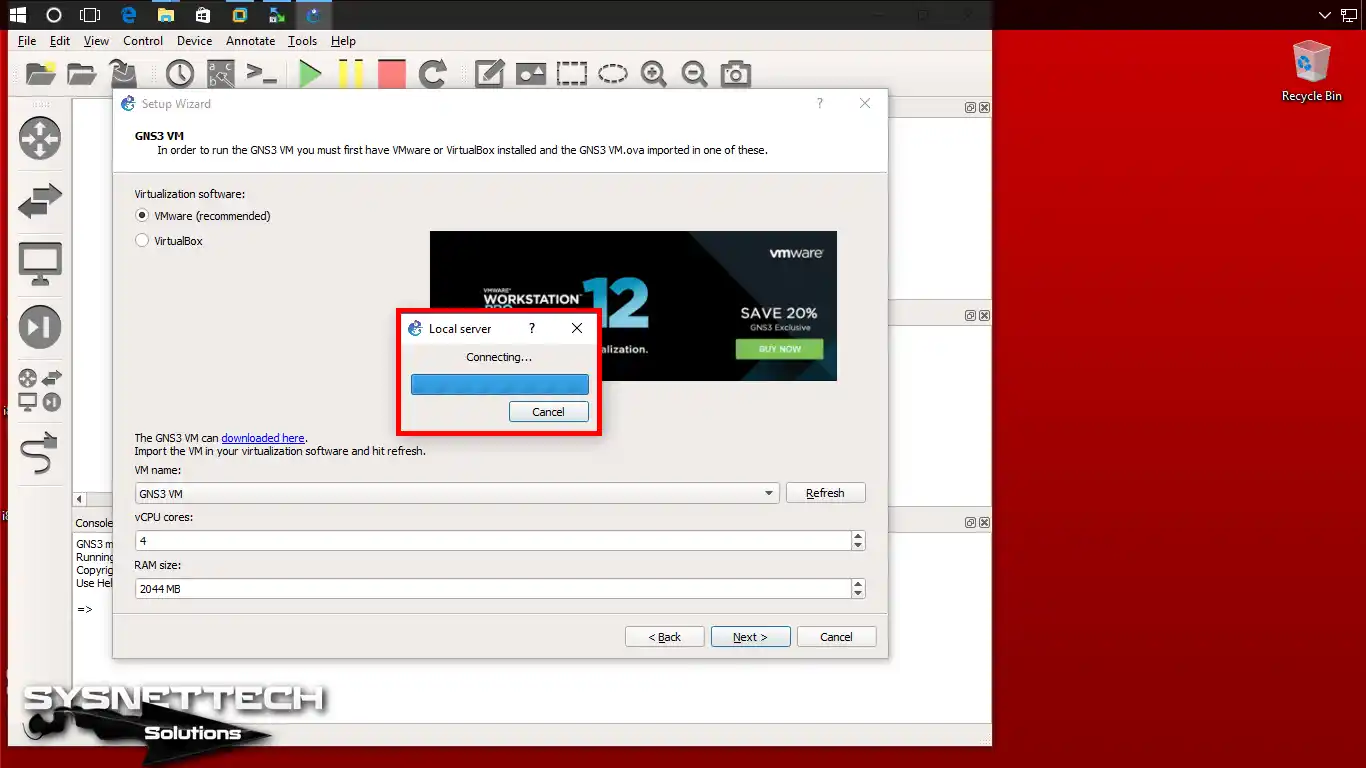
Step 21
Before adding the IOU image on the GNS3 Server, close the Add Virtual Machines window.
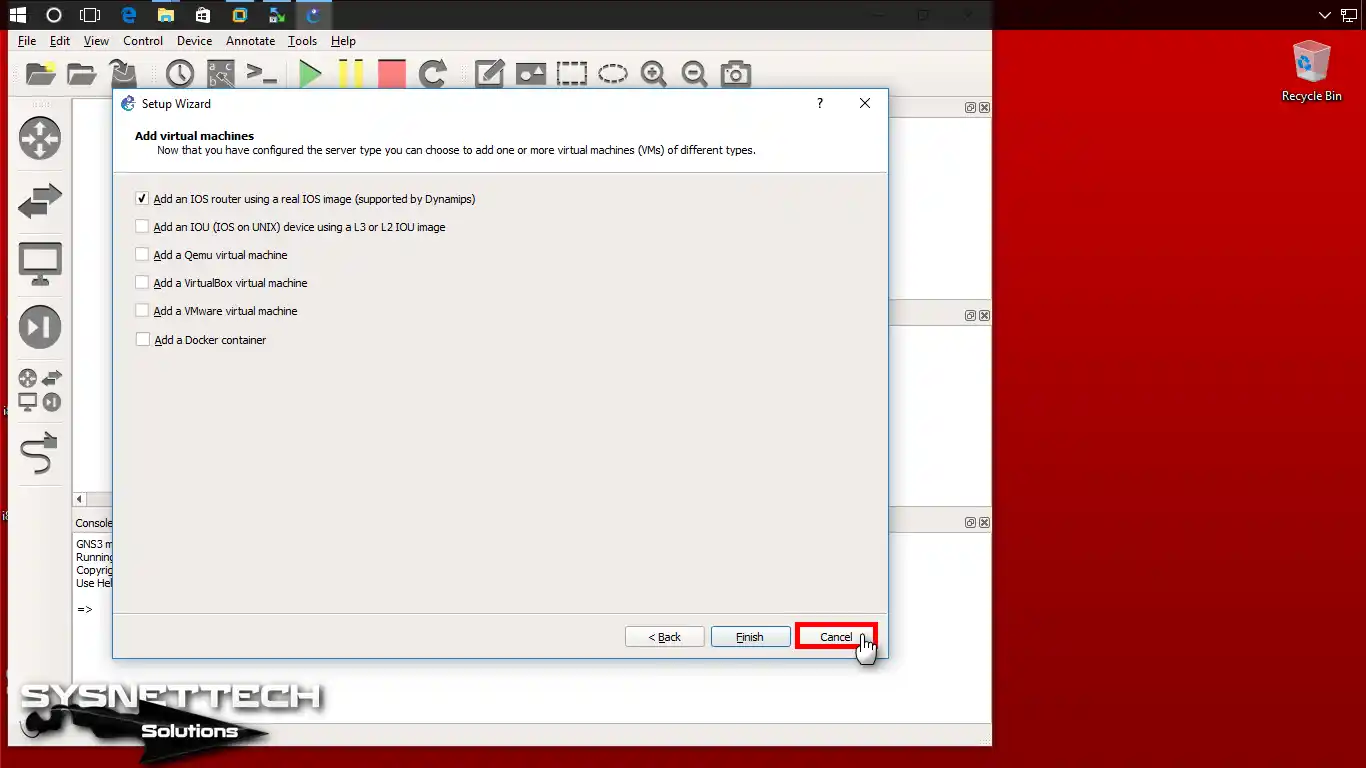
Step 22
Click Edit / Preferences to complete the licensing process.
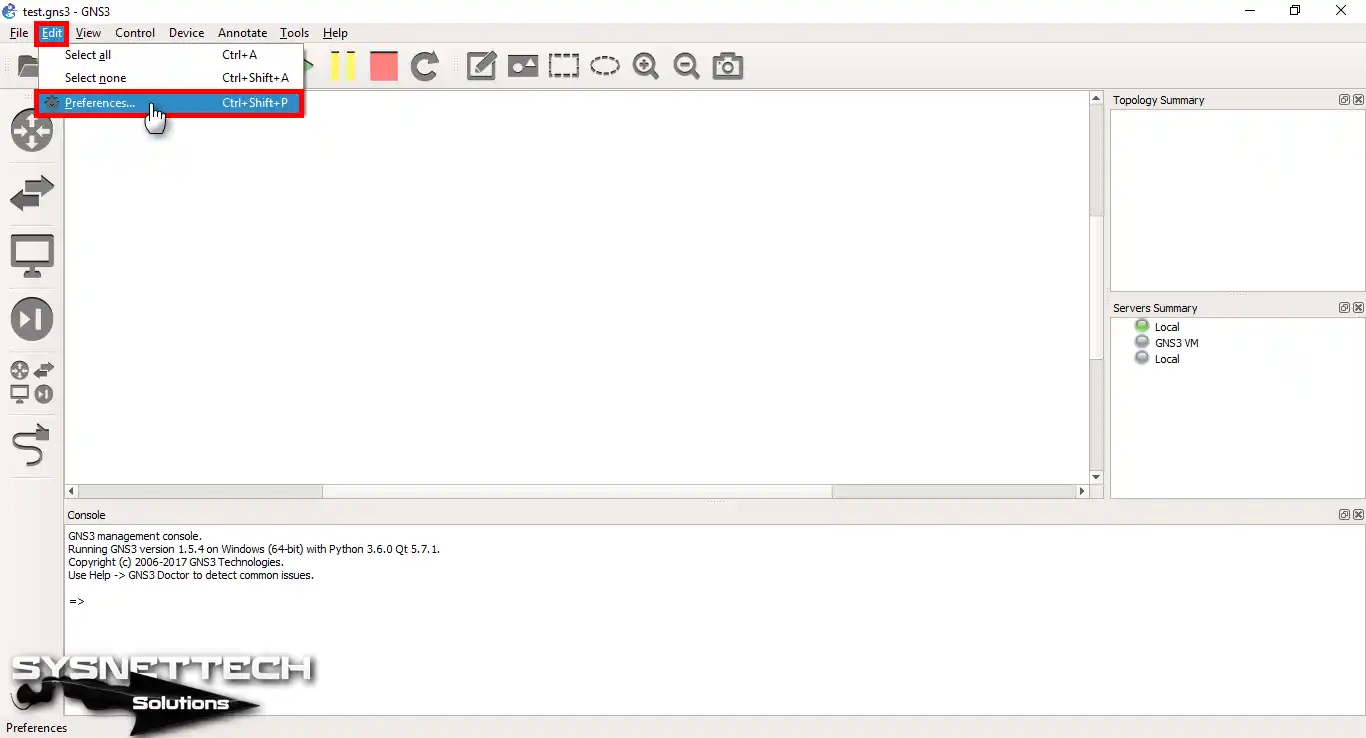
Step 23
In the window that opens, select IOS on UNIX and click Browse to add the iourc file in the right pane.
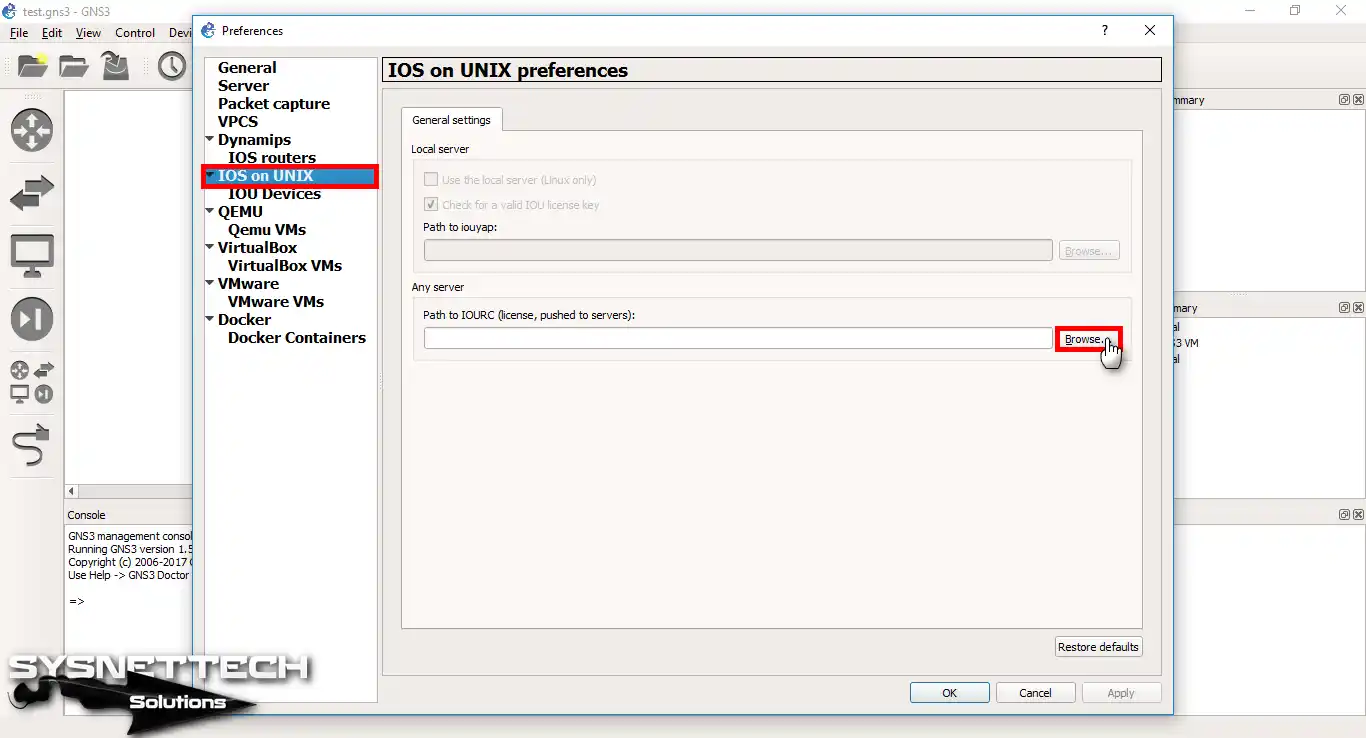
Step 24
Select the iourc.txt file you copied to the GNS3 server location and click the Open button.
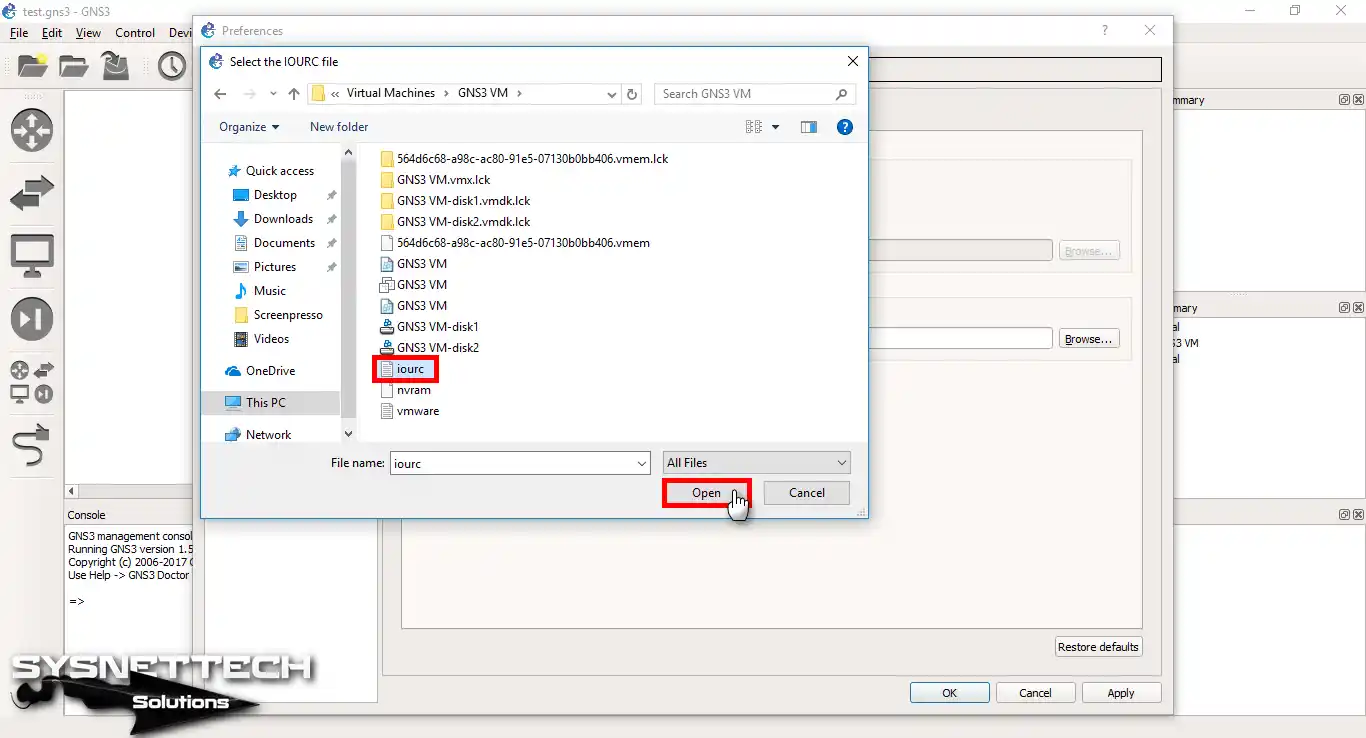
Step 25
After adding the iourc file, click Apply to save the settings.
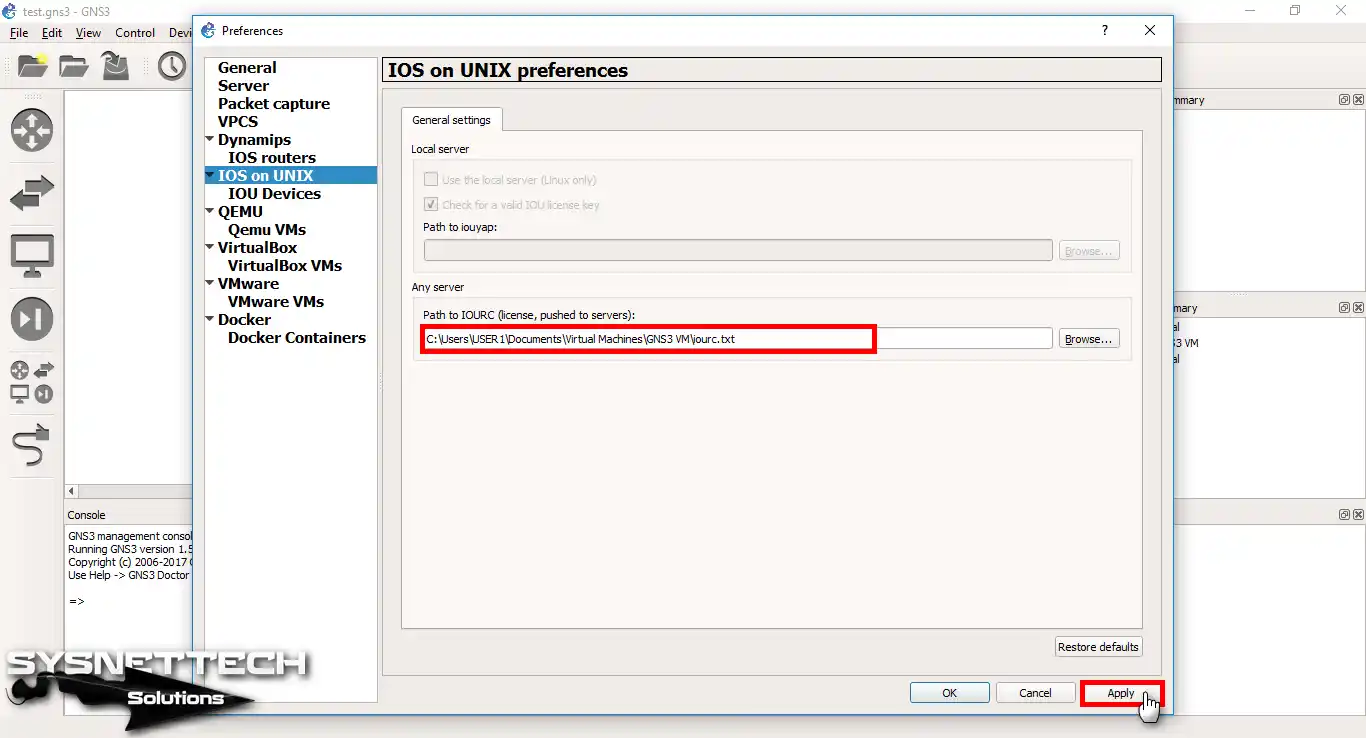
Step 26
Click IOU Devices and then click the New button to add Layer 2 and Layer 3 Switch.
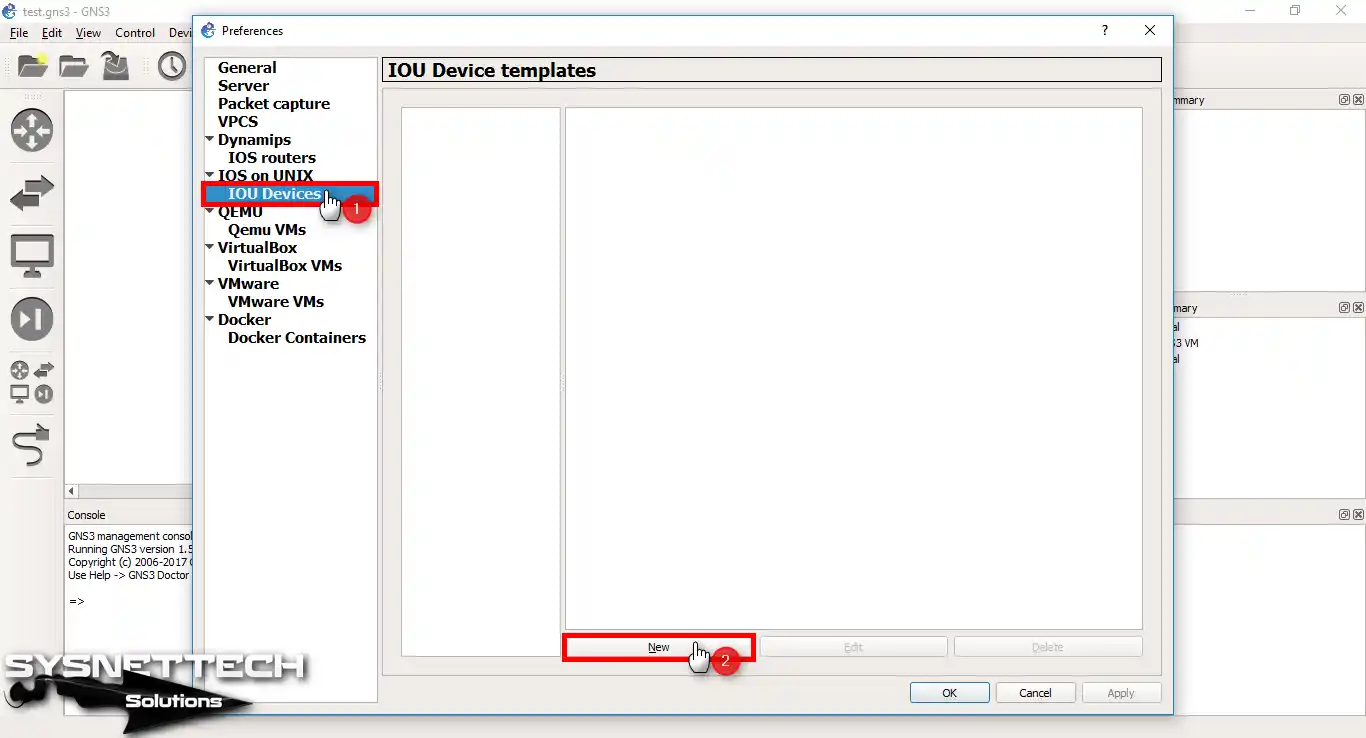
Step 27
In the Server Type window that opens, select the Run this IOU device on the GNS3 VM option and click Next.
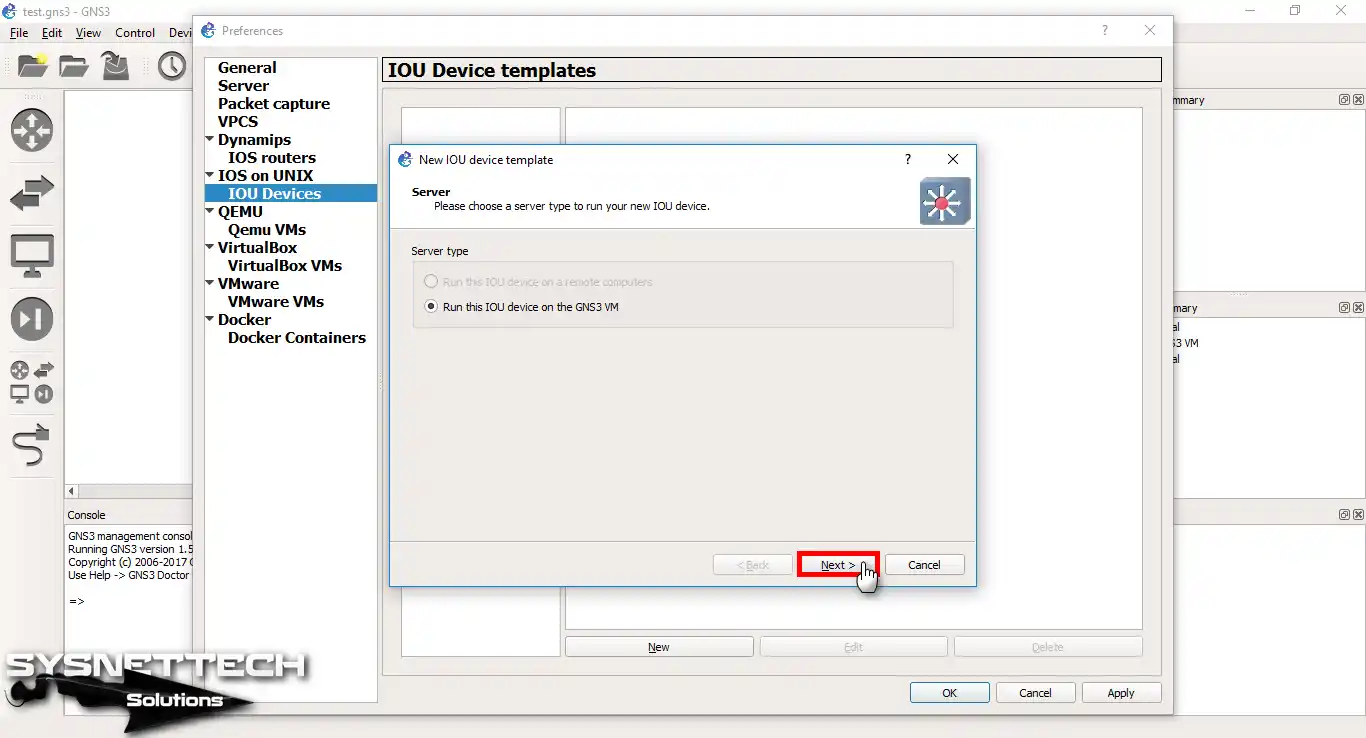
Step 28
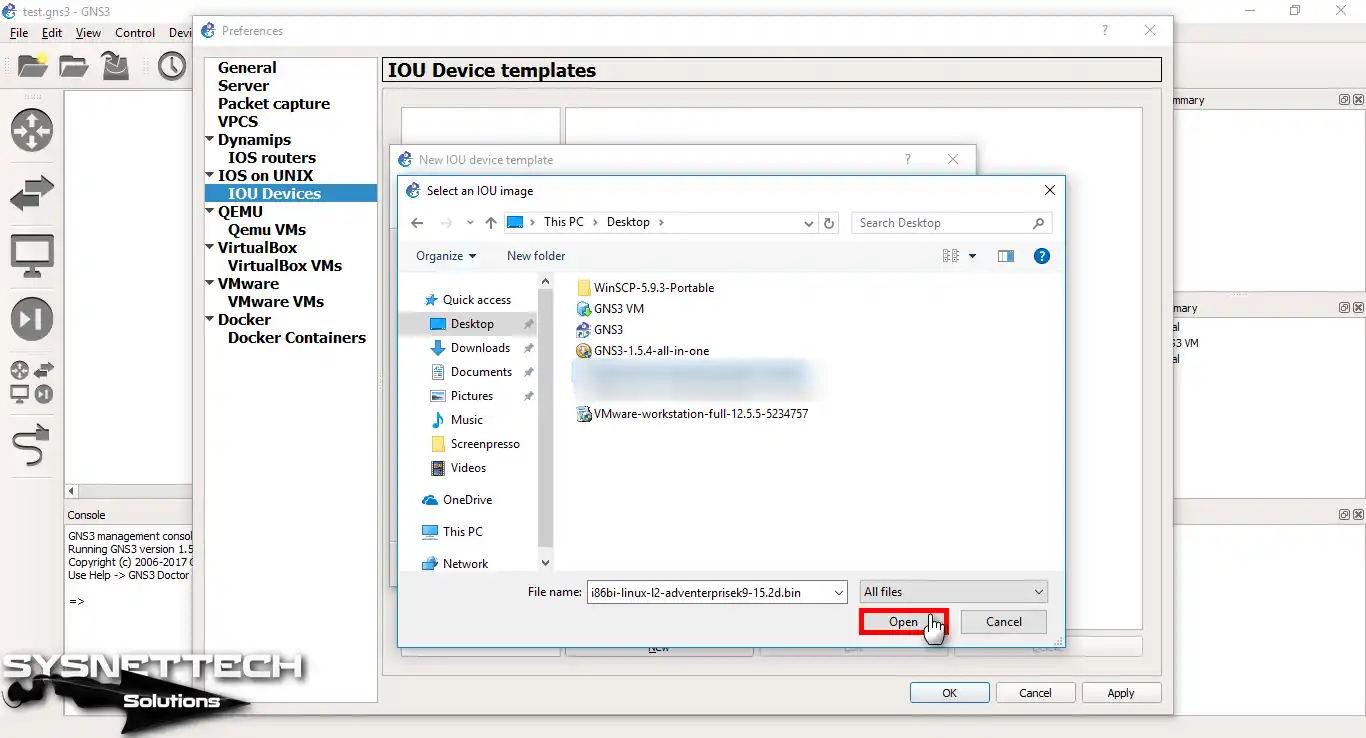
Enter the Layer 2 Switch name you want to add, and then click Browse. In the Type field, specify the Switch layer.
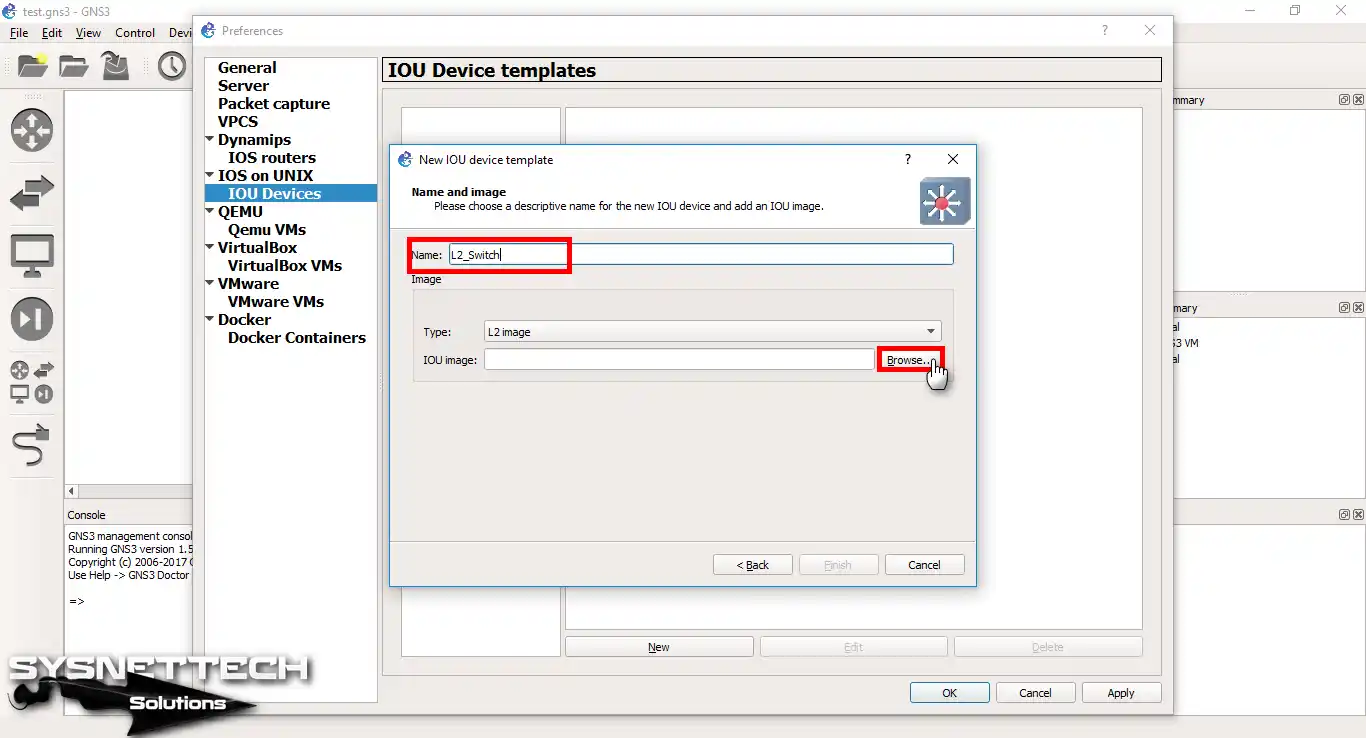
Step 29
Select and add the Layer 2 Switch image.
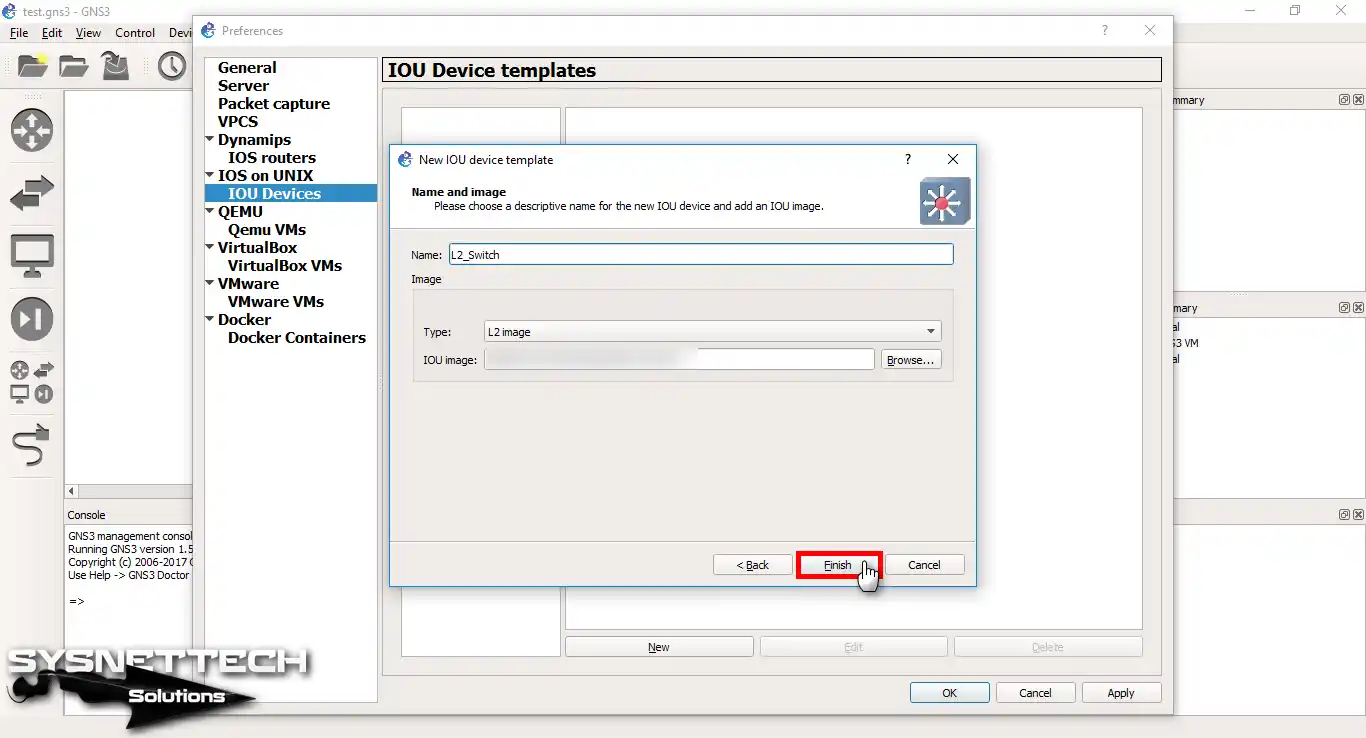
Step 30
After adding Layer 2 Switch, click Finish.
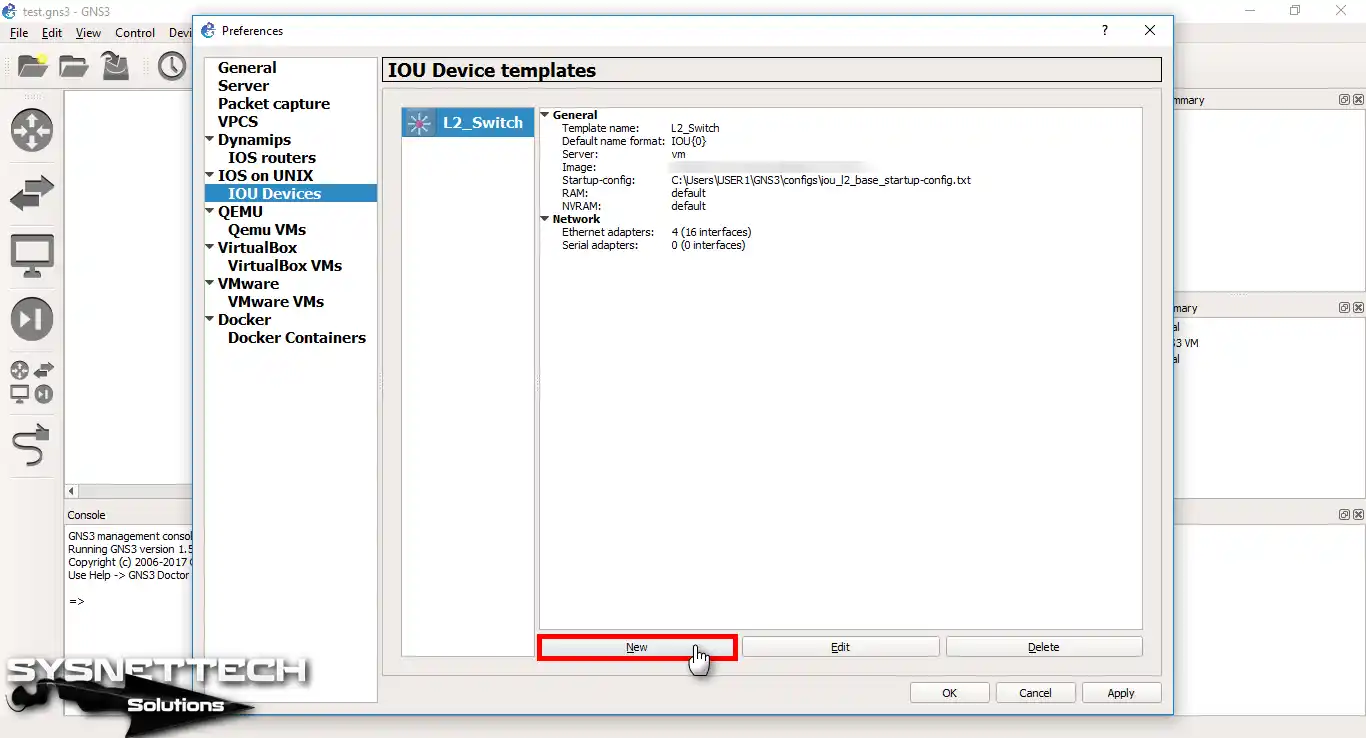
Step 31
Once you have successfully added the Layer 2 Switch, as in the image below, add an L3 Switch by clicking the New button again.
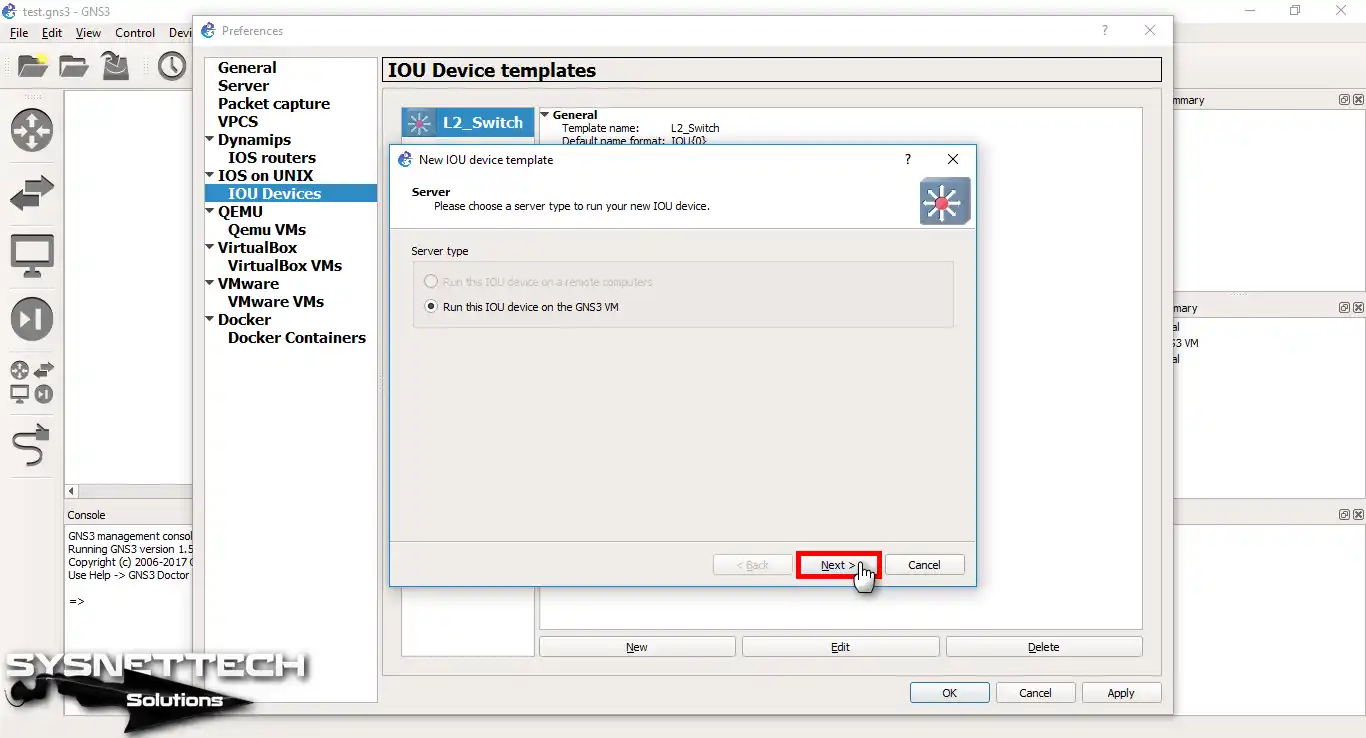
Step 32
Click Next in the Server Type window.
Step 33
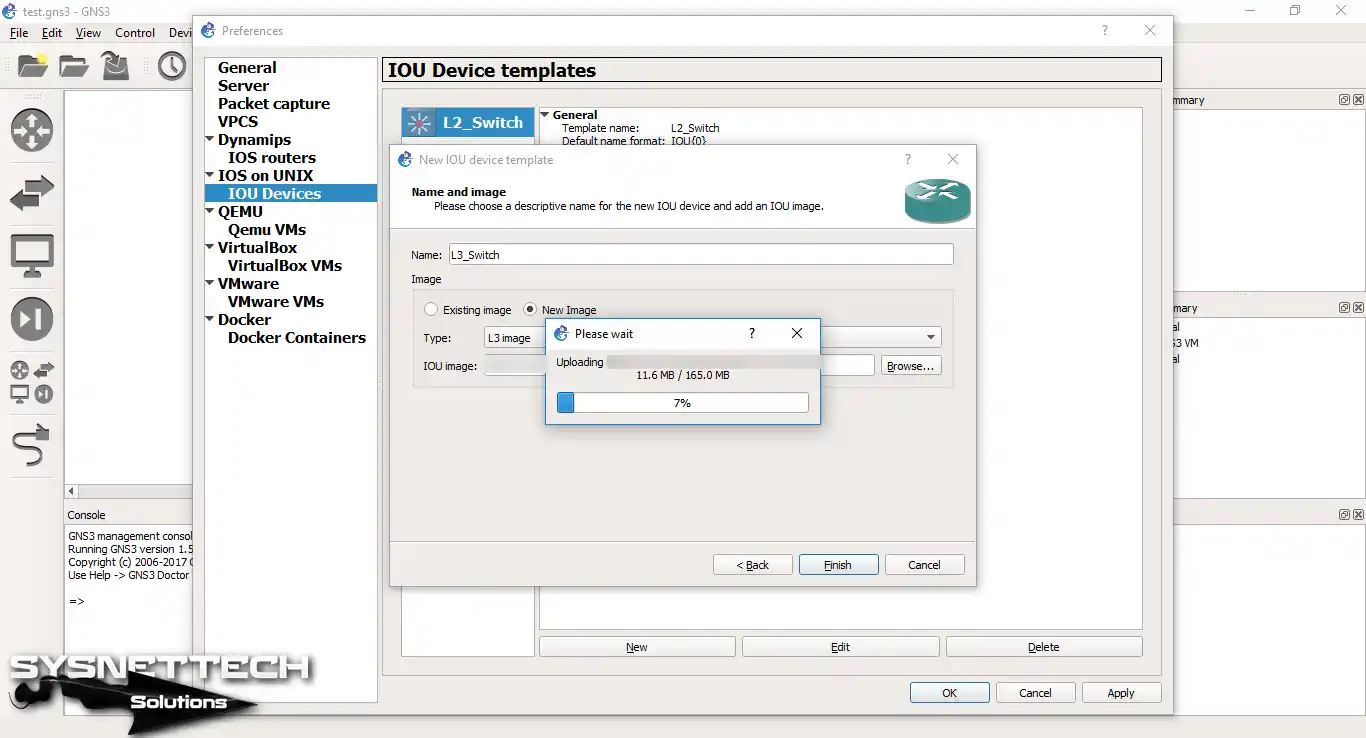
Type Layer 3 Switch name and specify the type. Then click the Browse button to add the IOS image.

Step 34
Uploading Layer 3 Switch into GNS3 Server.
Step 35
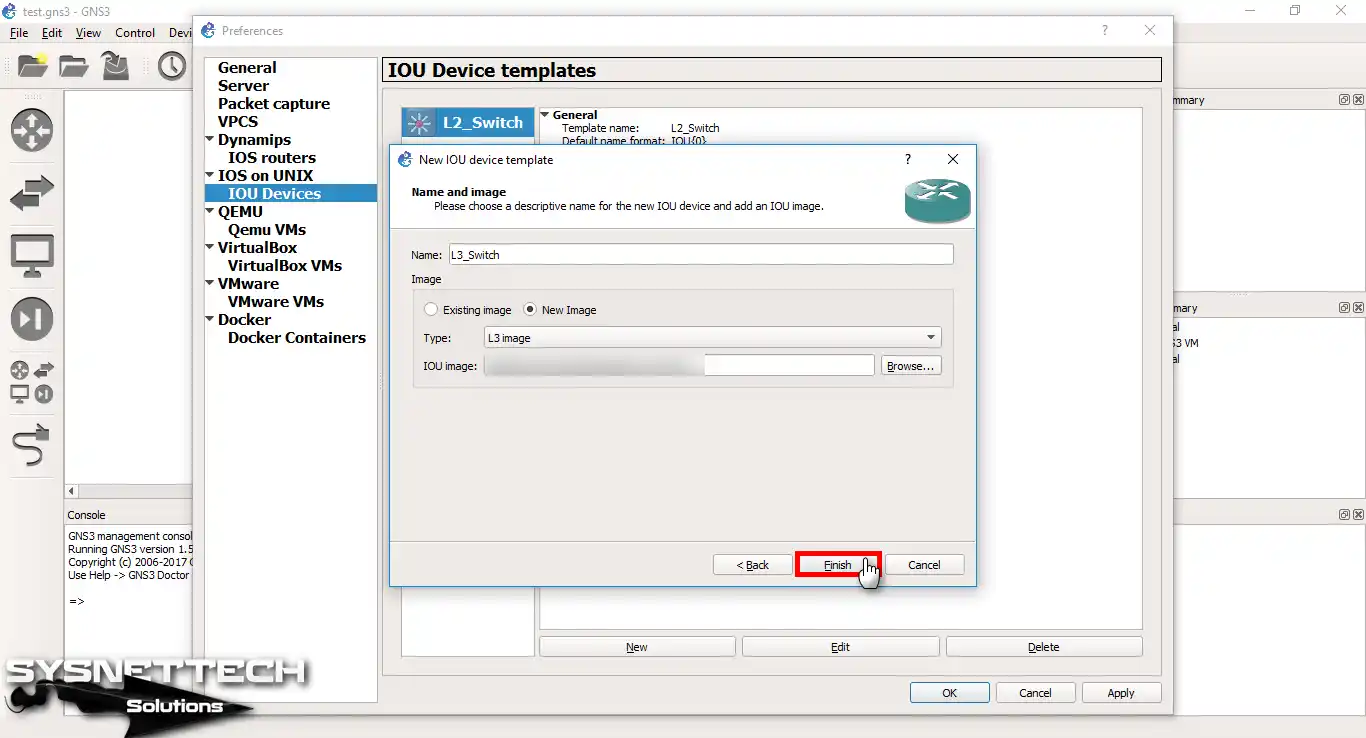
Click Finish to upload the image to the server.
Step 36
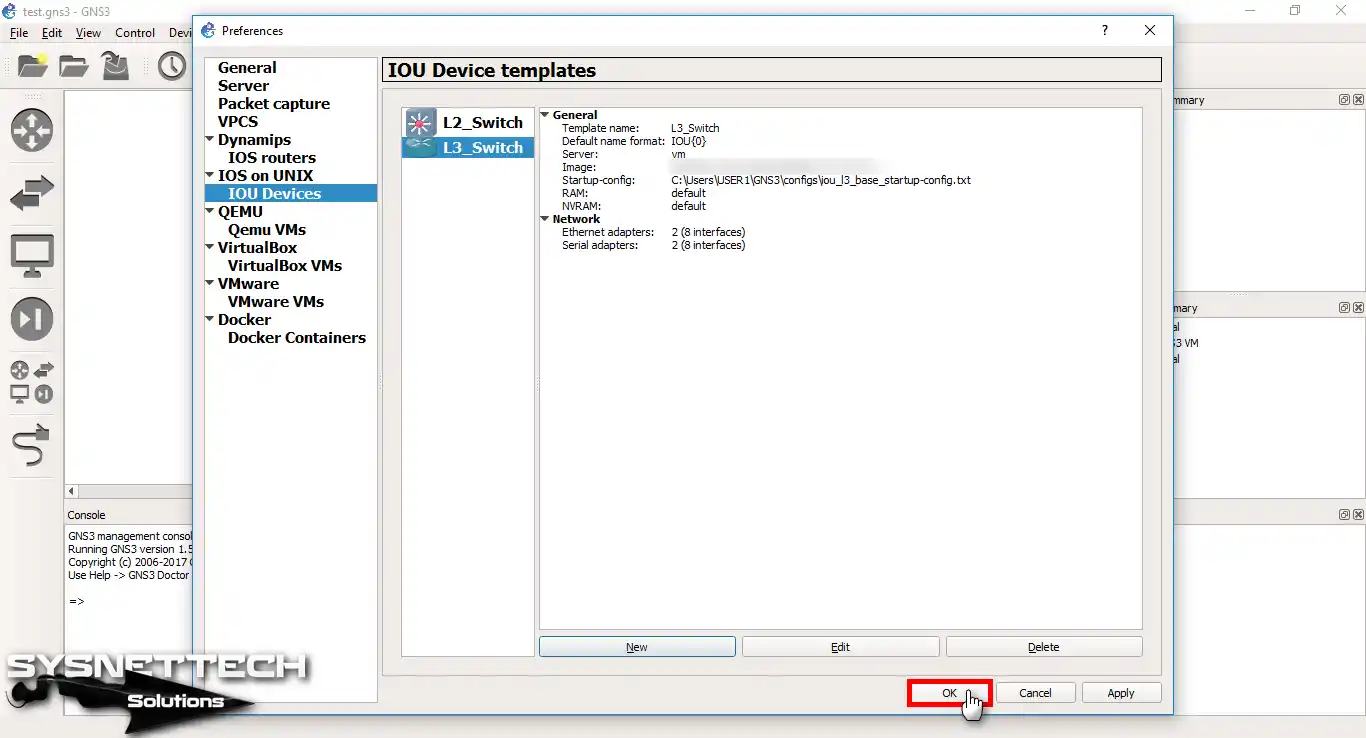
Close the IOU Device Templates window after adding the L3 Switch.
Step 37
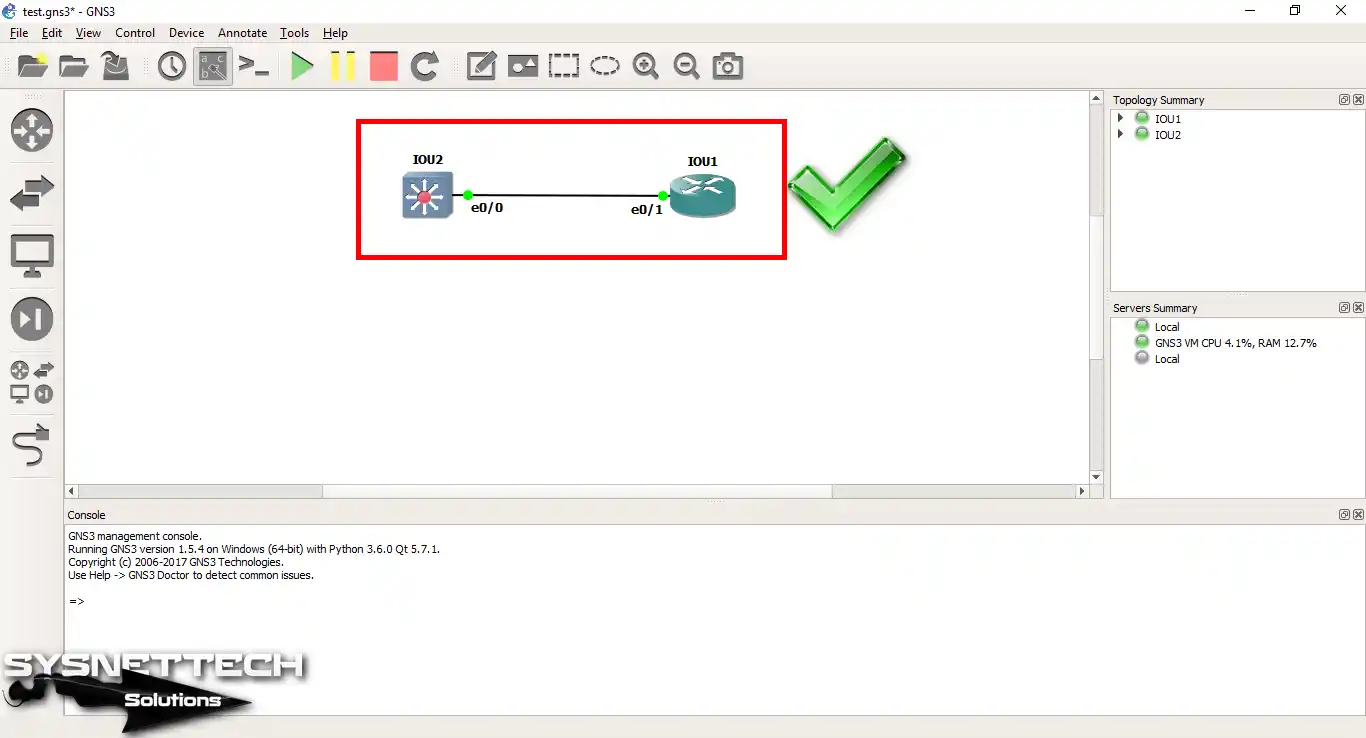
Add the L2 and L3 Switch to the GNS3 workspace and run them.
Step 38
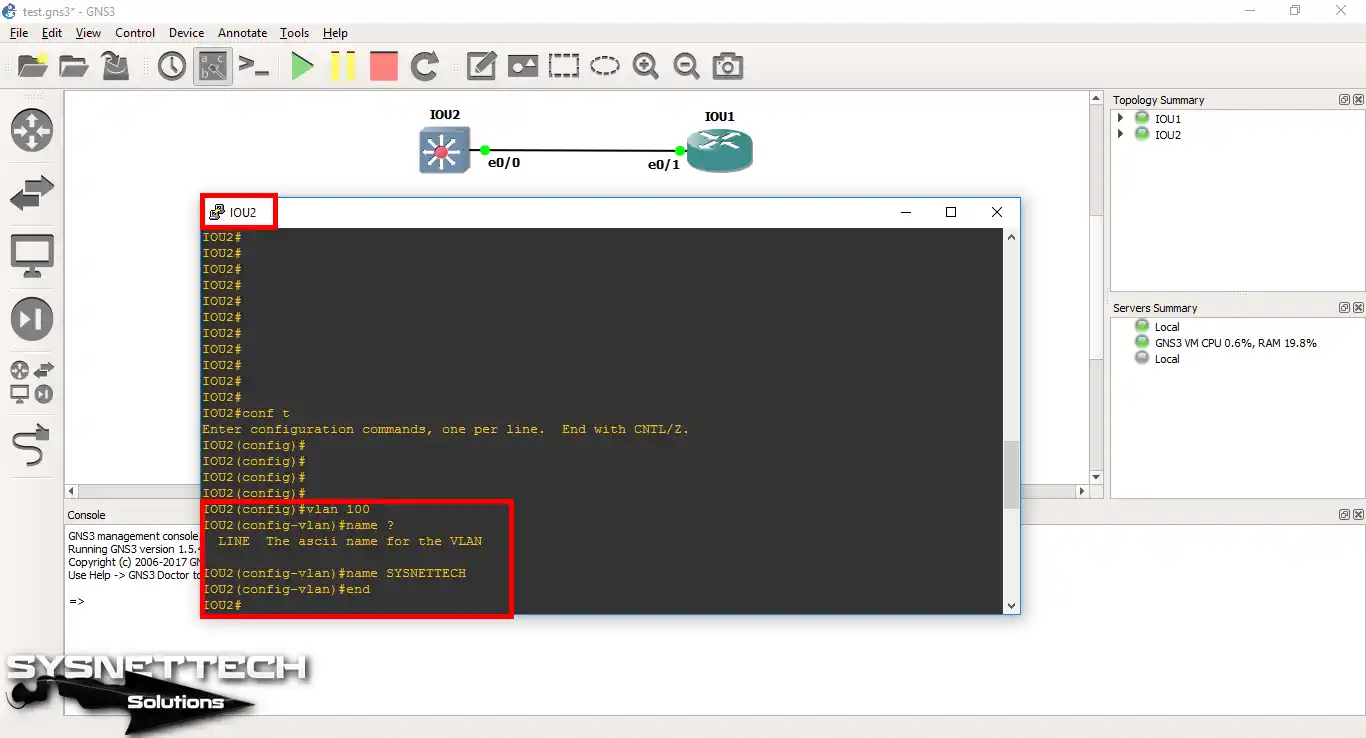
In the L2 Switch console window, test the device’s operability by creating one VLAN as an example.
Step 39
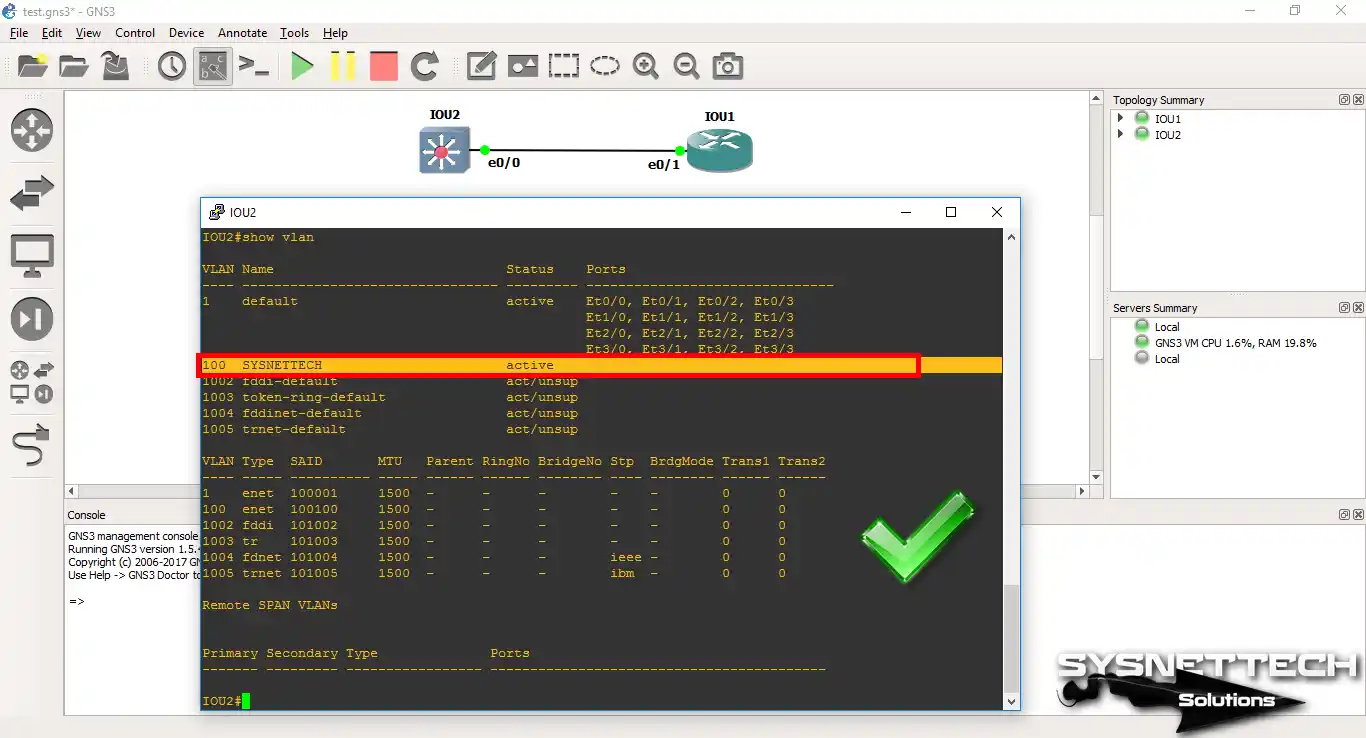
When you execute the show vlan command on the L2 Switch, you can see that a new VLAN has been created.
How to Configure IOS on Unix on GNS3 ⇒ Video
To use IOU images with GNS3, you can watch the video below and also subscribe to our YouTube channel to support us!
Conclusion
In short, running IOU IOS images on the GNS3 Server is more efficient. The use of these images is a significant requirement for studying CCNP or CCIE exams. Thanks for following us!

