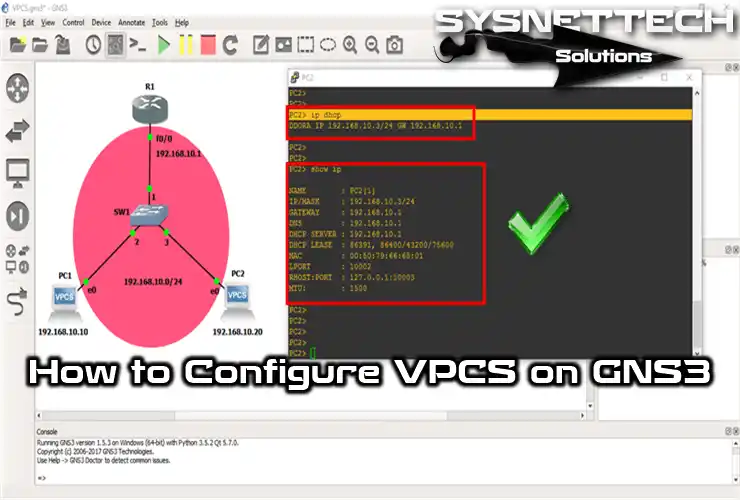
As you know, GNS3 is a graphical network simulator program that allows you to run devices such as Cisco Switch, Router, Firewall, or virtual machine quickly. You need a Windows 11 or 10 PC to install this detailed GNS3 emulator. Thus, you can improve yourself to a reasonable degree in Cisco exams and enhance your network level.

How to Install GNS3 2.2 (2.2.44) on Windows 11 or Older Versions Like 10, 8x
You can become a professional system and network expert by designing networks with GNS3 software. Thus, you can improve in every field and be one step ahead.
Moreover, its developers constantly update this network simulator. That’s why it has always remained a popular software compared to its competitors. We also recommend you always check for updates to get new features.
Even though this program works like Cisco Packet Tracer, there’s a big difference. The critical thing is that it handles Cisco Router and Switch IOS images in more detail. Also, while PT has basic IOS commands, this emulator program has more advanced controls for your projects.
This simulator software lets you create network designs on your PC using images of real Cisco devices. However, keep in mind that only the systems of some devices may work. Still, because other programs like Packet Tracer don’t provide IOS, this software gives a more advanced experience.
For those preparing for Cisco’s entry-level networking exams, the first program they should use is Packet Tracer. Suppose you want to create fancier and more professional network plans and projects. In that case, it’s a good idea to pick and use this Graphical Network program.
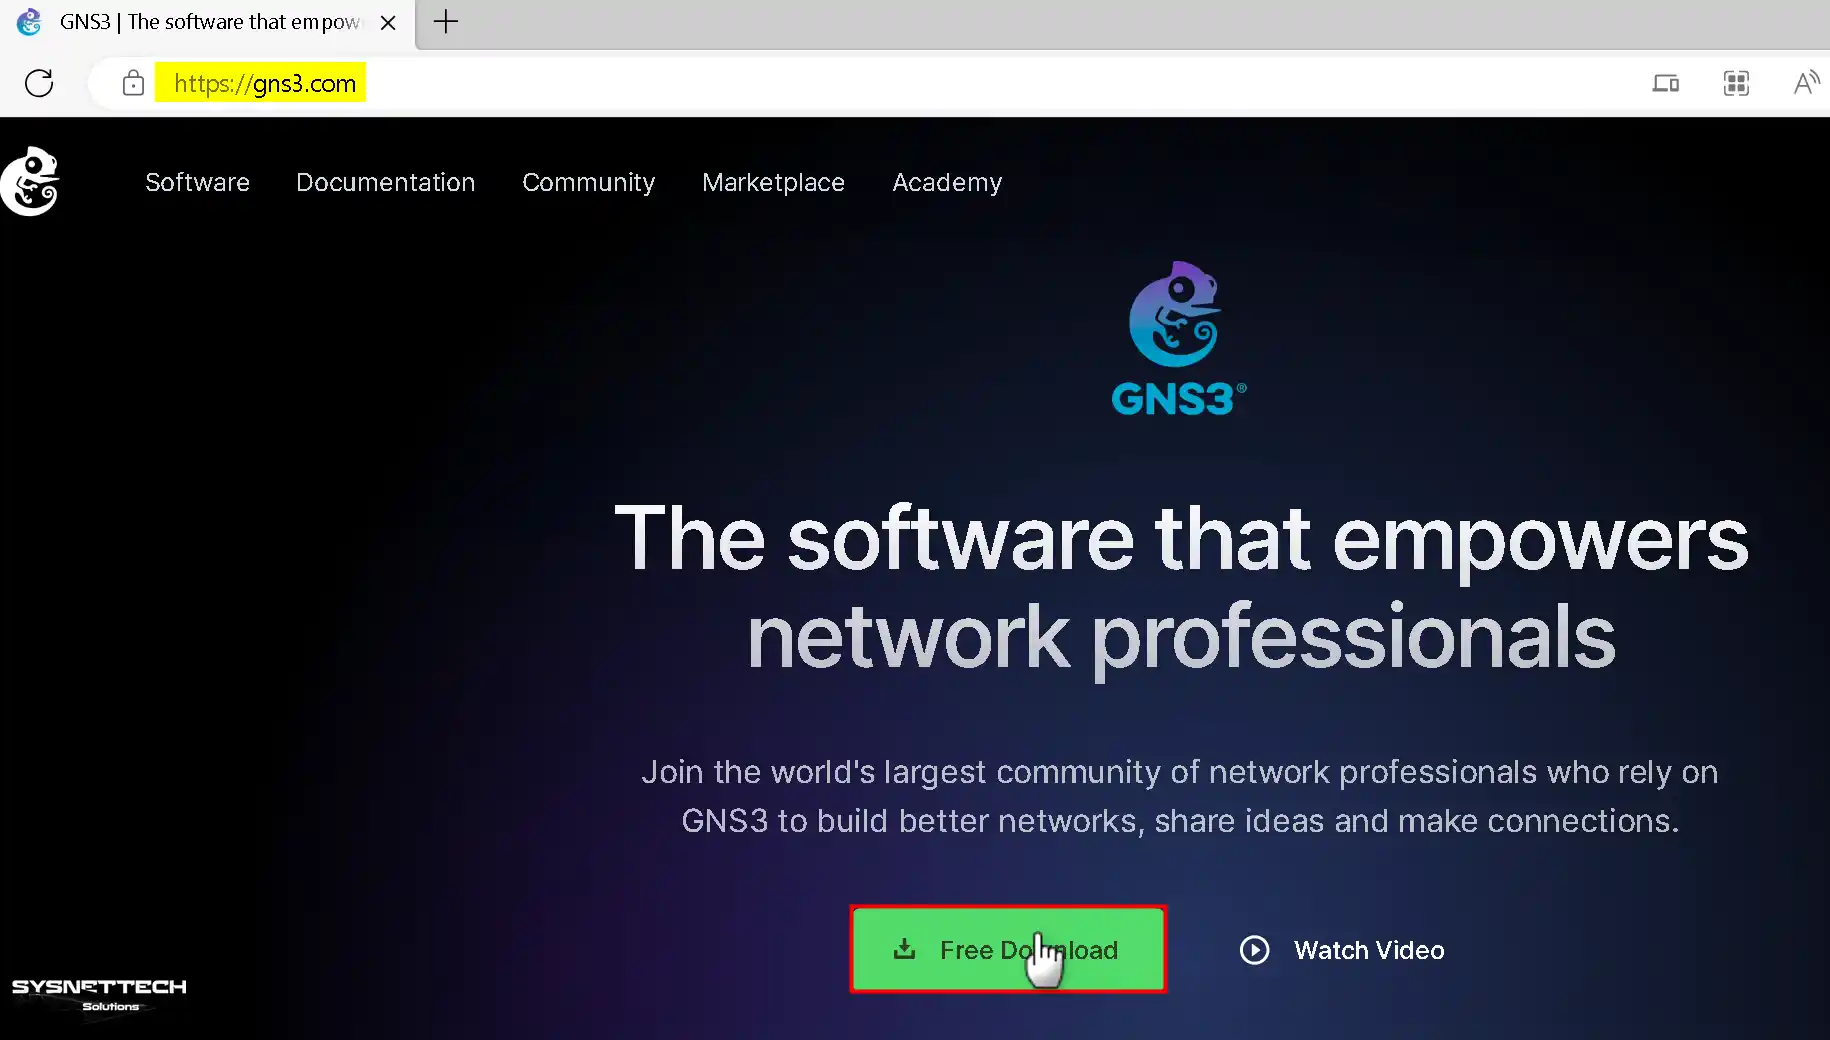
Before you install GNS3, you need to get it first. In particular, you can go to this article to download it directly without signing up on any site. You can also create a new account on the official website to get the latest version.
Minimum System Requirements
- Operating System: It should be at least Windows 7 64.
- Processor: You must have at least a Dual-Core processor.
- RAM (Memory): 4 GB minimum is sufficient.
- Disk Space: You only need at least 1 GB. However, keep in mind that Cisco images might need more space.
Recommended System Requirements
- Operating System: It should be at least Windows 7 64 Bit.
- Processor: You need four or more logical processors. We suggest to go for a Core i7 or i9.
- RAM (Memory): 8 GB is sufficient, but if it is 16 GB, it will be more stable.
- Disk Space: Using it with an SSD disk or NVMe helps you get more performance. Also, you must have a minimum of 35 GB of free space.
Let’s say your computer meets the system requirements for the GNS3 simulator. Still, we suggest turning on the virtualization feature in your PC’s BIOS settings.
How to Install GNS3 on Your Windows 11 PC Step-by-Step
Follow the stages below to install, configure, and use GNS3, the most advanced network simulator program, to prepare for your Windows 11, 10, 8, 8.1, and 7 Cisco exams.
Step 1
Once you make a new account, sign in and hit the Free Download button on the main page.
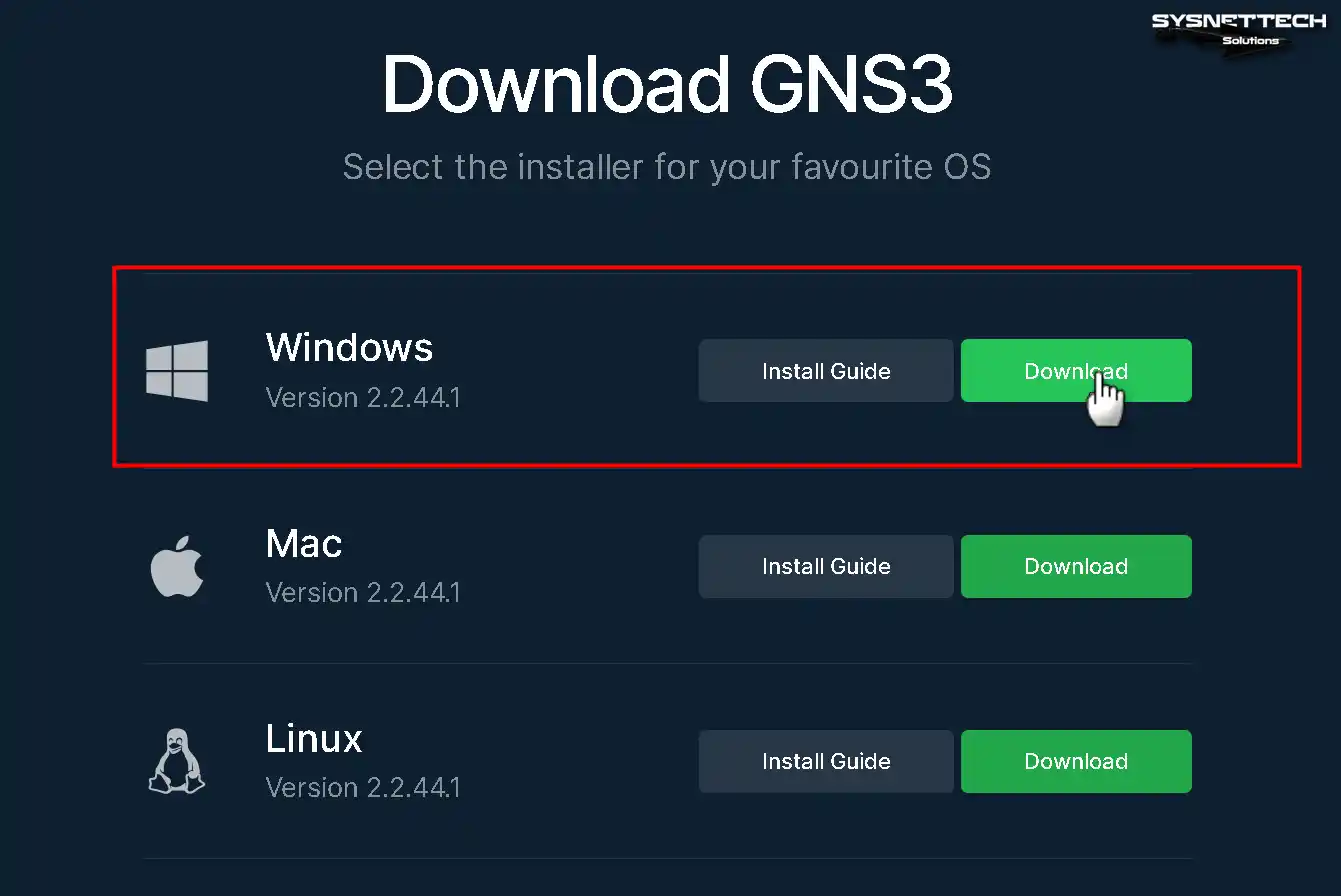
Step 2
Since you will install GNS3 on the Windows 11 or 10 OS, click the Download button under the Windows platform option.
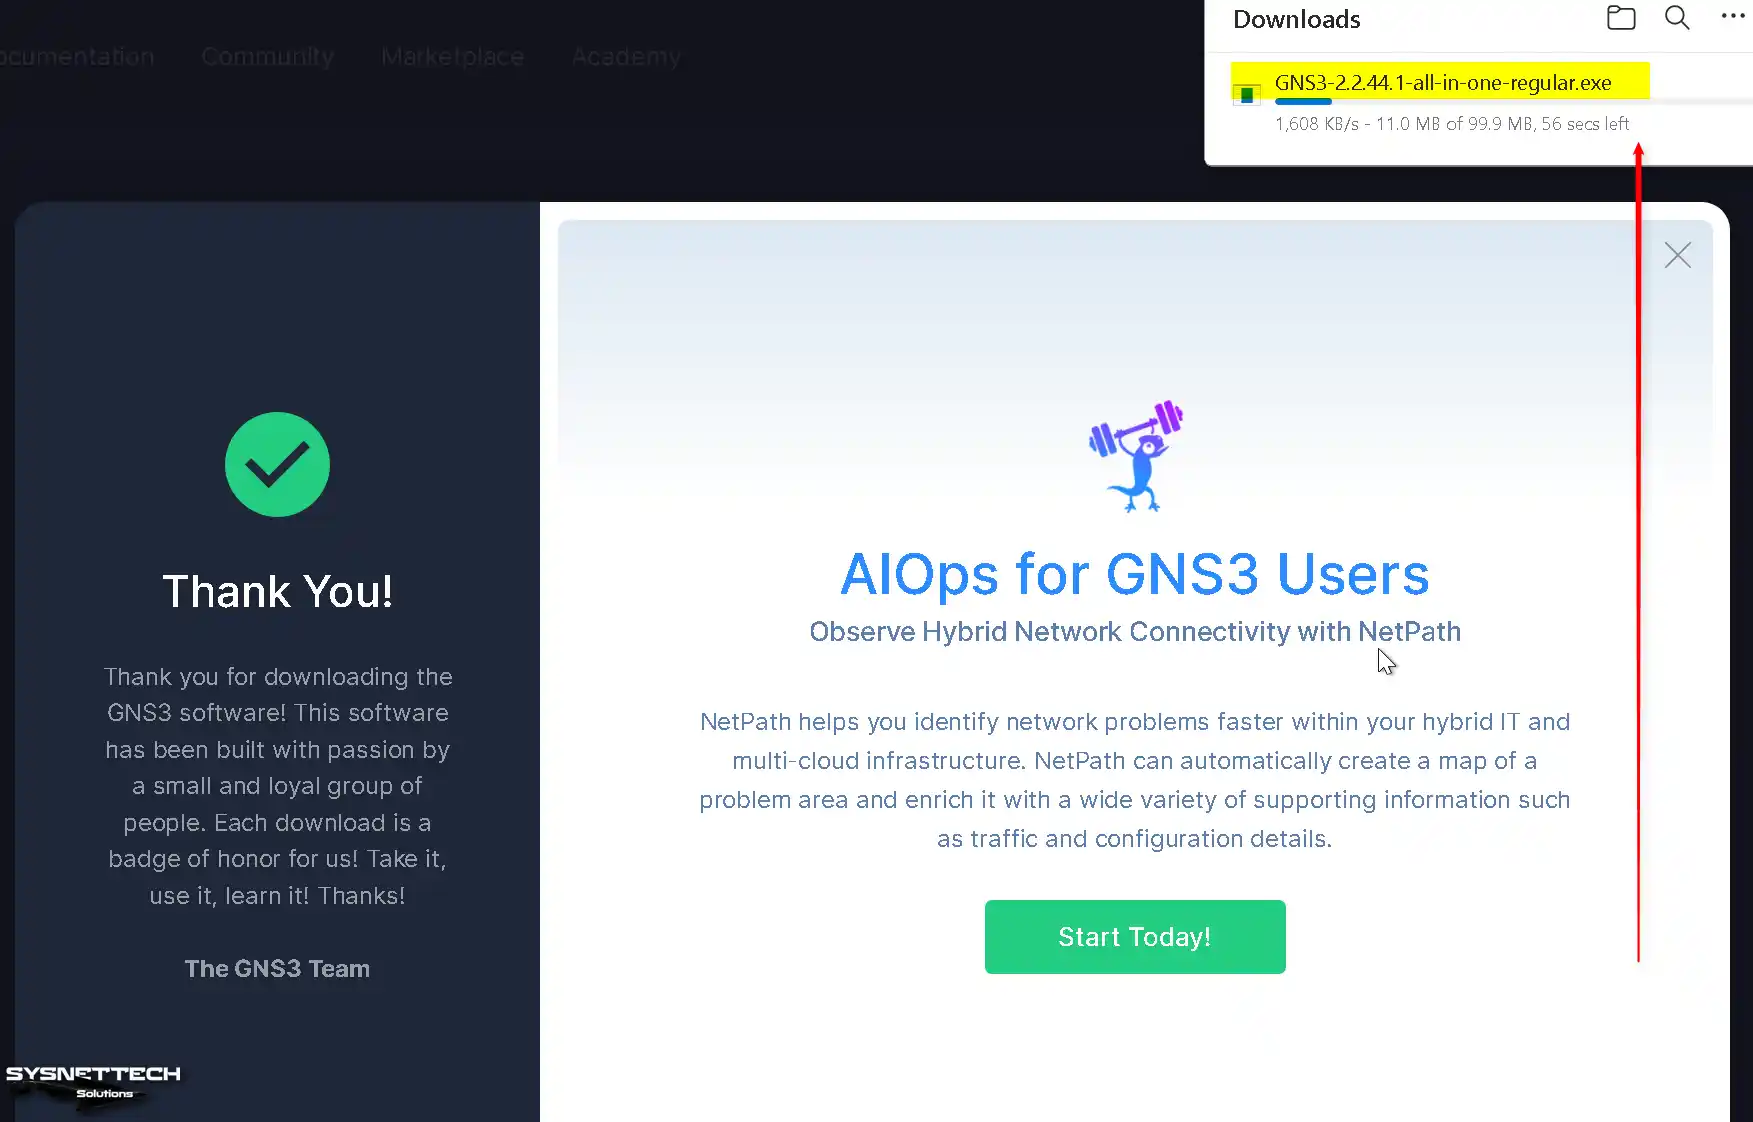
Step 3
When the download process starts on the Google Chrome web browser, you can see the program downloaded from the upper right corner.
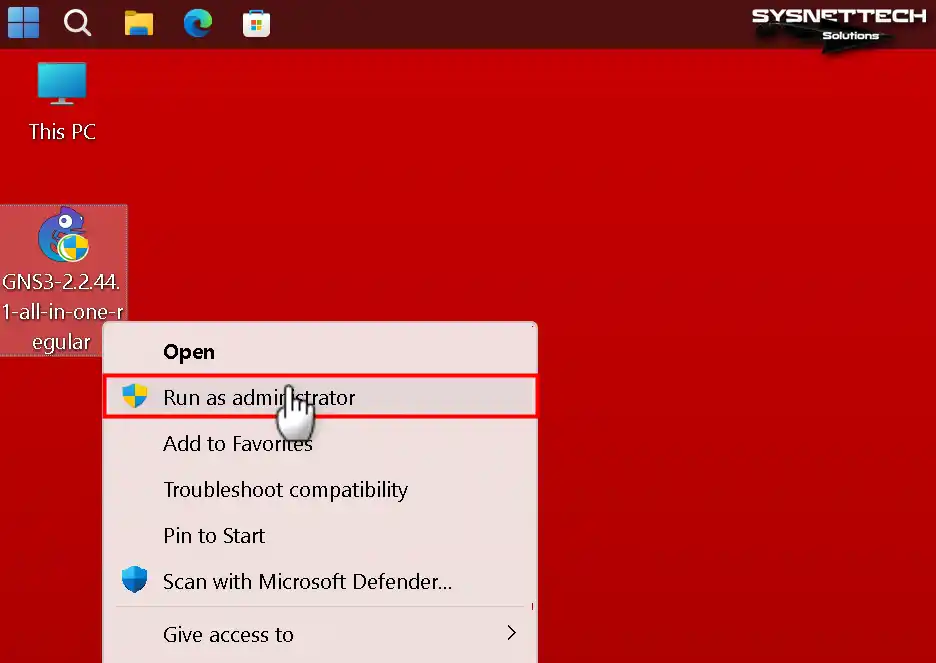
Step 4
After downloading the setup file, right-click on GNS3-all-in-one-regular.exe as in the image below, then click Run as administrator.
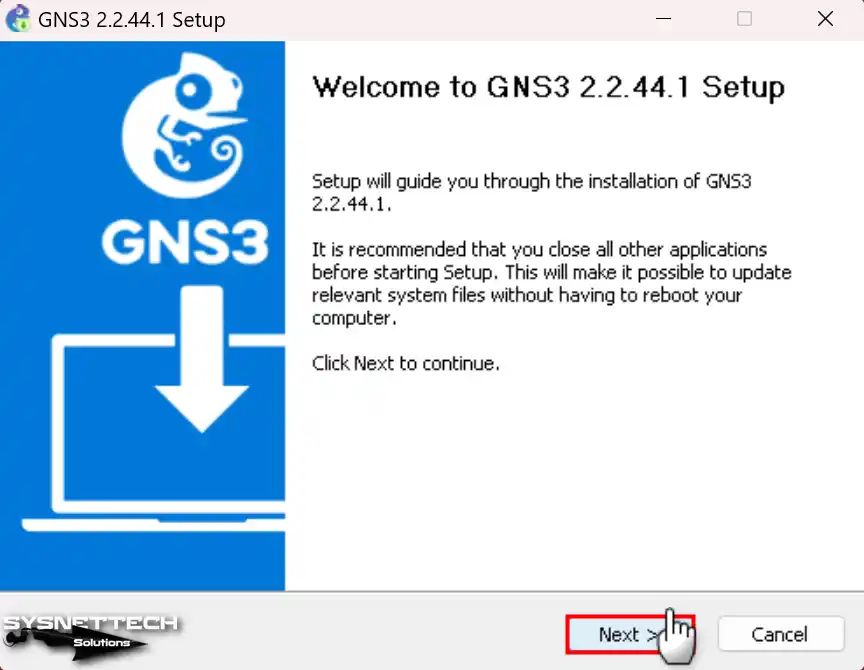
Step 5
Hit the Next button to kick off the installation in the Setup window and keep going.
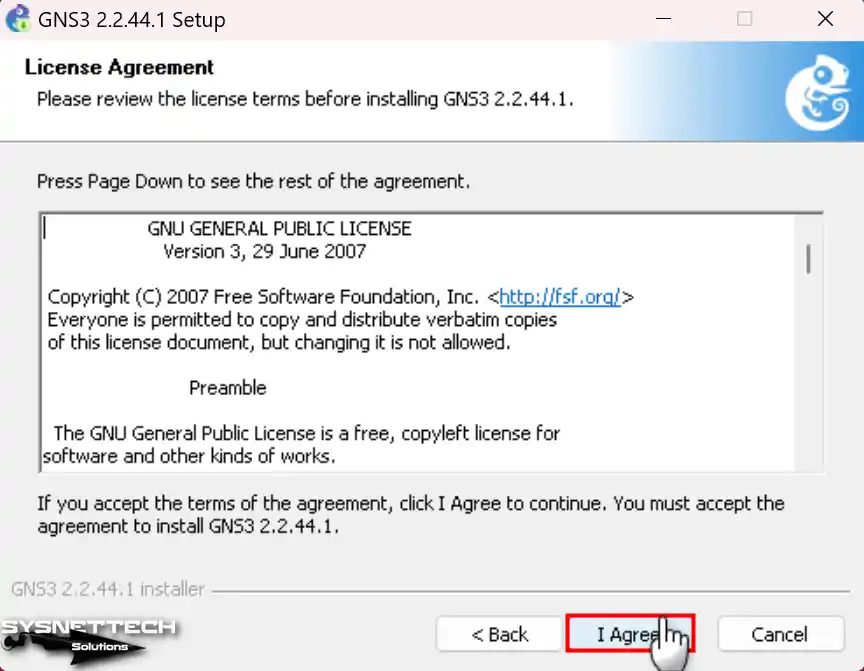
Step 6
Hit the I Agree button to say yes to the rules for the Cisco network simulator program.
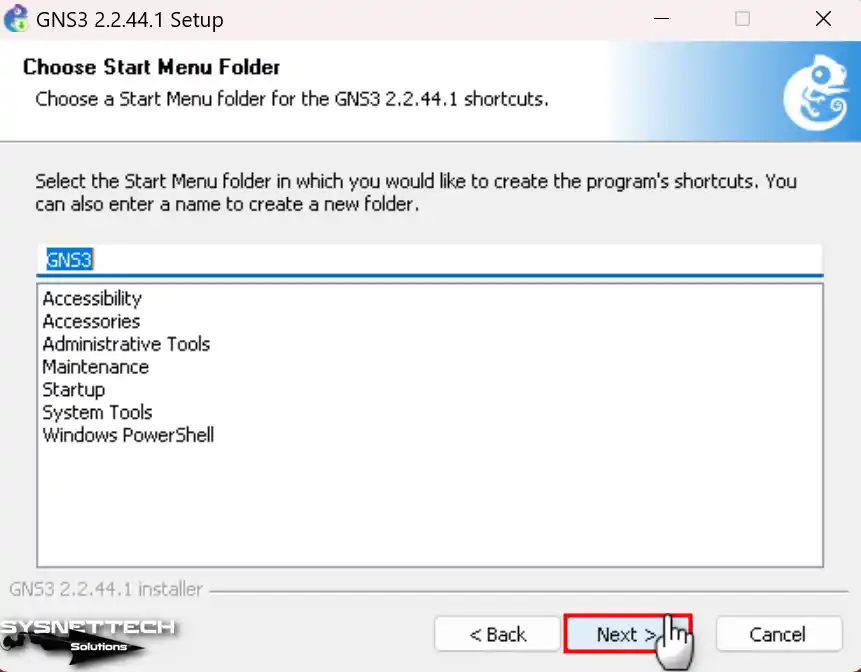
Step 7
Click Next to use the folder name configured by default in the Choose Start Menu Folder window.
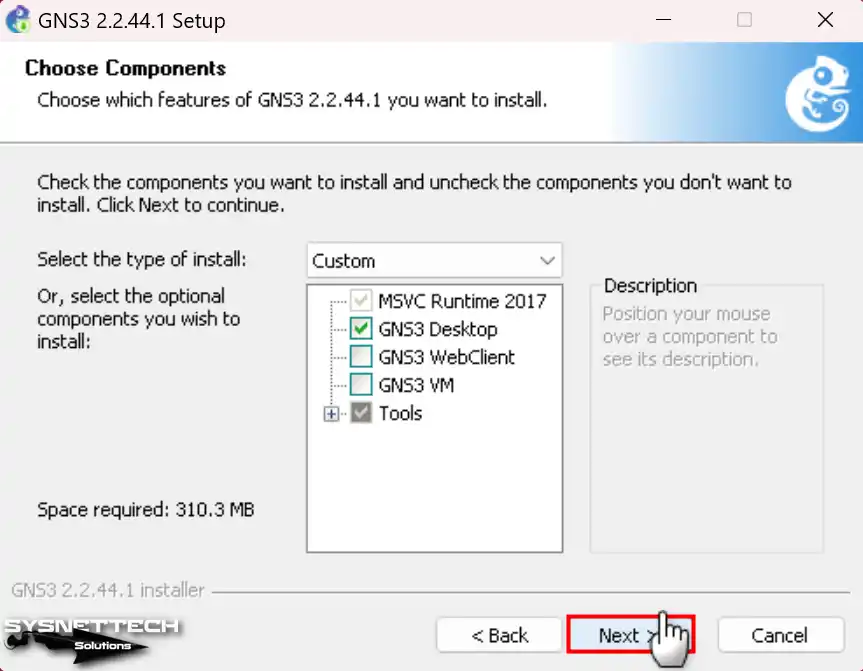
Step 8
Check one of its new features, WebClient, in the Choose Components window, and click Next.
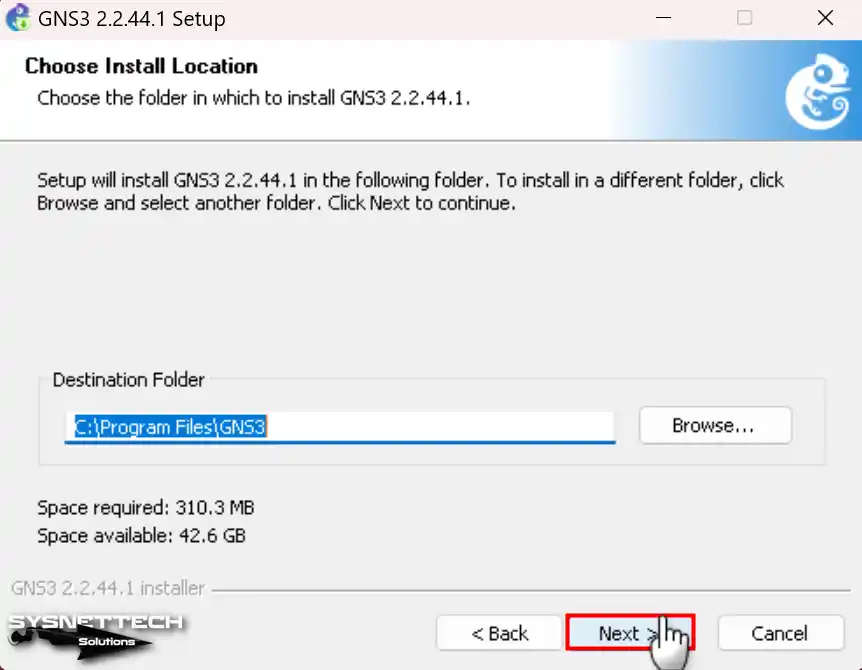
Step 9
In the Choose Install Location window, select where you want to set up the program and click Next.
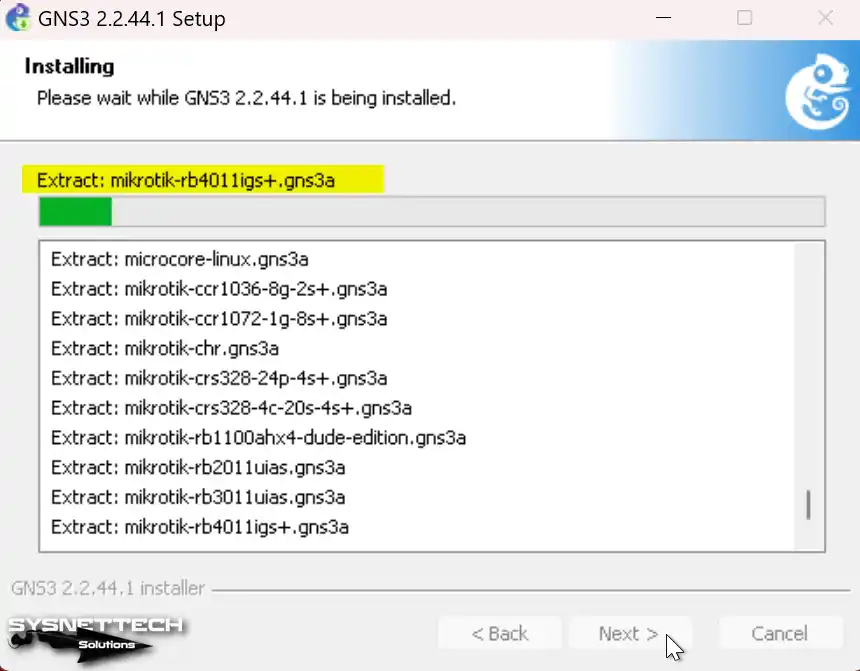
Step 10
Wait while your Windows 11 or 10 computer installs the Cisco simulator program.
Step 11
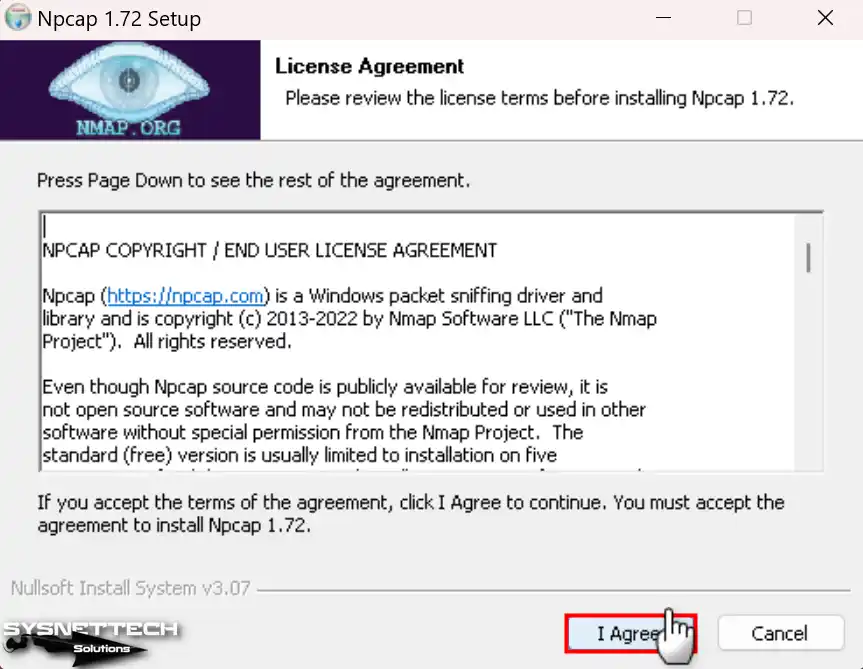
One of the necessary applications for the simulator software during the installation phase is Npcap. Therefore, click Next to install the Npcap software.
Accept the license agreement of the Npcap software and continue the installation process.
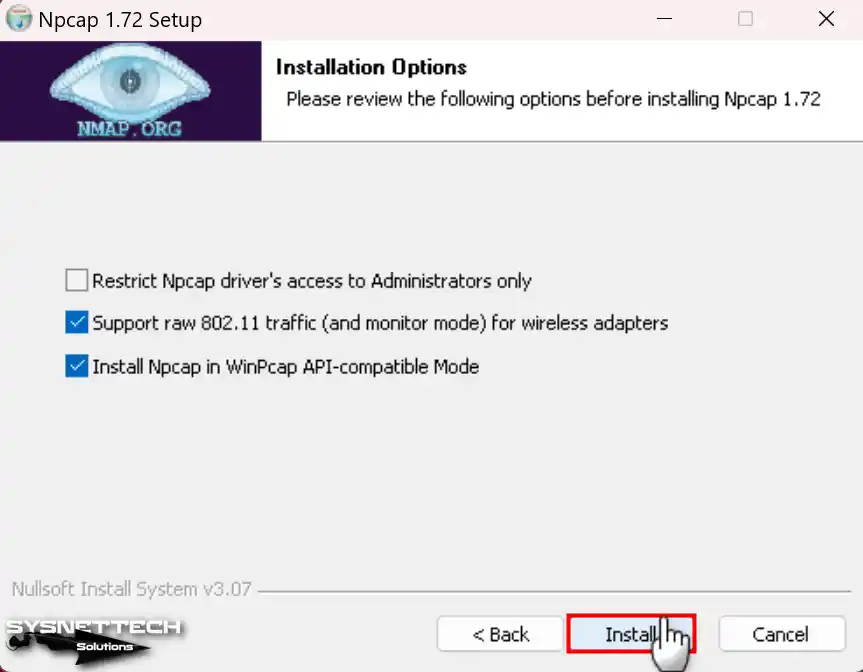
Step 12
When you’re installing Npcap, make sure to turn on WinPcap API compatibility mode. You can also decide to watch 802.11 traffic if you’re using Wi-Fi. So, keep going without changing the default options that the wizard gives you.
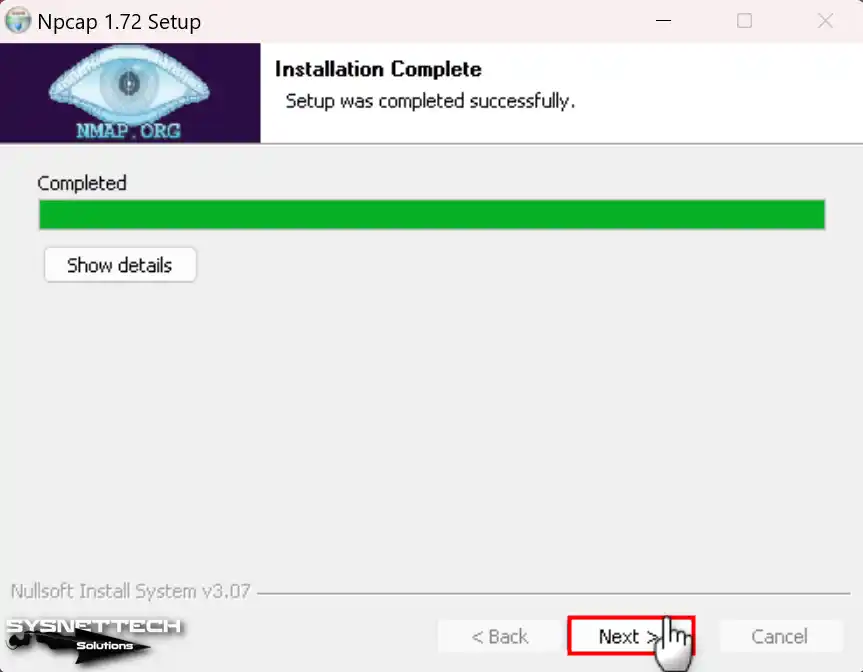
Step 13
Once you set up Npcap to monitor IP packets, click Next when the wizard finishes.
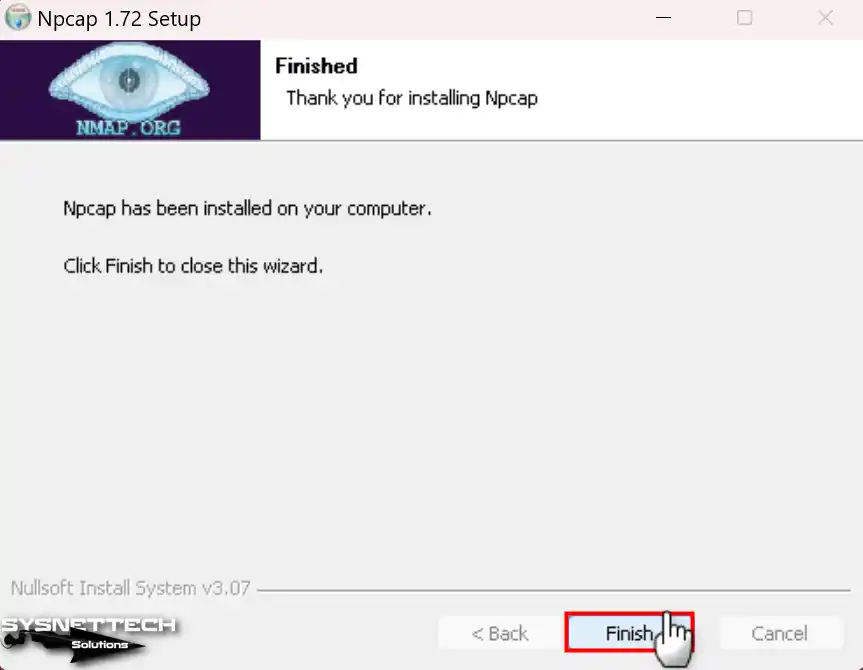
Step 14
After completing the Npcap installation, click the Finish button and continue the installation.
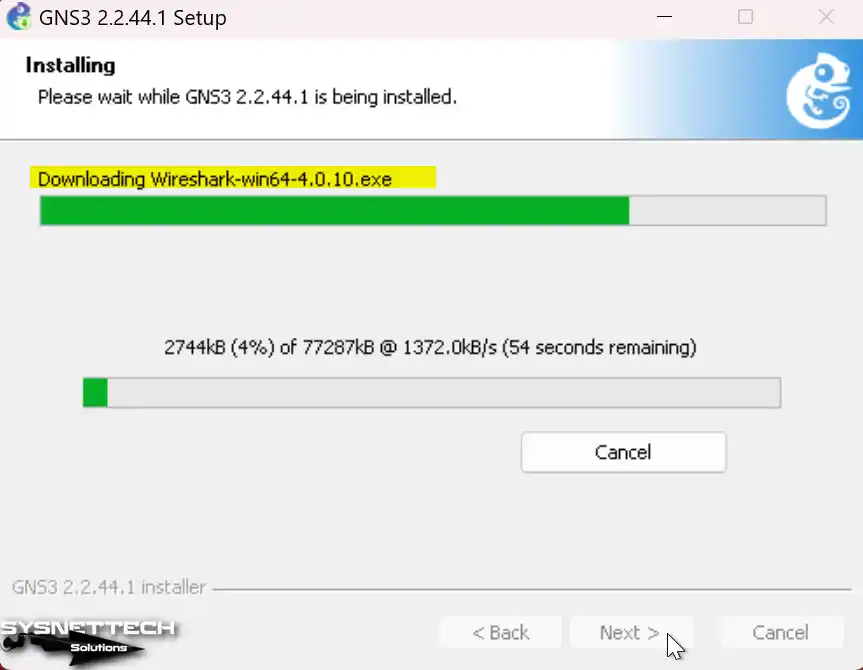
Step 15
Last, if you need the Wireshark packet analysis program on your system. At this point, it’ll download and install from the Internet.
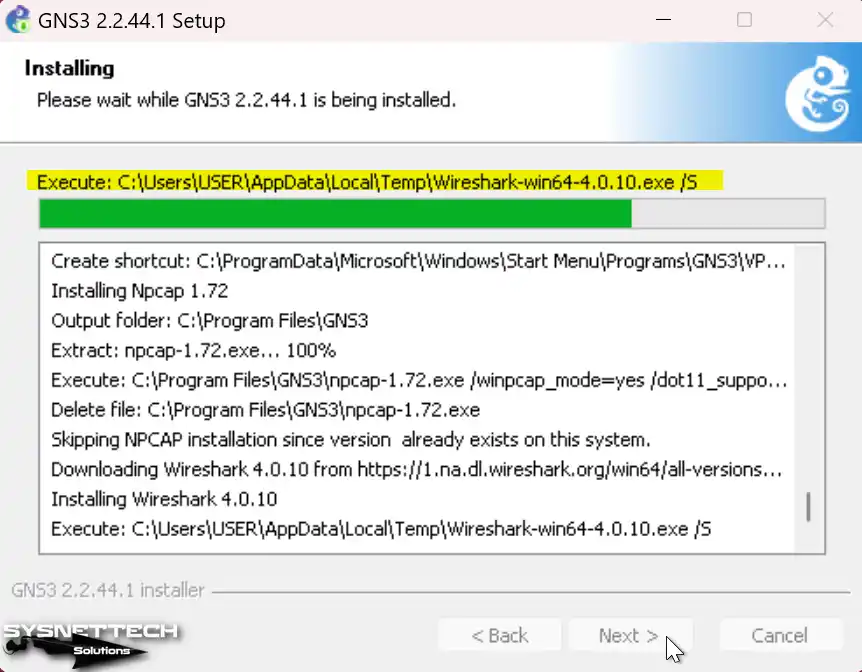
Step 16
After you get Wireshark on your system, please wait for the GNS3 installation wizard to install it.
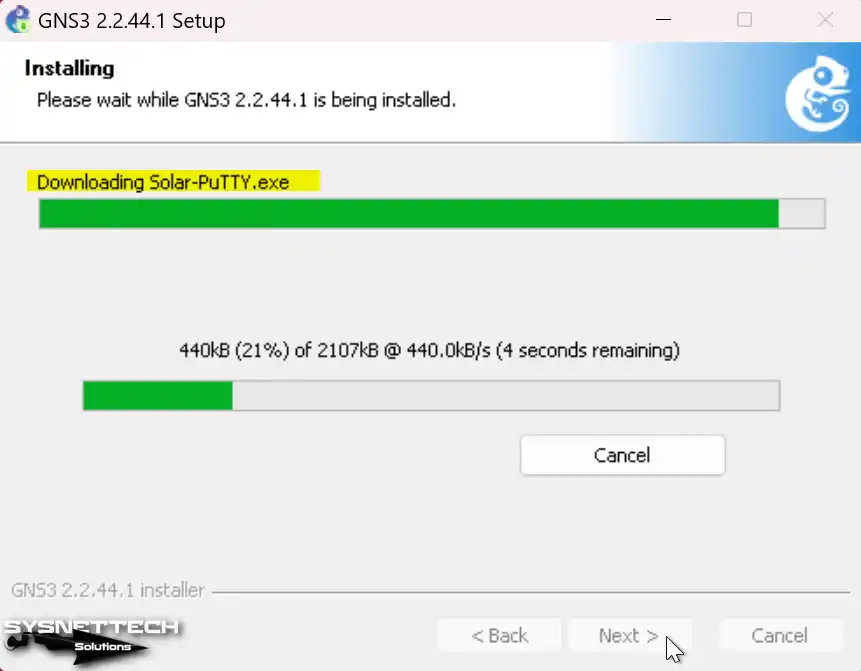
Step 17
Similarly, the wizard will get and install the Solar-PuTTY software. In short, this helps manage network devices like routers or switches.
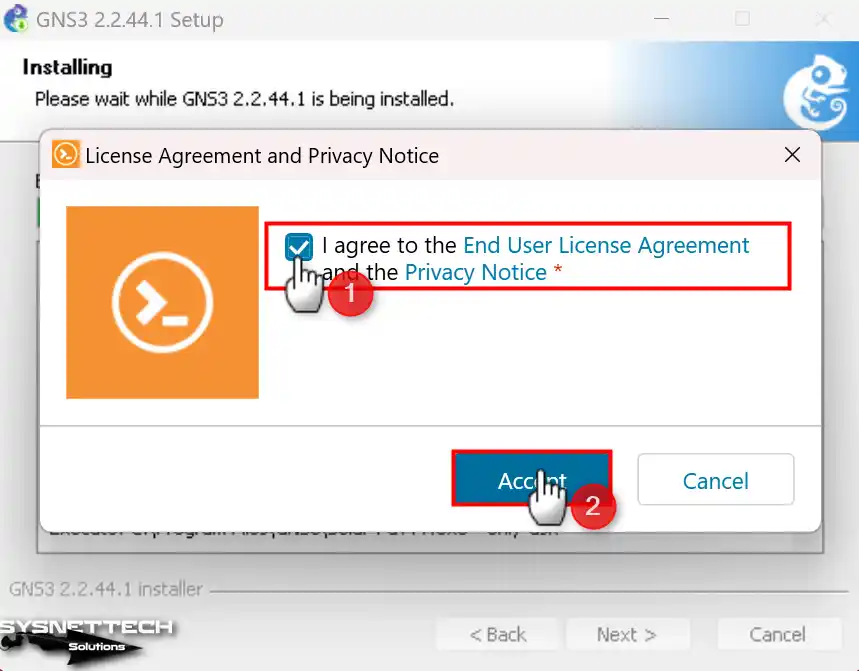
Step 18
After installing the Wireshark tool, click the Accept button to accept the Solar-PuTTY license agreement.
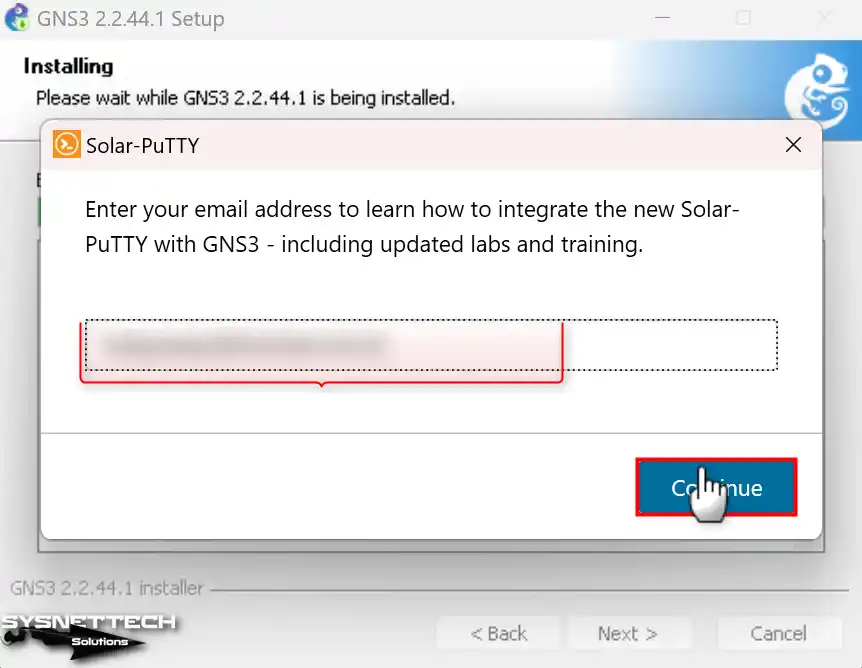
Step 19
For Solar-PuTTY use, click Continue after typing in your email address.
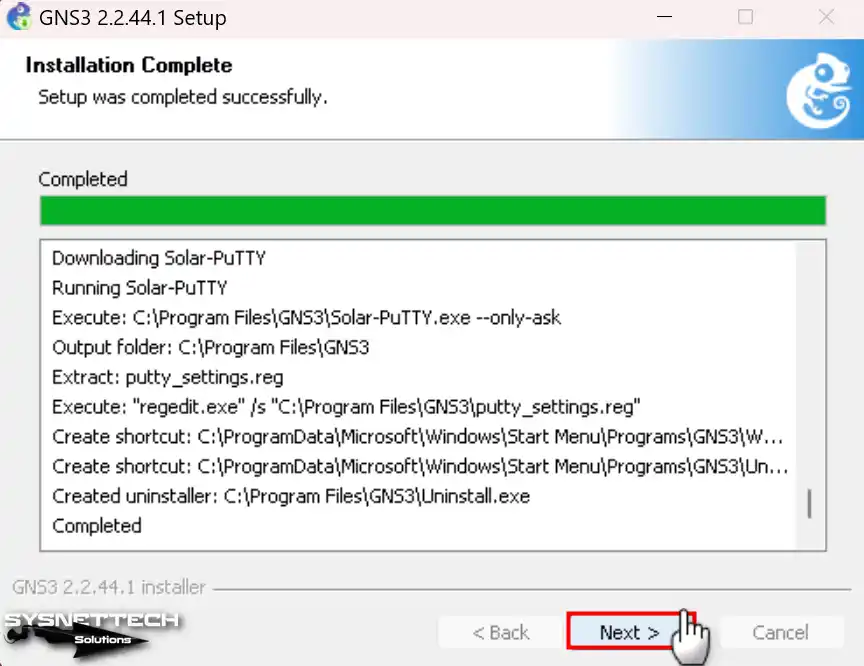
Step 20
At the final stage of the installation, the wizard will tell you in the summary window that it has created a start menu folder and desktop shortcuts. Then, continue with Next to complete the final processes.
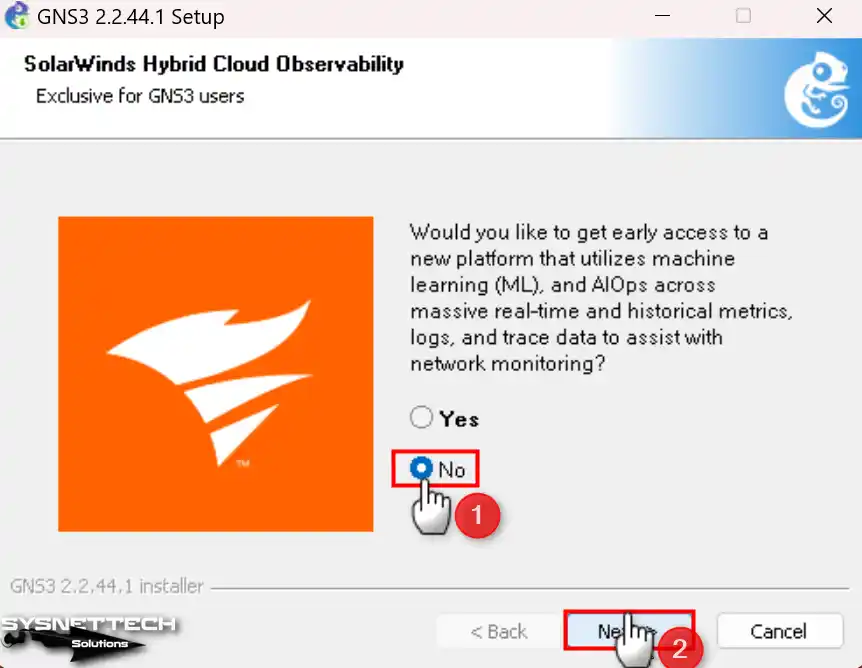
Step 21
You can select Yes if you want to use Solarwinds tools for free. Suppose you do not want it, like the No option, and click Next.
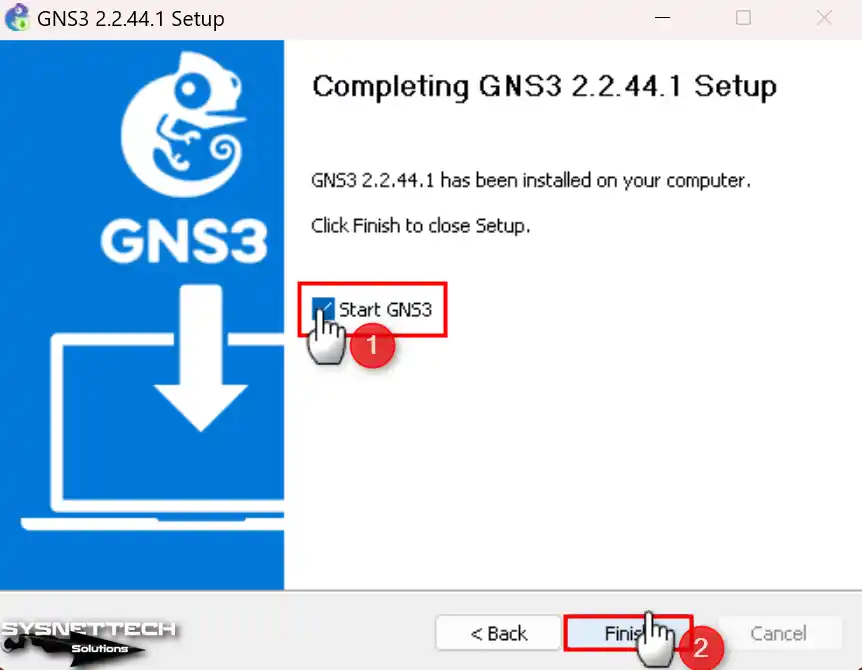
Step 22
After successfully installing the GNS3 emulator, click Finish to run the program.
GNS3 Local Server Configuration Settings
After installing GNS3, click the desktop shortcut to run it, and the Setup Wizard window will open to check the Local Server settings. In this window, you need to configure the Localhost connection and port.
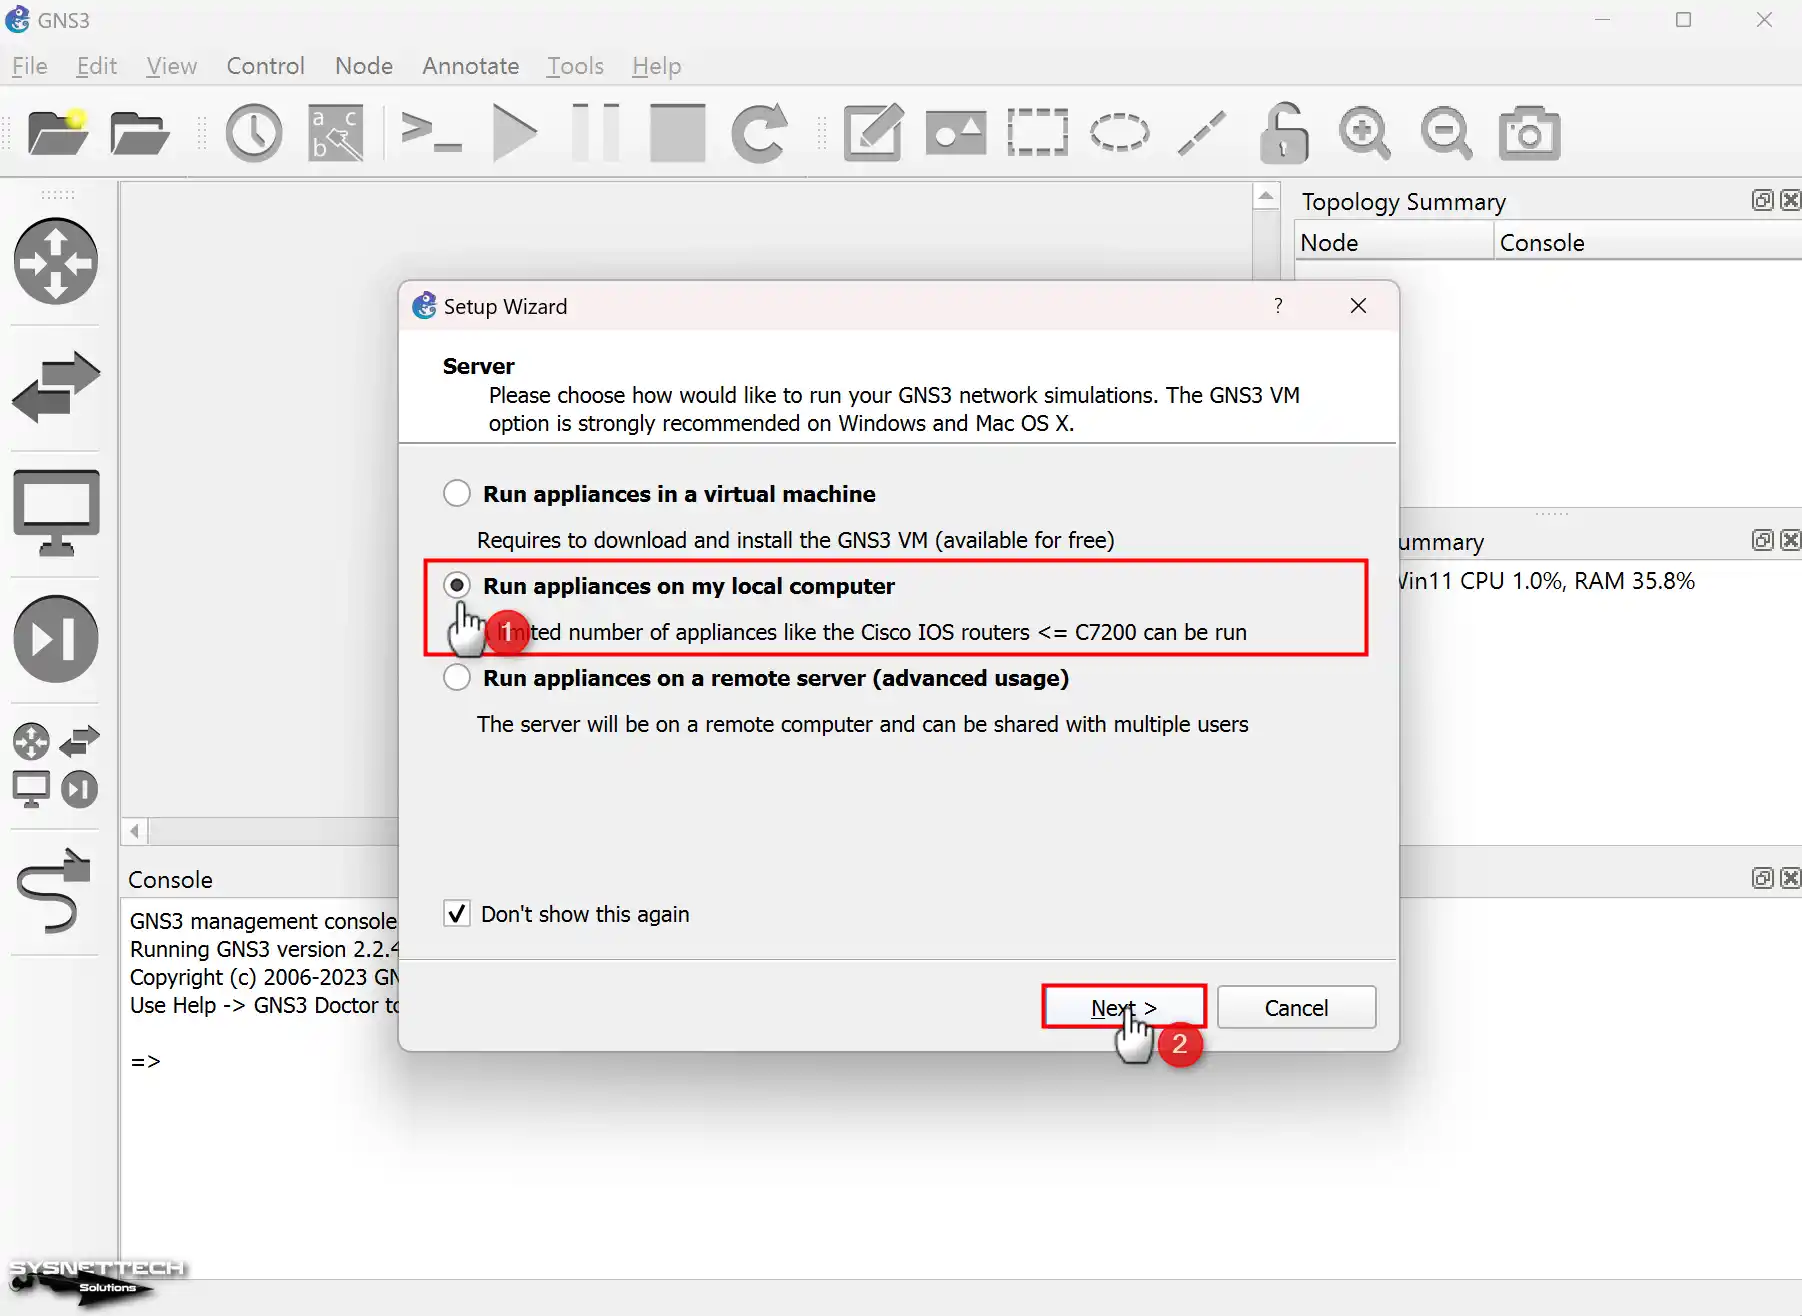
Step 1
In the Setup Wizard window, select Run appliances on my local computer and click Next.
Step 2
In the Local Server Configuration window, check that the Host Binding setting is localhost, and also, if there is an application using the 3080 TCP port in your system, specify a different port number in this window.

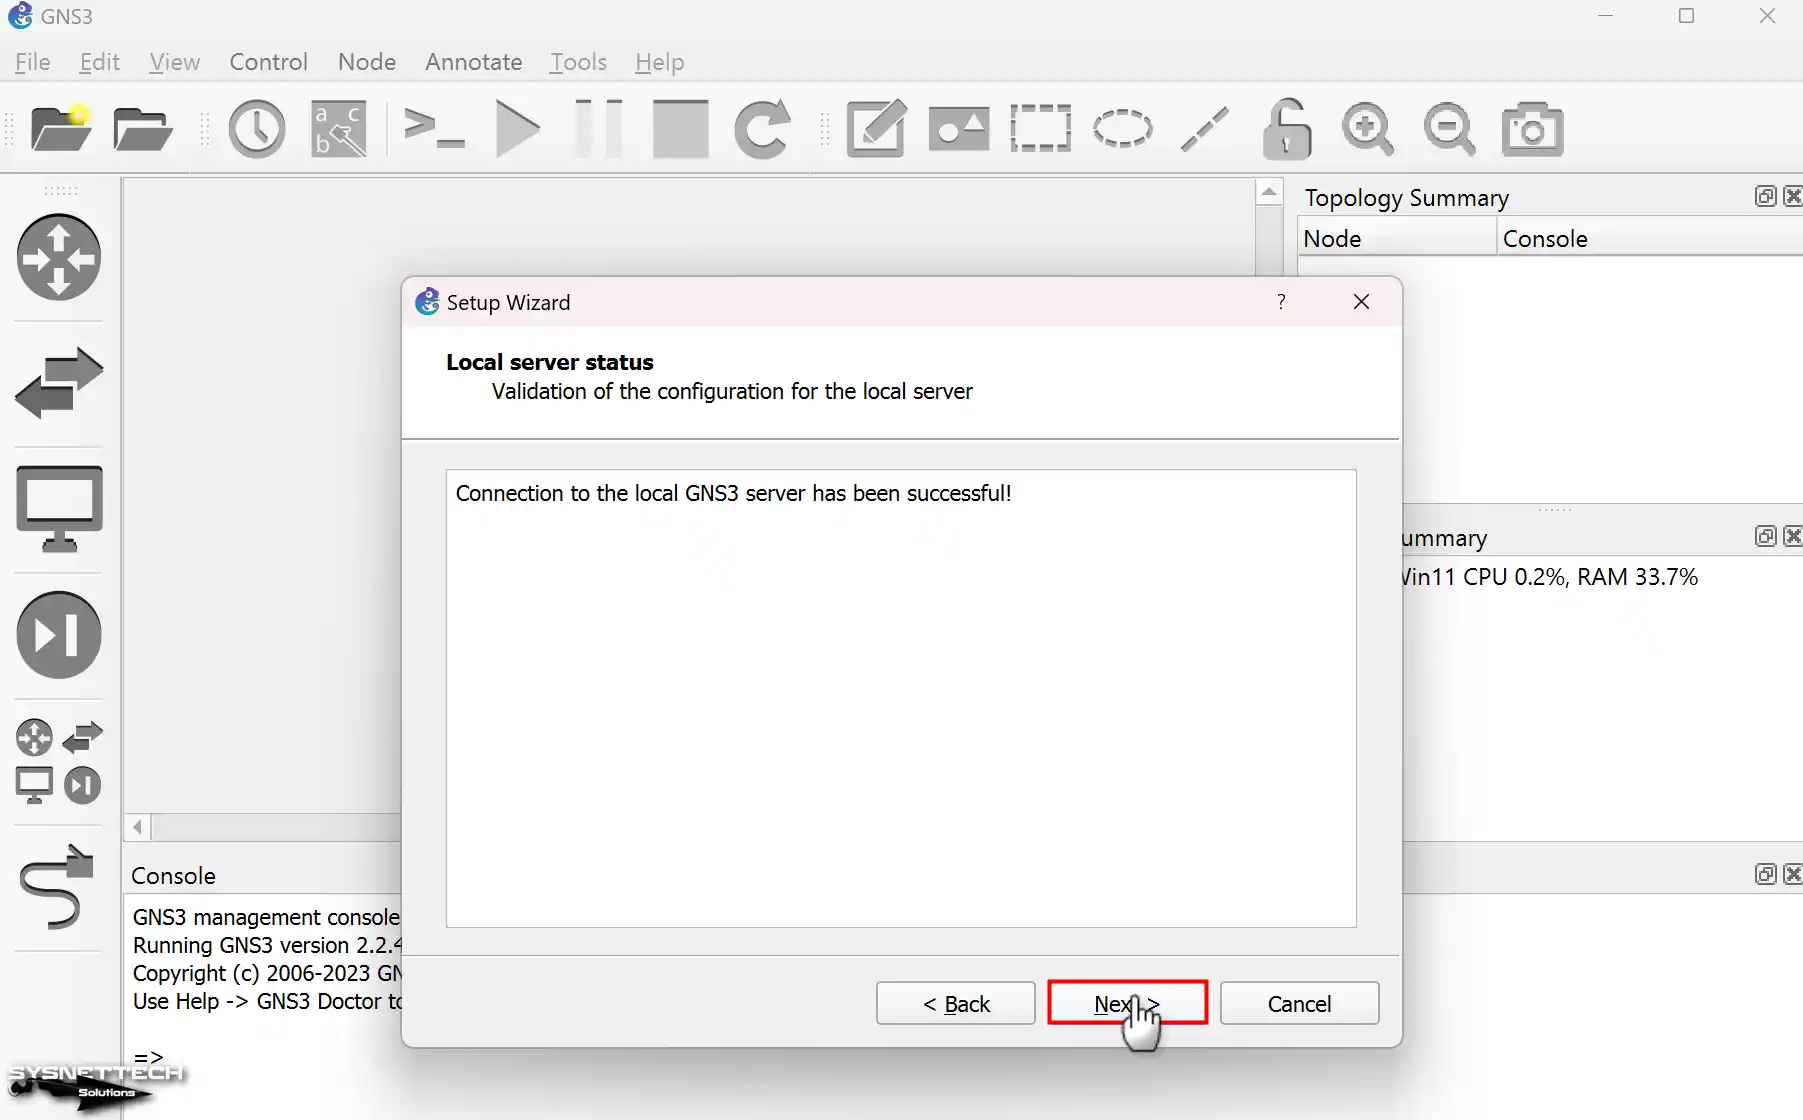
Step 3
You can see that using the Graphical Network Simulator on your system is not a problem in the Local Server Status window.
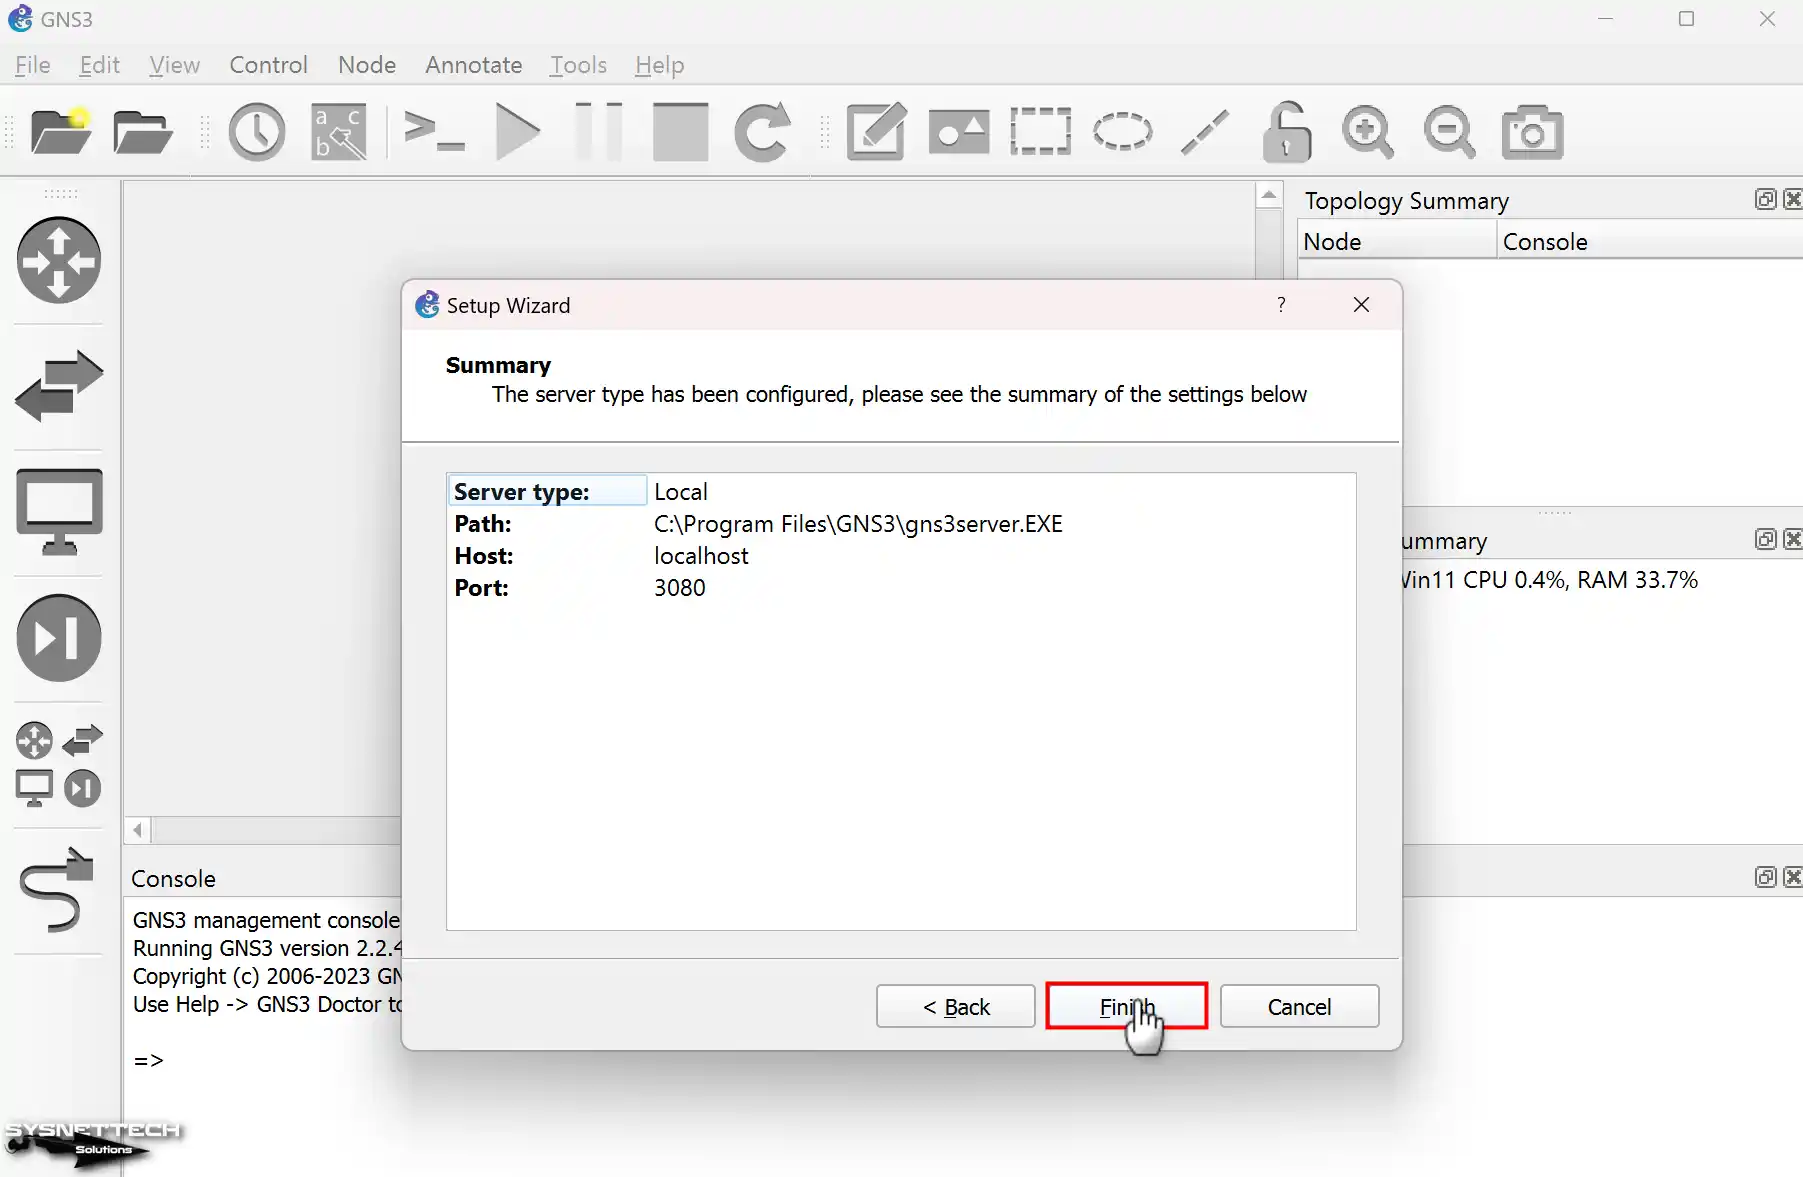
Step 4
Check the server’s type, path, host status, and port number in the Summary window and click Finish.
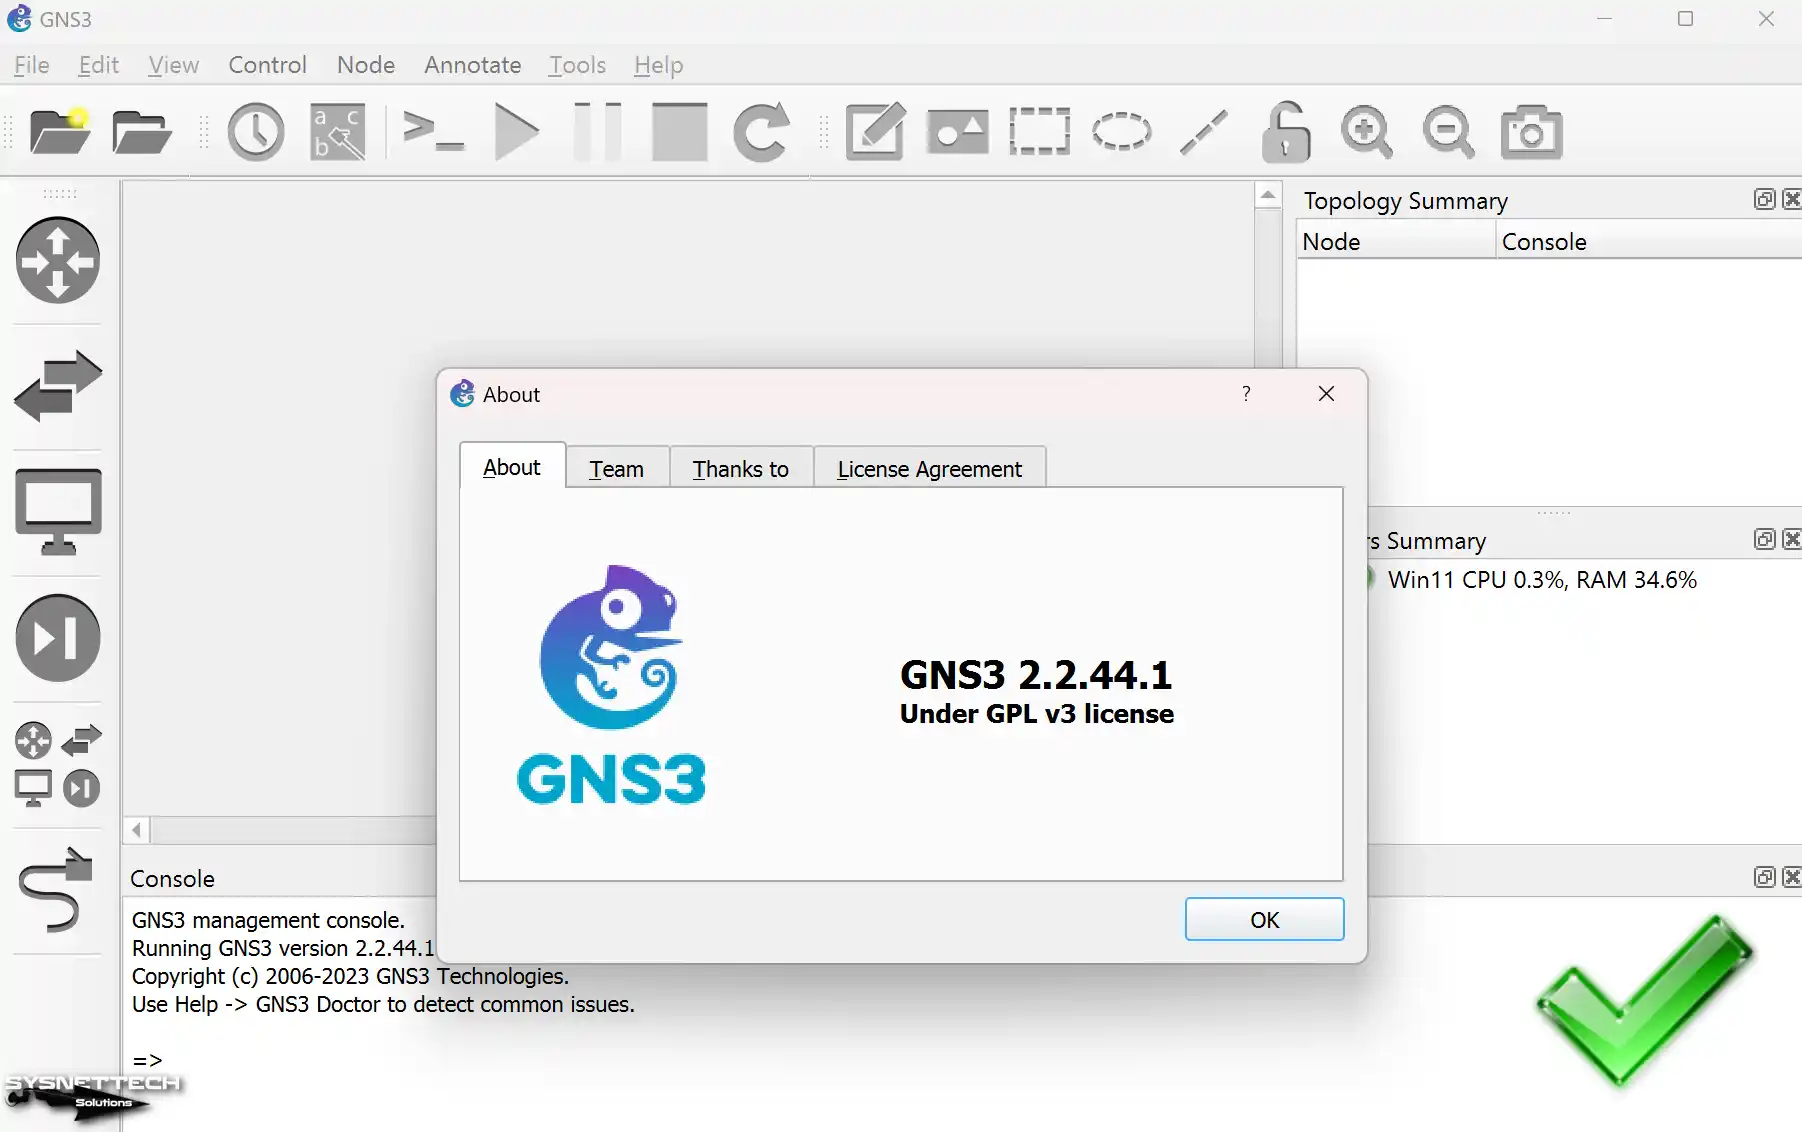
Step 5
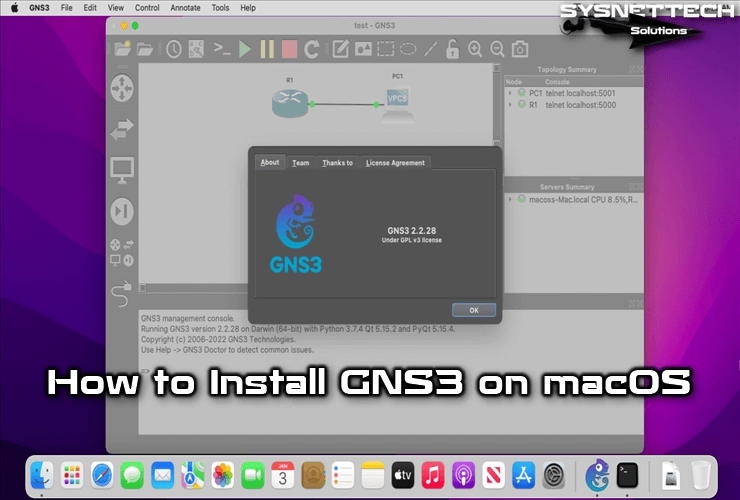
Finally, you can check the version of the program from Help / About.
Adding Router/Switch Router Image
Add an IOS image to the program after installing and running the Cisco simulator. After adding and configuring the IOS images of Cisco network devices to GNS3, you will now be ready to do your projects. To add an IOS image, click the image below and browse the related article!

Adding Routers to the Workspace and Connecting Two Routers
After adding the Router IOS image to the simulator program, you can see the device you added by clicking on Devices.
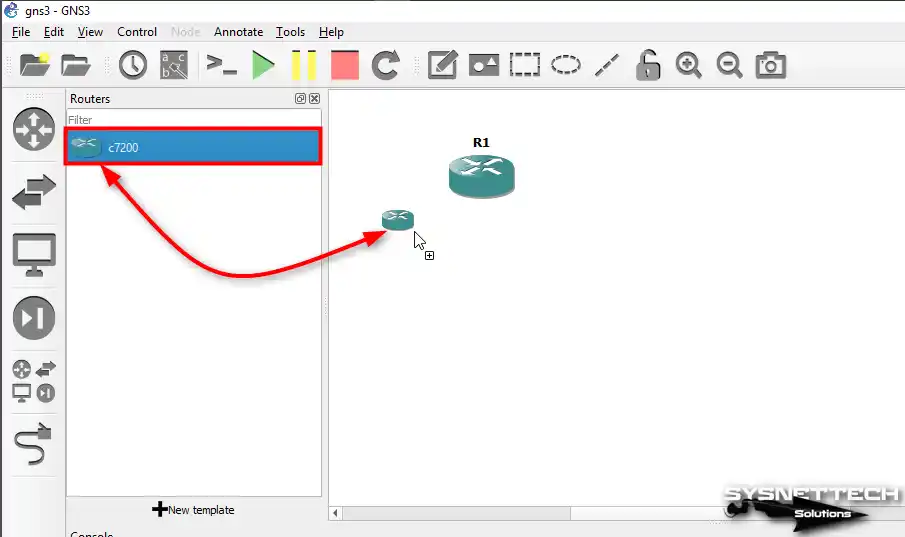
Step 1
Create a new project and add two c7200 Routers to the workspace.
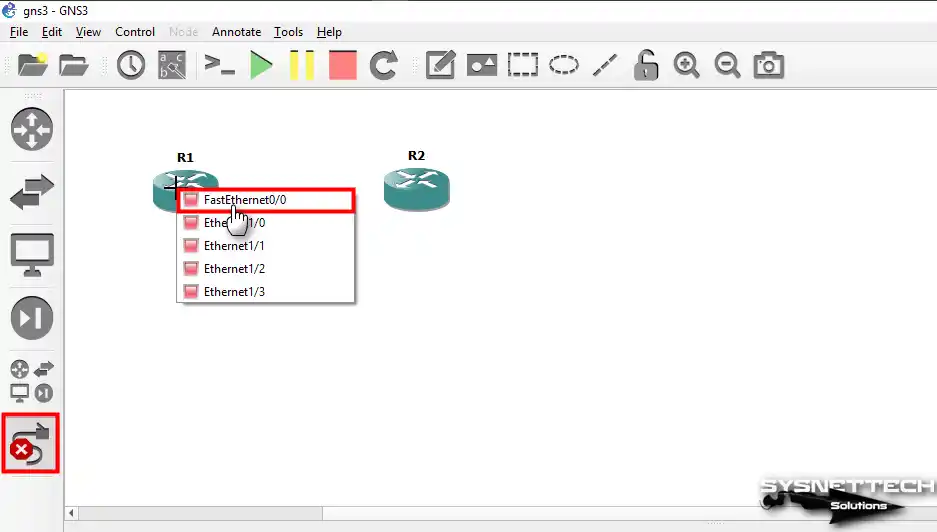
Step 2
To connect the two routers, click on the cable-like icon and click once on R1 to view the empty ports. For example, one end of the network cable can be connected to the FastEthernet0/0 port of R1 and the other end to the FastEthernet0/0 interface of R2.
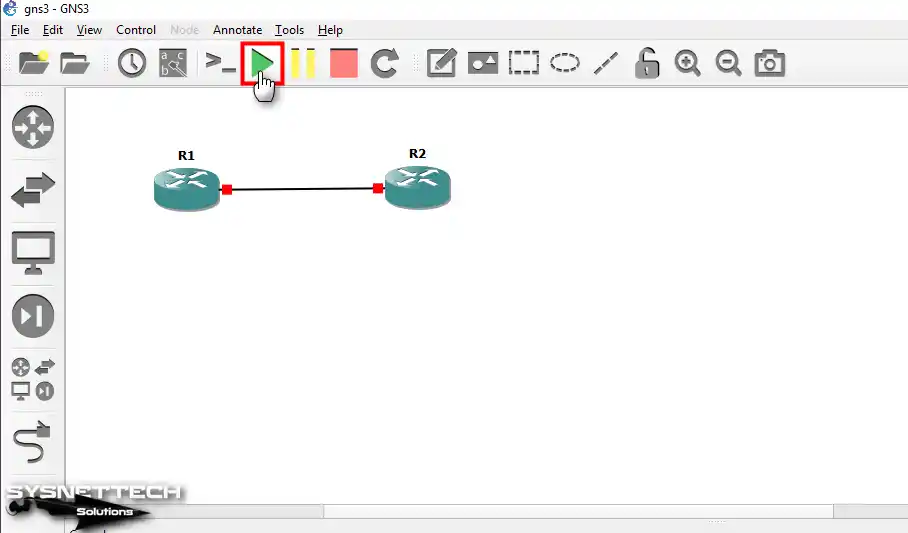
Step 3
After linking Cisco Routers through FastEthernet, initiate the process by hitting the start button.
Step 4
You can open the command prompt by double-clicking on Router R1. Also, you can right-click on it and choose Console from the options that pop up.

Step 5
Set the IP for R1’s FastEthernet0/0 and turn on the port using the given commands. After that, configure the interface with the mentioned settings.
R1(config)# interface fastethernet 0/0
R1(config-if)# ip address 192.168.1.1 255.255.255.0
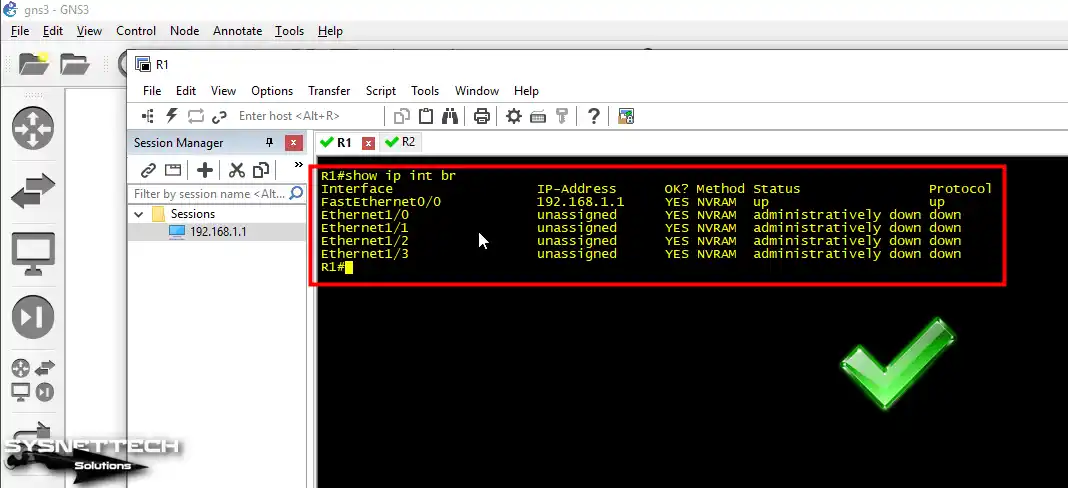
R1(config-if)# no shutdownTo verify that the Fa0/0 port is open, execute the following command in the CLI:
R1# show ip interface brief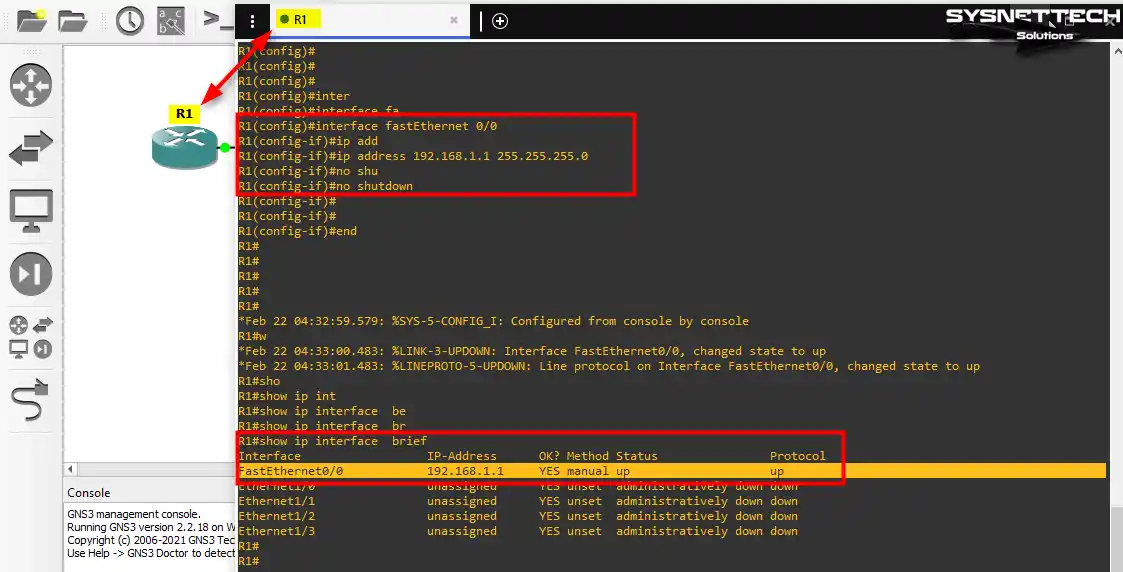
Step 6
Likewise, make the settings you made on R1 and R2.
R2(config)# interface fastethernet 0/0
R2(config-if)# ip address 192.168.1.2 255.255.255.0
R2(config-if)# no shutdown
Ping R1 via R2 to test the connection between the two routers.
R2# ping 192.168.1.1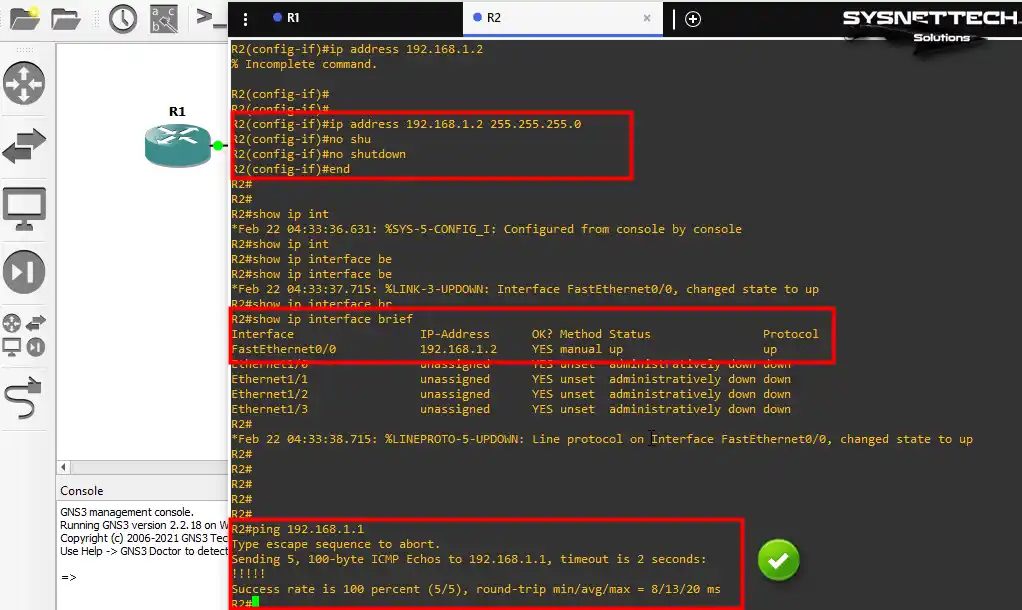
How to Use SecureCRT Instead of Solar-PuTTY in GNS3
Notice that while GNS3 is installing, it’s setting up Solar-PuTTY as a console. However, you can use SecureCRT if you do not want to use Solar-PuTTY software.
Install SecureCRT on your computer before changing the Console application.
Step 1
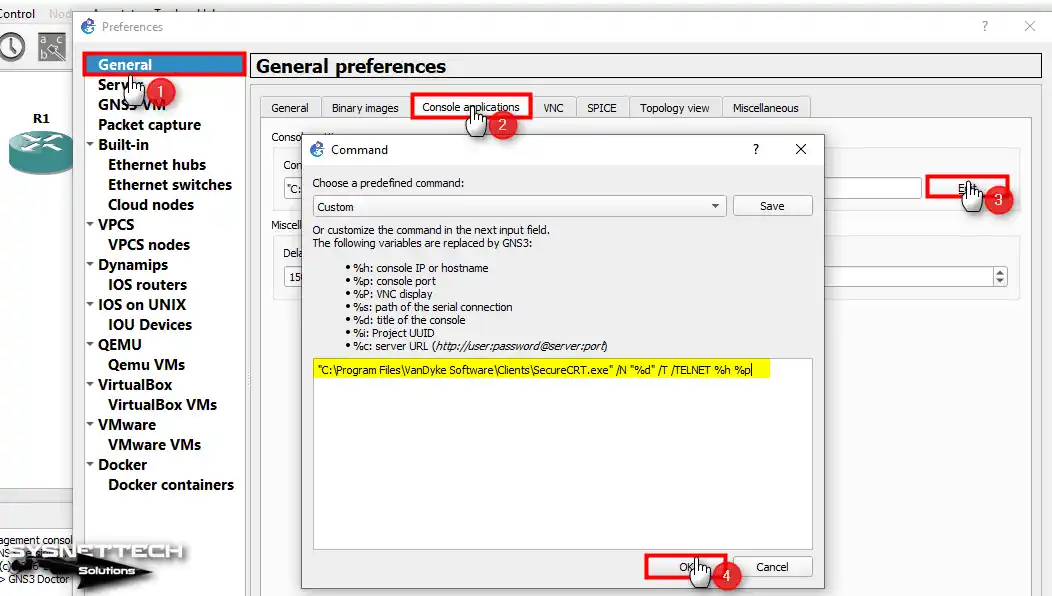
After installing SecureCRT, rerun GNS3 and click Edit / Preferences. Afterward, click the Edit button in the General Preferences window under General / Console Applications.
Choose SecureCRT in the Choose predefined command. After that, change where it gets installed, then save your choices by clicking OK.
Step 2
Click twice on Router R1 and make sure the SecureCRT console application opens. As you can see below, it works nicely on GNS3.
Video
Installing Older Versions
Frequently Asked Questions (FAQ) About GNS3
- Can GNS3 install and run on Windows 10?
- What is the best OS for GNS3?
- How much RAM do I need for GNS3?
- How do I use my PC on GNS3?
Conclusion
Utilizing GNS3 on Windows 11 or 10, create detailed network projects. Moreover, you can study specifically for Cisco exams with greater efficiency.

TolgaBagci
Hi, I'm Tolga, a computer expert with 20 years of experience. I help fix computer issues with things like hardware, systems, networks, virtualization, servers, and operating systems. Check out my website for helpful info, and feel free to ask me anything. Keep yourself in the loop about the newest technologies!