Welcome to installing and using VMware Workstation 17 Pro on Linux Mint 21, Vanessa. In this article, we will explain how to install Workstation Pro and create a new virtual machine. We will also show you how to run Windows or Linux systems without the need for dual booting.
Whether you are new to virtualization or want to learn more, this guide will help you. You will find all the needed information for virtualization software in Linux Mint here. Let’s dive in!
How to Set Up and Use VMware Workstation 17 Pro on Linux Mint 21 Vanessa
VMware Workstation Pro is a popular program for creating and running virtual machines on your computer. You can use it for free for 30 days, then you need to buy it.
You can easily install VMware Workstation on Windows and Linux. With it, you can create VMs to use operating systems like Windows, Linux, Solaris, or macOS on your host PC.
In Windows, program setup files usually end with “.exe.” But, in Linux, you might find setup files with extensions like “.bundle.” The setup file extension for VMware on Linux distributions is also a “.bundle” file.
How to Download and Install VMware Workstation
We suggest installing Workstation Pro, the professional paid version of VMware, on your Linux Mint computer. You can decide to buy it after the 30-day trial or keep using the free Player version.
Step 1
To download VMware, go to the official website using the link here. Then, click the Download button in the “Workstation 17 Pro for Linux” section, as shown in the image below.
Instead of downloading the Workstation software manually, you can speed up the process by running these commands in the terminal.
cd ~/Downloads
wget https://download3.vmware.com/software/WKST-1700-LX/VMware-Workstation-Full-17.0.0-20800274.x86_64.bundle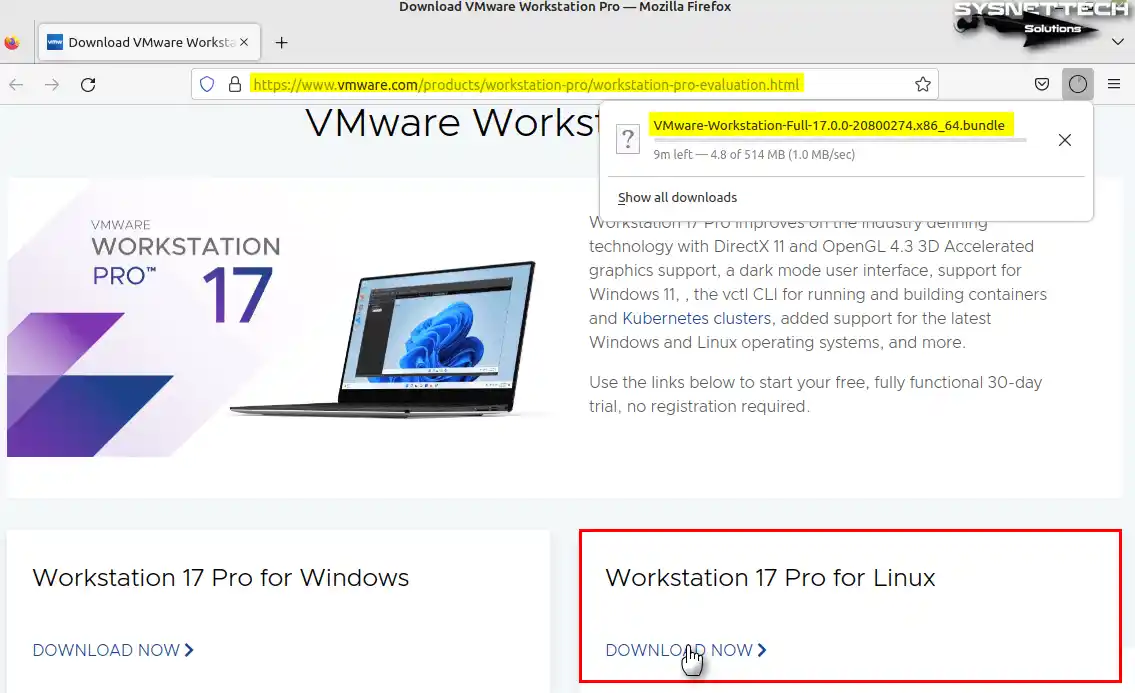
Step 2
After you install VMware Workstation, open the terminal and type “sudo apt install build-essential” to get the extra software it needs to work.
sudo apt install build-essential dkms
Step 3
After you download the Workstation.bundle file to your computer, open the terminal by pressing CTRL + Alt + T together. Before you start installing, make sure your computer is up to date by running these commands in the terminal: “sudo apt update” and then “sudo apt upgrade.” This ensures your system has the newest updates and packages before you install anything.
After you get the Workstation.bundle file on your Linux Mint PC, open the terminal by pressing CTRL + Alt + T at the same time. Next, type “sudo apt update” and “sudo apt upgrade” to make sure your computer has the newest updates before you install anything.
To make the bundle file ready to run, first use the chmod command. After that, type “sudo ./filename.bundle” to begin installing it.
chmod +x VMware-Workstation-Full-17.0.0-20800274.x86_64.bundle
sudo ./VMware-Workstation-Full-17.0.0-20800274.x86_64.bundle
Step 4
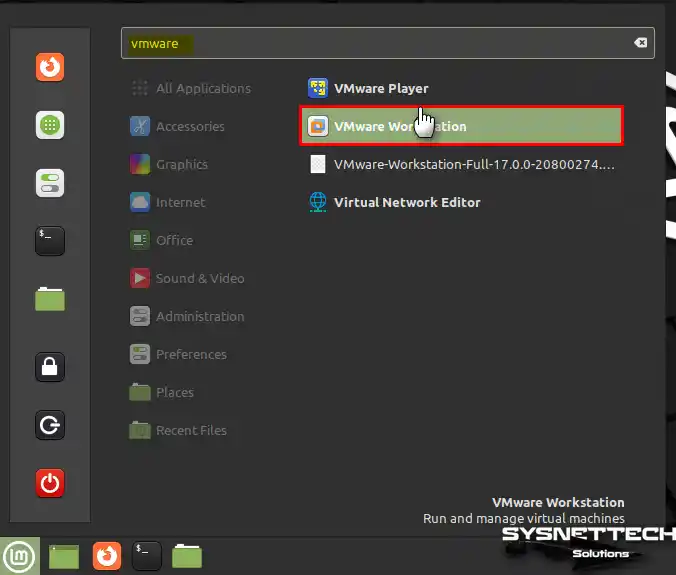
After you add more packages for VMware, open the program from your applications.
Step 5
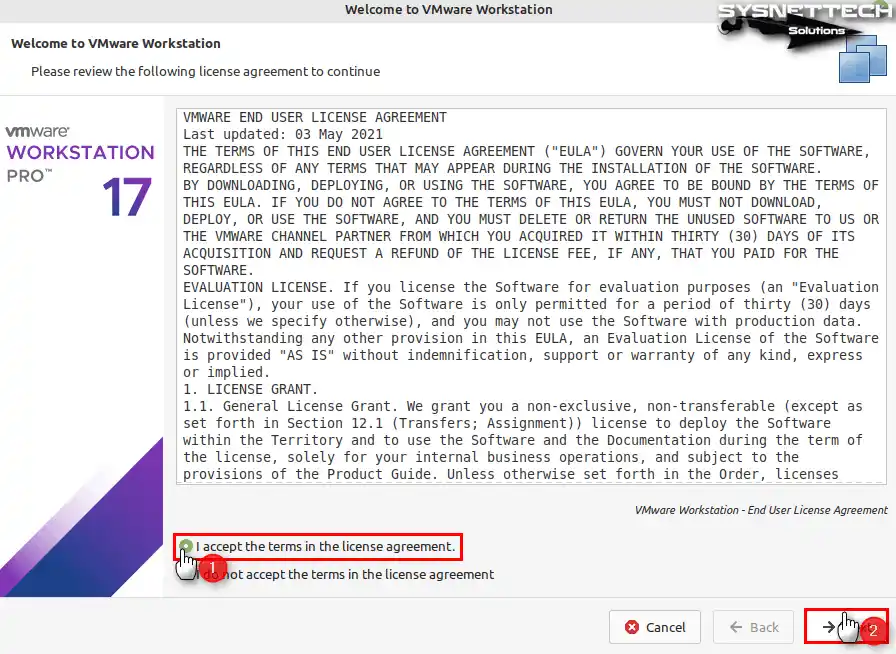
When the Welcome window appears, agree to the Workstation program’s license for Linux Mint and click Next.
Step 6
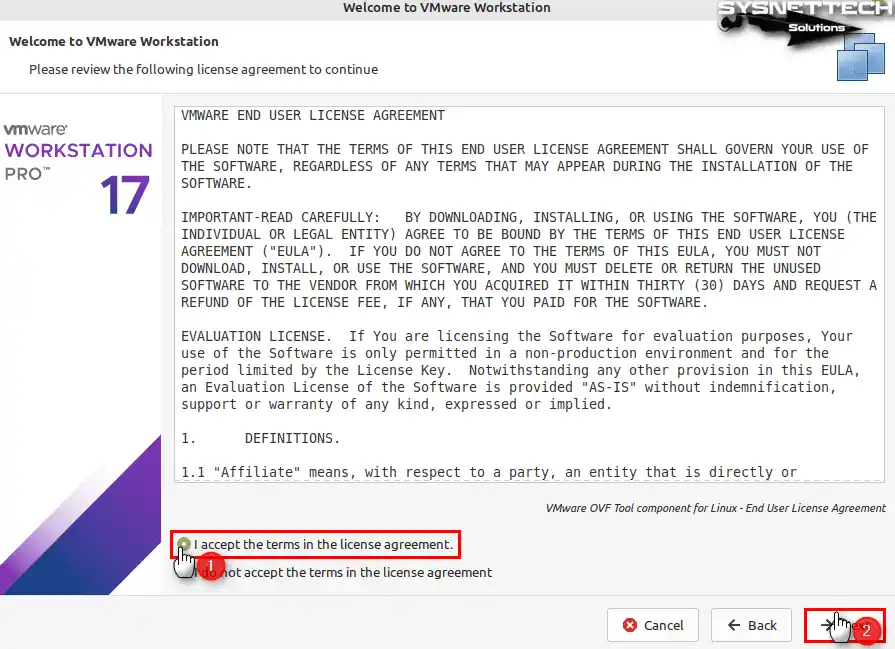
Please ensure that you read and agree to the license agreement for “VMware OVF Tool Component for Linux” before proceeding.
Step 7
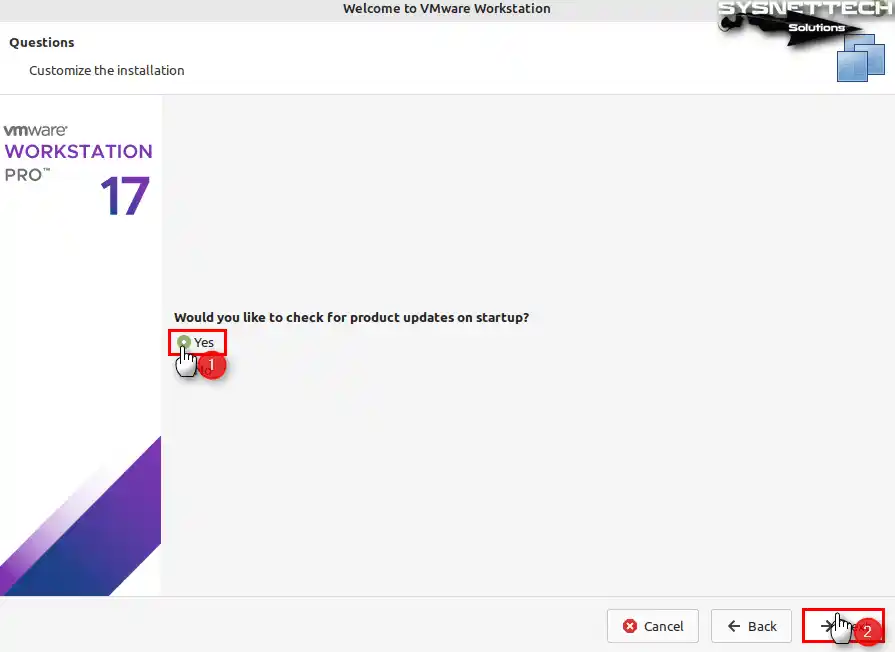
Enable checking for new versions every time you run VMware Workstation and click Next.
Step 8
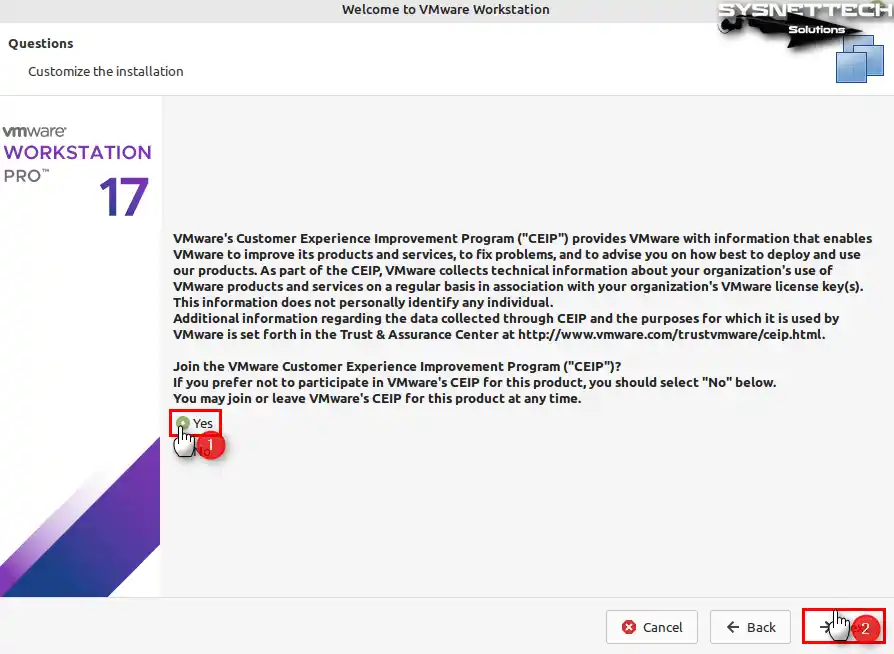
Join the VMware Customer Experience Improvement Program (CEIP). You can help find and fix problems to make the program better. If you prefer not to join, select No.
Step 9
If you have purchased the VMware software, you can enter your license key from this screen. If you prefer to use the program with a 30-day trial period, select the option below and click Finish.
When the Authenticate window opens, type your Linux Mint user account password and continue.

Step 10
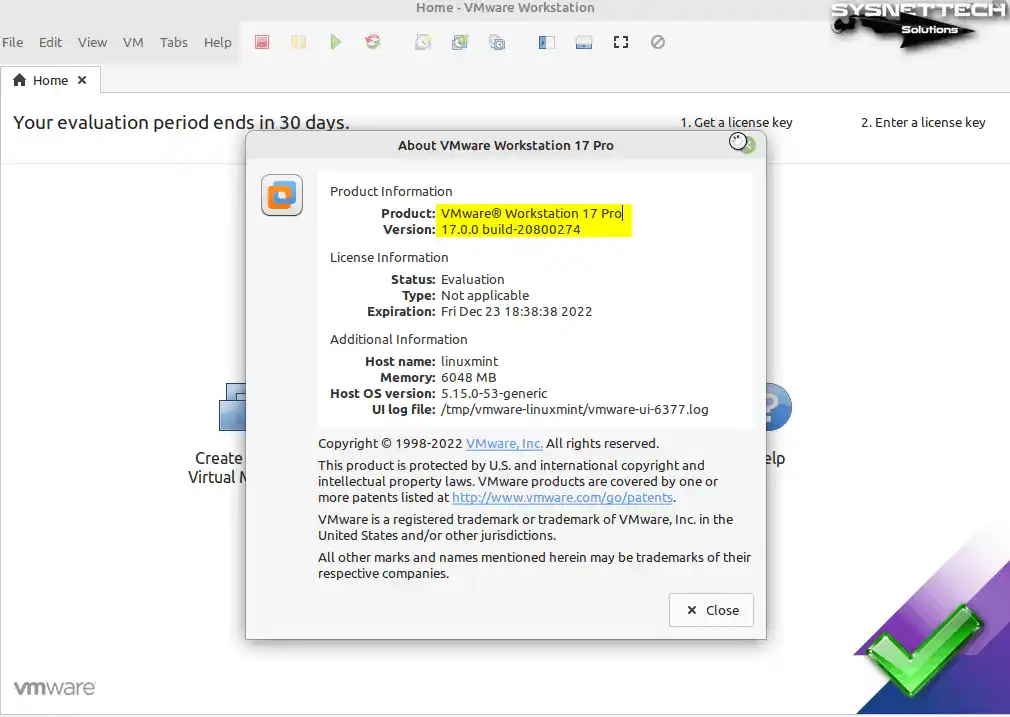
After installing VMware Workstation 17 Pro, you can check the version in Help / About.
How to Create a New Virtual Machine on Linux Mint
After installing VMware Workstation on Linux Mint, you can start creating a new virtual machine. You can quickly run a second OS on your host system by installing Windows or one of the other operating systems on the VM you created.
Step 1
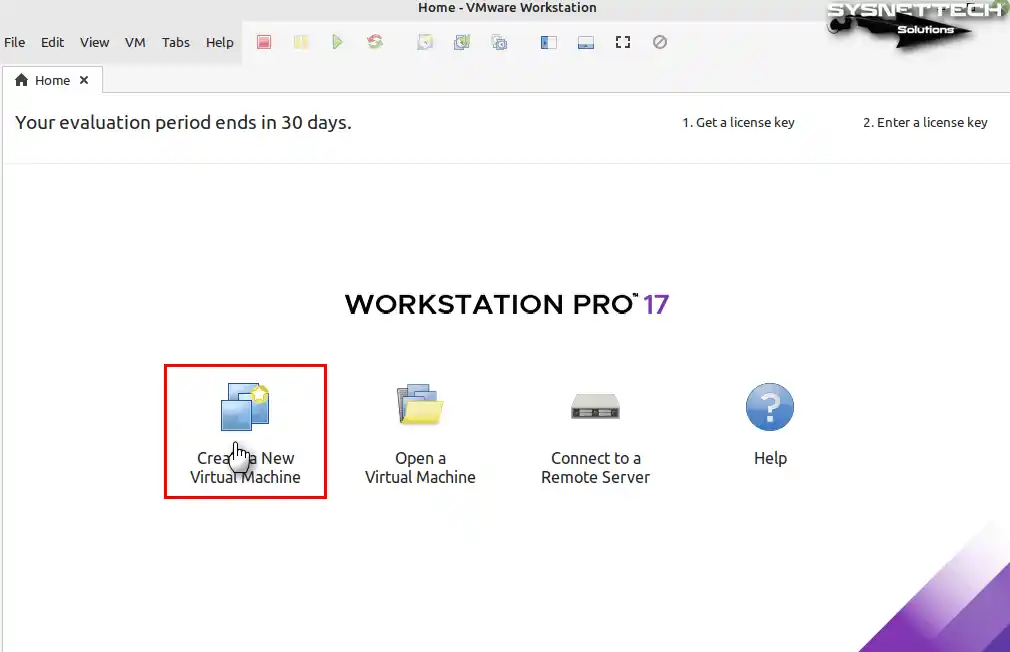
Open the wizard by clicking Create a New Virtual Machine on the main screen of VMware Pro.
Step 2
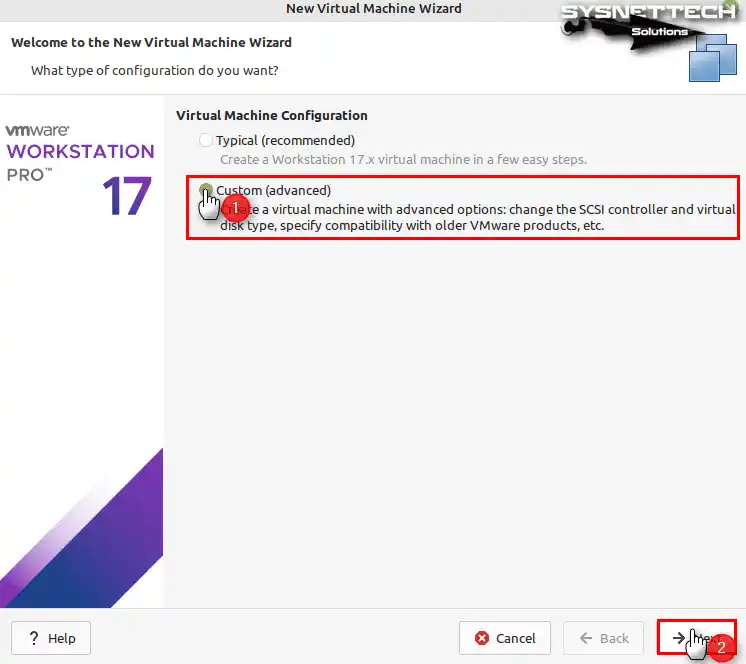
Check Custom (Advanced) and click Next to make more advanced settings in the virtual machine configuration wizard.
Step 3
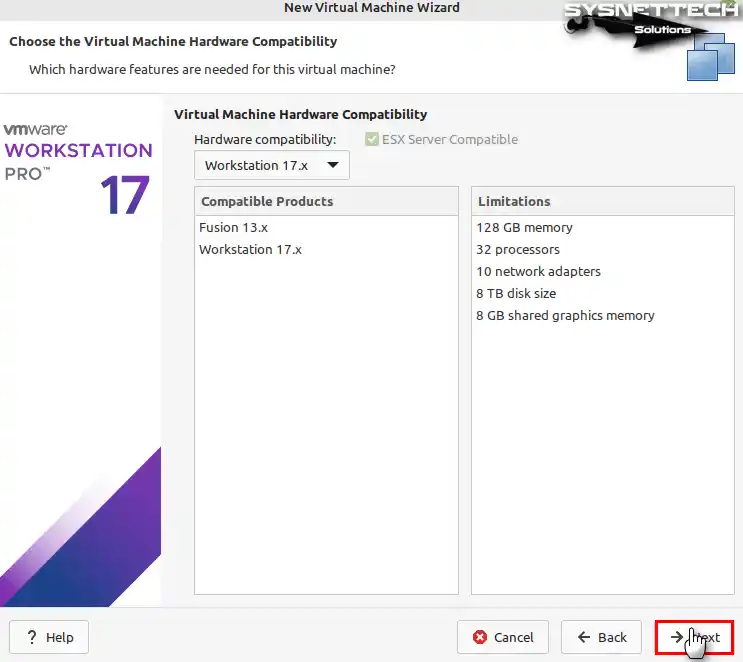
By default, the hardware version of the virtual machine is configured with the latest version of the Workstation software. If you plan to install one of the older Windows systems, don’t forget to change the hardware compatibility version.
Since Windows 10 is an up-to-date operating system, the hardware version should be configured to the latest.
Step 4
Since you will be installing Windows 10, select “I will install the operating system later” and click Next to continue configuring more advanced settings.

Step 5
Select Microsoft Windows for the guest operating system platform that will run on the virtual computer and choose the version “Windows 10 x 64”.

Step 6
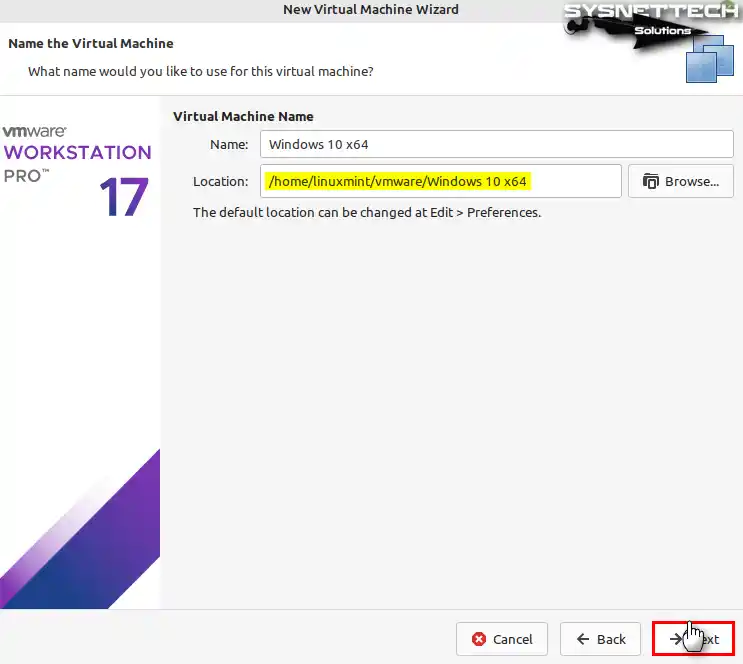
You can choose to install Windows 10 in the default location, or you can install it in another area. You can change the default location where the virtual machine will be installed from Edit / Preferences.
Step 7
Configure the firmware type of the Windows 10 VM as UEFI / Secure Boot.

Step 8
Configure the number of processors and cores according to the processor characteristics of your host computer. The processor settings here are configured to run the VM at its minimum.

Step 9
For Windows 10 VM, configure the virtual memory size to a suitable value according to the RAM capacity of your host computer.

Step 10
Choose the NAT adapter type to set up the virtual machine’s network connection.

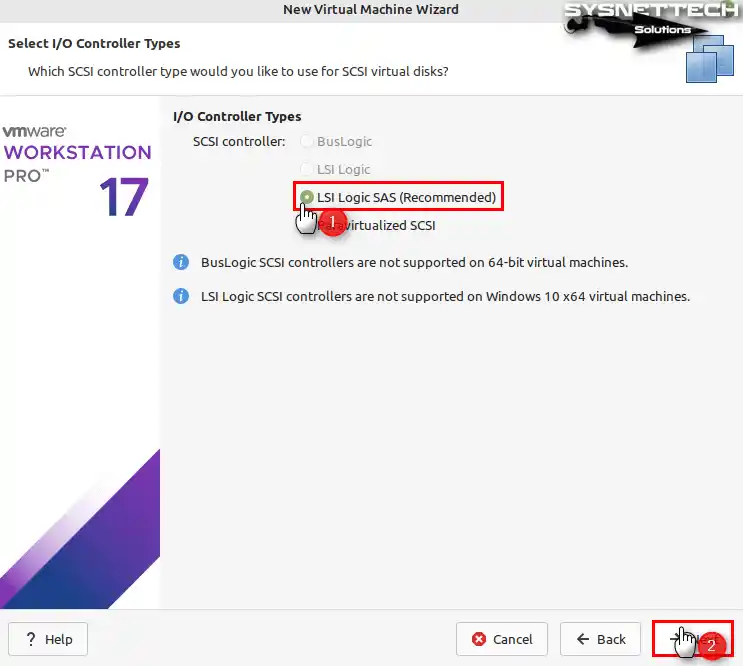
Step 11
Select the recommended LSI Logic SAS as the I/O controller type.
Step 12
For the virtual disk type, select the NVMe type, which is faster than other disk types.

Step 13
Choose to create a new virtual disk, as you will be installing a clean Windows operating system.

Step 14
Configure the size of the virtual disk and choose to backup the disk file as the only file type on your computer.

Step 15
Continue without changing the name and location of the Windows 10 virtual disk file.

Step 16
After configuring the guest operating system, check the settings you have made in the summary window and click Finish.

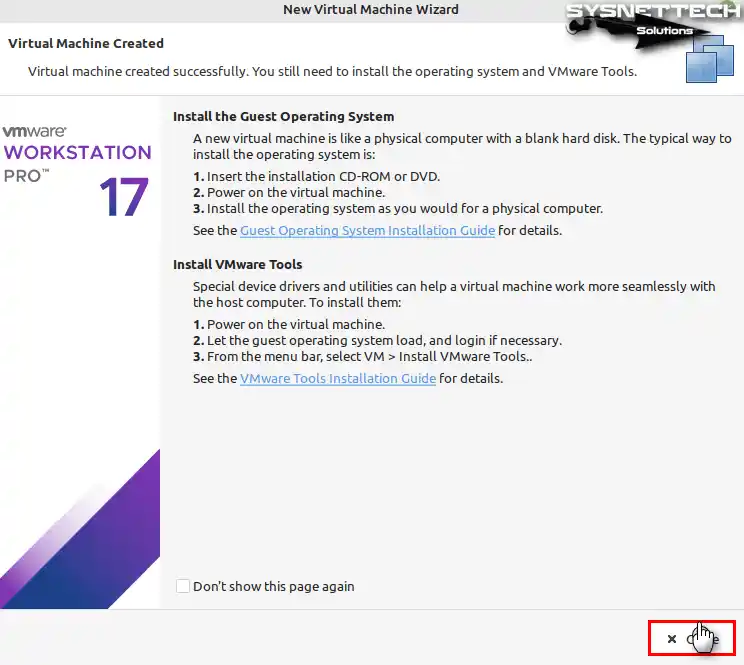
Step 17
After preparing the virtual computer, close the window that tells you to install the guest operating system and VMware Tools.
Step 18
To change more settings on the virtual machine, click on Edit Virtual Machine Settings.

Step 19
After selecting the processors from the hardware area, select all the features under Virtualization Engine.
- Virtualize Intel VT-x/EPT or AMD-V/RVI
- Virtualize CPU Performance Counters
- Virtualize IOMMU (IO Memory Management Unit)

Step 20
To add a Windows 10 ISO file to the virtual machine, select the CD/DVD hardware and then enable the Use ISO Image option, and click the Browse button to specify the location of the file.
Go to the location where you downloaded the installation media, select the Windows 10 ISO file, and open it.

Step 21
In order to use your USB 3.x storage devices in your Windows 10 virtual system, change the Compatibility setting to USB 3.1 from the settings of the USB Controller.

Step 22
Run the virtual machine to start installing Windows 10.

Step 23
On your Linux computer, you can now install the Windows 10 system in your VMware virtualization software.

How to Delete the Virtual Machine
If, for some reason, you want to completely delete the virtual machines you have installed from your computer, you can quickly delete all the files of the relevant VM both from the library of the Workstation program and from your host disk.
You can see your virtual systems installed from the Library section of VMware Workstation. Right-click on your guest system in the Library section, click Manage / Delete from Disk, and then click Yes to confirm the deletion in the Question window.
Finally, go to the location where you installed the VM on your Linux system and check if the relevant folder exists.

How to Uninstall VMware Workstation from Linux Mint
When you plan to remove VMware Workstation from your computer, you can easily do this using the terminal on your Linux system.
After opening the terminal, execute the command “vmware-installer –list-products” and check which VMware products are installed.
vmware-installer --list-productsTo completely uninstall VMware software, execute the “sudo vmware-installer -u vmware-workstation” command in the terminal and type No in confirmation to confirm the deletion of configuration files as well.
sudo vmware-installer -u vmware-workstation
Video
Installing Old Versions
| Mint / VM Version | YouTube Video | Slayt |
|---|---|---|
| 18 / 14 Pro | Watch | View |
| 19 / 15 Pro | Watch | View |
| 20 / 16 Pro | Watch | View |
| 21 / 16 Pro | Watch | View |
| 21 / 17 Pro (NEW) | Watch | – |
Frequently Asked Questions (FAQ)
- Is VMware Workstation for Linux Mint free?
- Will I also install the Player version during installation?
- What do I need to build VMware Workstation 17 Pro?
- What should I do after installing Workstation Pro & Player?
Conclusion
In conclusion, VMware Workstation 17 Pro offers a powerful and user-friendly virtualization platform on Linux Mint 21 Vanessa. You can also install virtual machines without any problems by following the steps in this guide.
However, you can run multiple operating systems without needing to dual boot. Additionally, whether you are new to virtualization or want to expand your knowledge, the steps in our guide will help you.
In short, experience the convenience of using multiple operating systems on one computer by discovering the potential of VMware Workstation!

TolgaBagci
Hi, I'm Tolga, a computer expert with 20 years of experience. I help fix computer issues with things like hardware, systems, networks, virtualization, servers, and operating systems. Check out my website for helpful info, and feel free to ask me anything. Keep yourself in the loop about the newest technologies!
Hello,
I installed the 15 Pro (licensed) on Linux Mint 19.1 and Mint is fully patched and running on the most current kernel as of today (4.15.0-52). The first VM I built is a Windows 10 OS and I am having a problem in that USB pass through is not working. USB 3.0 support is enabled and I have the box checked for “automatically connect USB devices” and also “show all USB input devices”. When I use the ‘add’ in hardware, neither my USB headset or USB hard drive show up as choices to present to the Windows 10 vm.
I found some older articles on earlier versions that said VMware wont be able to show any USB device to a VM until the host OS lets go of it first. The article said to force Linux to let go of it in a file (forgot the name) in the /etc folder but Mint does not have such a file in this newer Linux build.
Any ideas what is keeping VMware from seeing USB devices so it can present them to a VM?