In the Linux world, we are widely using distributions, mainly Ubuntu. However, some users often face difficulties in running Windows applications. For example, compatibility with productivity tools such as Microsoft Office is essential.
Fortunately, Wine offers a solution for Ubuntu OS. WineHQ allows you to run Windows applications on Linux systems without any problems. Moreover, it is entirely free and is an open-source software. In this article, I will show you the steps to install Wine Stable 9.0 on Ubuntu 23.10 and 24.04.
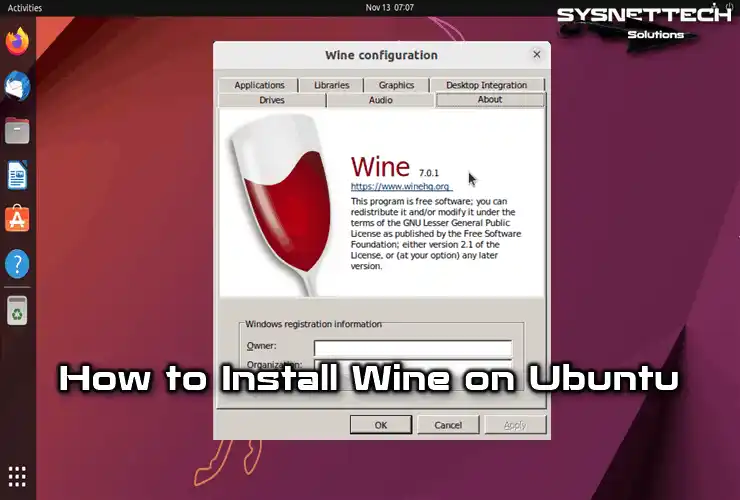
How to Install and Use WineHQ 9.0 on Ubuntu PC
Suppose you are using a Linux-based Ubuntu operating system and need to use an application supported by a Windows operating system. In that case, you can choose the completely legal and free software Wine.
Under normal circumstances, you cannot run a Windows application on Linux/Ubuntu. Therefore, by using the program called Wine to run a Windows program on your system, you can install and run any program on your computer.
You can run Windows applications with WineHQ software on old and new Ubuntu distributions. After installing this program, you can also install programs such as Microsoft Office and Adobe PhotoShop on your computer and run them efficiently.
The latest version of Wine software is 9.0. The WineHQ team released Wine 9.0 Stable, Devel, and Staging versions on January 16, 2024.
How to Install Wine 9.0
You can install, for example, a Notepad++ or Photoshop program on your Ubuntu 22.10 system, and you can even run the most popular computer games on your computer today.
Step 1
First, ping Google with the command “ping -c 2 www.google.com” in the terminal to test the internet connection.
Then, if your Ubuntu system is 64-bit, enable the 32-bit architecture. To do this, execute the command “sudo dpkg –add-architecture i386” in the terminal.
ping -c 2 www.google.com
sudo dpkg --add-architecture i386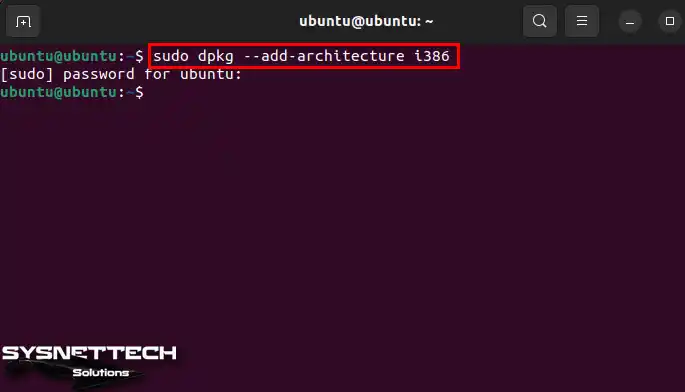
Step 2
Before downloading Wine Key from WineHQ, edit the folder permissions using the command “sudo mkdir -pm755 /etc/apt/keyrings” in the terminal.
Then, execute the command “sudo wget -O /etc/apt/keyrings/winehq-archive.key https://dl.winehq.org/wine-builds/winehq.key” in the terminal to download the Winehq-archive.key file to /etc/apt/keyrings and add it to your system.
sudo mkdir -pm755 /etc/apt/keyrings
sudo wget -O /etc/apt/keyrings/winehq-archive.key https://dl.winehq.org/wine-builds/winehq.key
Step 3
You need to set your software repository according to the version of your Ubuntu system that you are using. For this reason, you need to add one of the addresses in the table below to specify the WineHQ source.
| Distribution Name | Command |
|---|---|
| noble Ubuntu 24.04 Linux Mint 22 | sudo wget -NP /etc/apt/sources.list.d/ https://dl.winehq.org/wine-builds/ubuntu/dists/noble/winehq-noble.sources |
| jammy Ubuntu 22.04 Linux Mint 21.x | sudo wget -NP /etc/apt/sources.list.d/ https://dl.winehq.org/wine-builds/ubuntu/dists/jammy/winehq-jammy.sources |
| focal Ubuntu 20.04 Linux Mint 20.x | sudo wget -NP /etc/apt/sources.list.d/ https://dl.winehq.org/wine-builds/ubuntu/dists/focal/winehq-focal.sources |
| trixie Debian Testing | sudo wget -NP /etc/apt/sources.list.d/ https://dl.winehq.org/wine-builds/debian/dists/trixie/winehq-trixie.sources |
| bookworm Debian 12 | sudo wget -NP /etc/apt/sources.list.d/ https://dl.winehq.org/wine-builds/debian/dists/bookworm/winehq-bookworm.sources |
| bullseye Debian 11 | sudo wget -NP /etc/apt/sources.list.d/ https://dl.winehq.org/wine-builds/debian/dists/bullseye/winehq-bullseye.sources |
If you are using Ubuntu version 24.04, you can install the latest version of WineHQ. However, this requires one more step. You also need to add the Noble sources to the /etc/apt/sources.list file.
sudo wget -NP /etc/apt/sources.list.d/ https://dl.winehq.org/wine-builds/ubuntu/dists/noble/winehq-noble.sources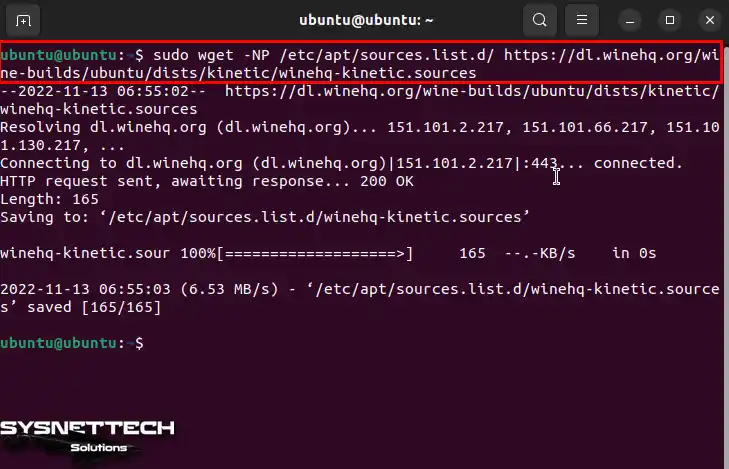
Step 4
Run the sudo apt update command to update the Ubuntu package list.
sudo apt update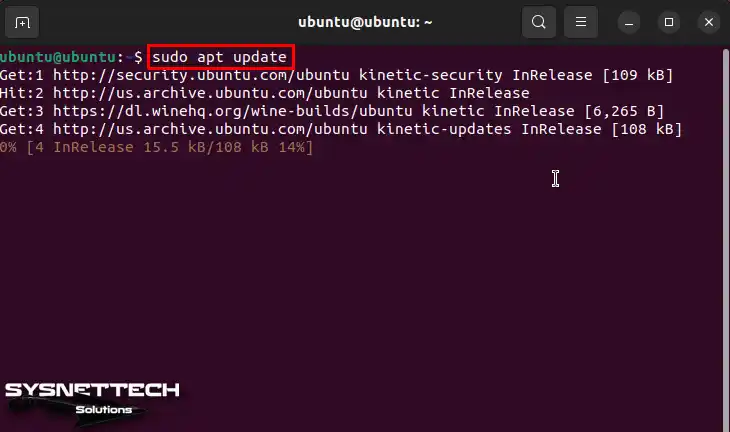
Step 5
First, update the repository list. After that, you can install WineHQ Stable 9.0. Use the following command in the terminal: “sudo apt install –install-recommends winehq-stable.” With this command, you will be able to download and install the necessary files.
sudo apt install --install-recommends winehq-stable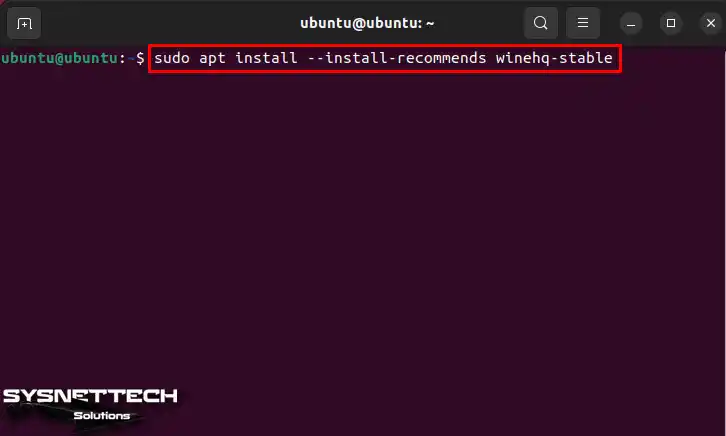
Step 6
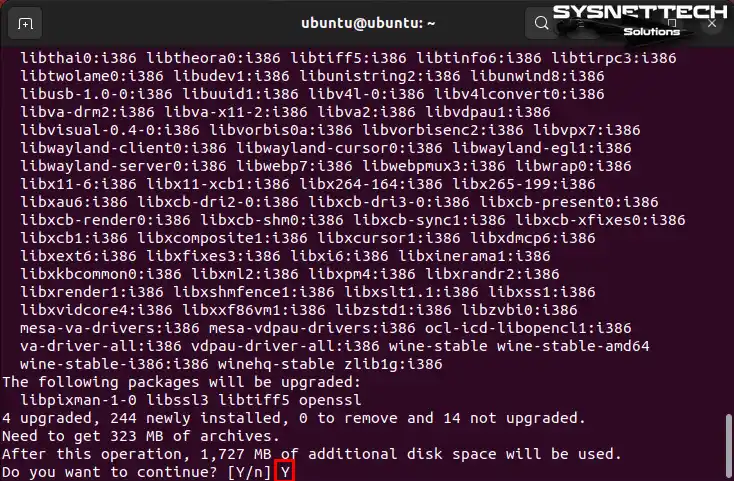
First, confirm the installation of dependent packages for Wine. So press Y here and then proceed with Enter. This will complete the installation of the necessary dependencies.
Step 7
After installing Wine on Ubuntu, you can start the program. To do this, run the “winecfg” command in the terminal. You can also make the necessary settings or files at this stage. So, wait for the process to complete.
For applications that require the .NET framework, you need to install the Wine Mono package. Also, click the “Install” button for it to work correctly.
winecfg
Step 8
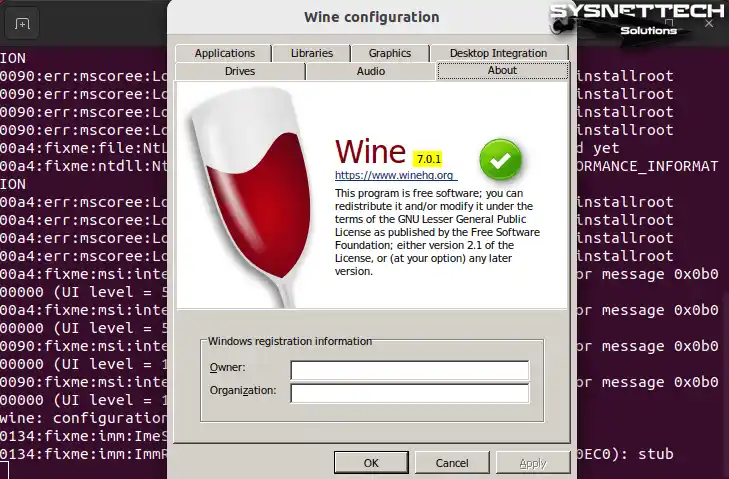
After installing the Wine Mono package, you can quickly check the WineHQ version. To do this, run the “wine –version” command in the terminal.
In addition, you can view the Wine version from the GUI interface. This way, you can verify that the installation was successful.
How to Run Windows Programs on Ubuntu
After installing Wine to run Windows programs on macOS, Linux, and Android, we will run Notepad++ as an example.
Step 1
Download the latest version of Notepad to your Ubuntu system from the website and go to the Downloads location. To open the Notepad.exe file with Wine, right-click on the file and then click Open With Other Application. Then select Wine Windows Program Loader as in the image below.
NOTE: If you want to install it via terminal, copy the download link to the program. Then, download it using the wget command. Then, you can start the wizard with the “wine FileName.exe” command.
cd ~/Downloads
wget https://github.com/notepad-plus-plus/notepad-plus-plus/releases/download/v8.4.7/npp.8.4.7.Installer.x64.exe
wine npp.8.4.7.Installer.x64.exe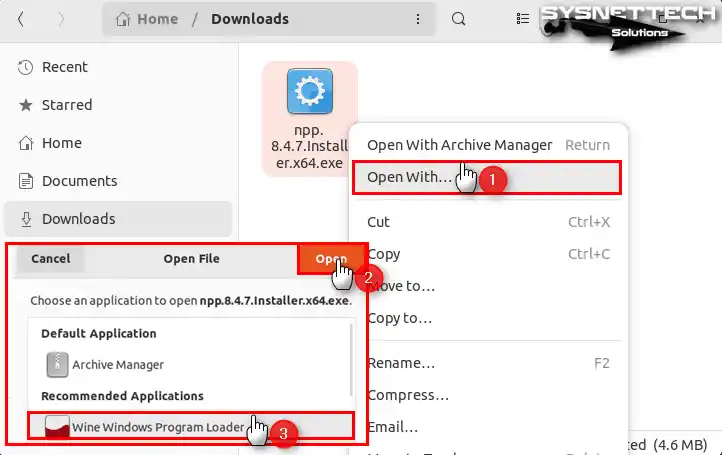
Step 2
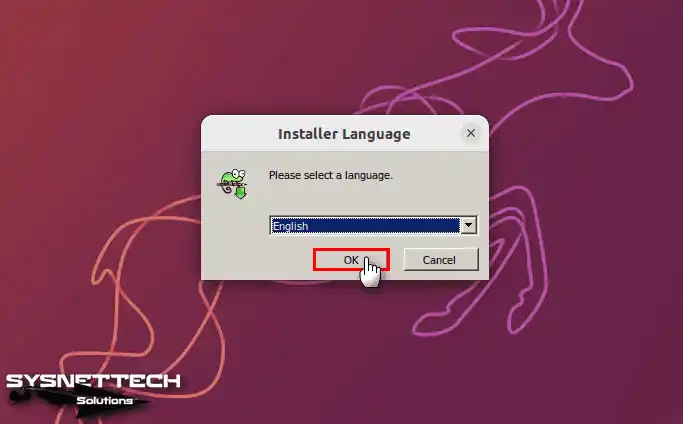
Now, when the Notepad installation wizard opens, select the language of the program.
Step 3
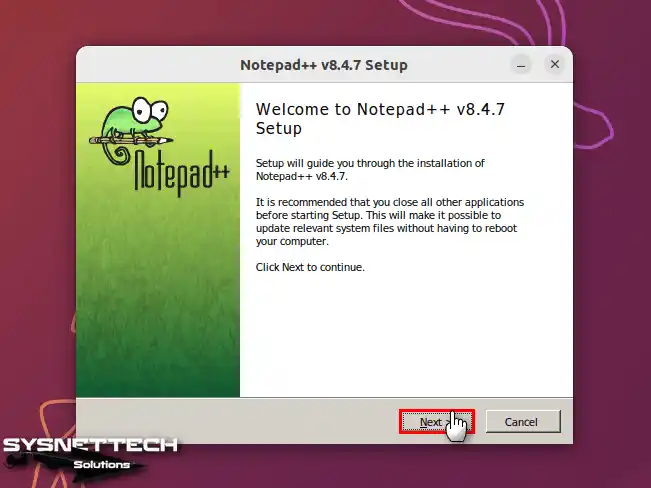
Continue by clicking the Next button in the Wizard window.
Step 4
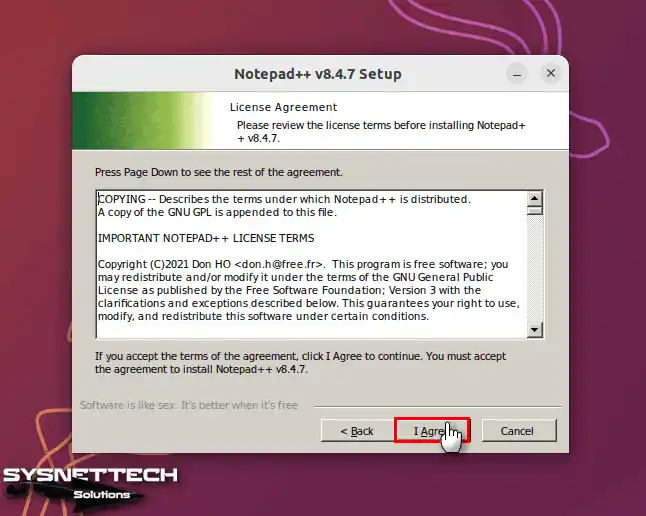
Click the I Agree button to accept the Notepad++ license agreement.
Step 5
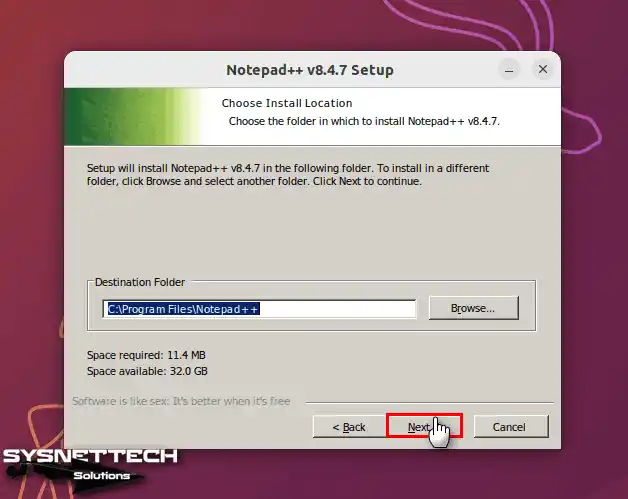
You can manually select the installation location, or you can choose the location configured by default. To install to the default location specified in the installation step, click Next in this step.
Step 6
You may not see some options in the components selection window. This is because you are installing on a Linux distribution. However, this does not prevent the program from working. Therefore, click the Next button to continue the installation.
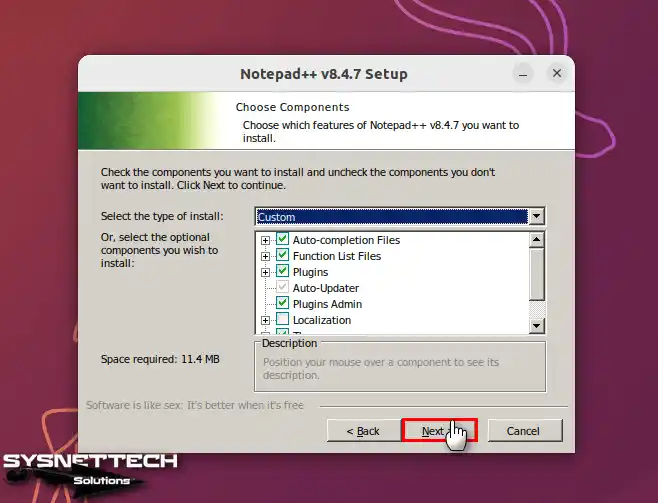
Step 7
After installing the Windows-based program, you can create a desktop shortcut. To do this, select the “Create Shortcut on Desktop” option. Then, continue by clicking the Install button.
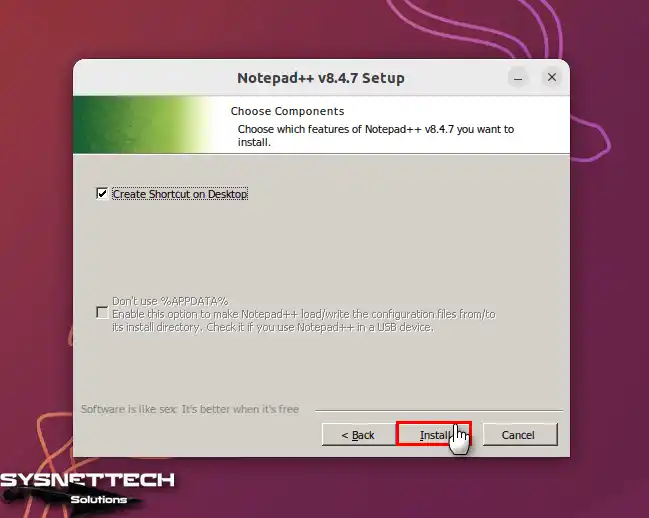
Step 8
After the Notepad++ installation is complete, start it.
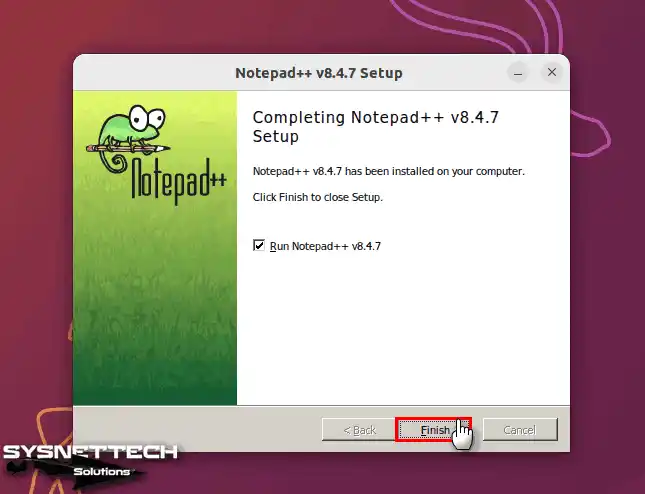
Step 9
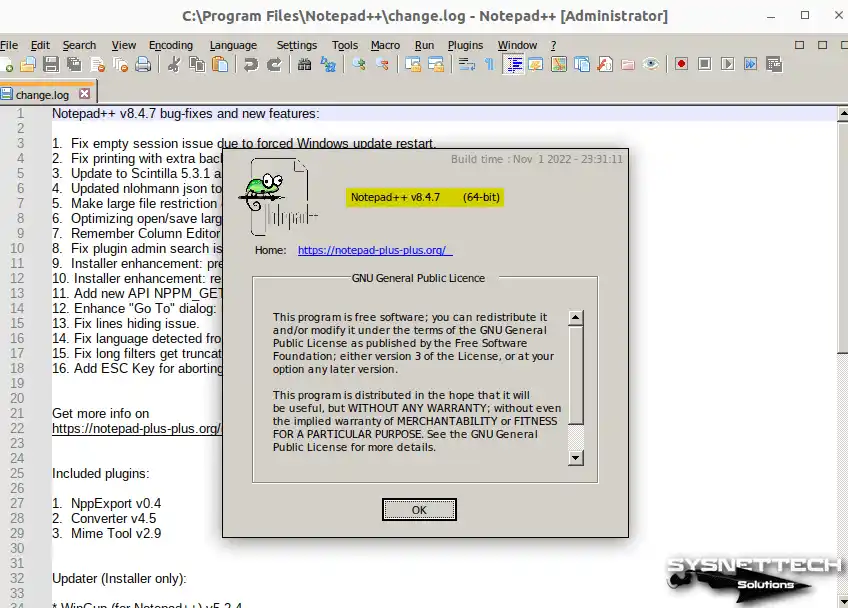
You can now see a Windows program running smoothly on the Ubuntu distribution.
NOTE: To make the desktop shortcut icon visible, you need to follow a few steps. First, right-click on the shortcut. Then, click on “Allow Launching”. As a result, the icon is now visible on the right side.
How to Uninstall Wine from Ubuntu PC
If you want to uninstall or delete Wine from your Linux computer, we recommend that you first backup your projects.
Steps:
Step 1
Let’s say you want to remove all WineHQ-related packages from your system. So, execute the “sudo apt remove wine*” command in the terminal to do this.
sudo apt remove wine*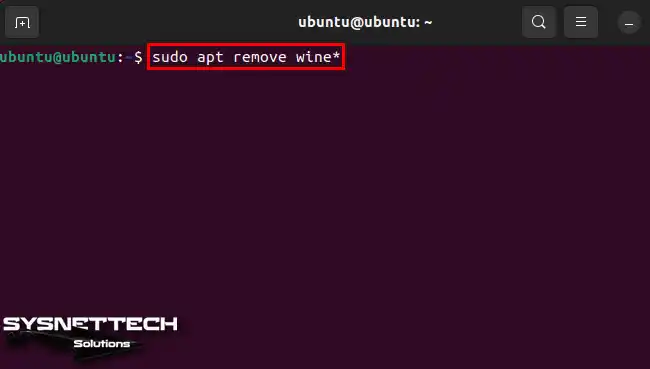
Step 2
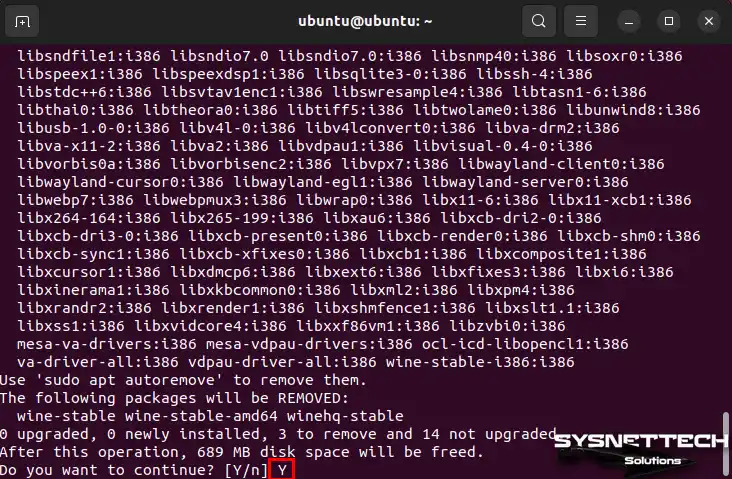
Confirm to remove dependent packages related to Wine-Stable, WineHQ-Stable-AMD64, and WineHQ-Stable. Press “Y” to do this, and press Enter to complete the process.
Step 3
After the Wine is completely removed, I recommend you clean up any unnecessary remnants. To do this, use the “sudo apt autoremove && sudo apt autoclean” command in the terminal. With this command, you will be able to clean up unnecessary files and packages from your system automatically. In this way, you can keep your PC tidy.
sudo apt autoremove && sudo apt autoclean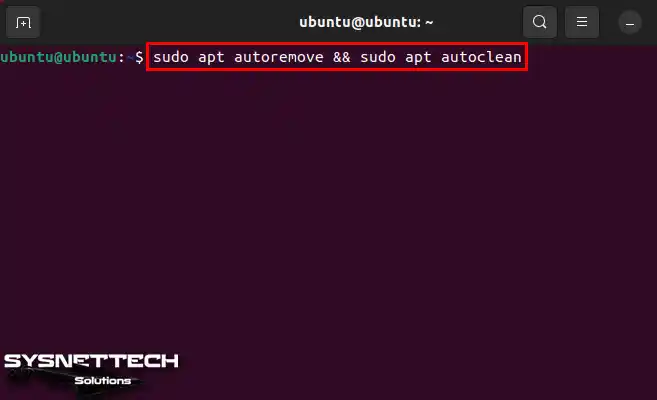
Step 4
The total size of unnecessary residual files on your Ubuntu PC is 1 GB. Press Y and Enter if you confirm that you have deleted all files from your system.

Step 5
Finally, execute the following commands in the terminal to remove the WineHQ sources from your system’s repo list. Then, check that the program has been removed with the “wine –version” command.
sudo rm -rf /etc/apt/sources.list.d/winehq-kinetic.sources
sudo rm -rf /etc/apt/keyrings/winehq-archive.key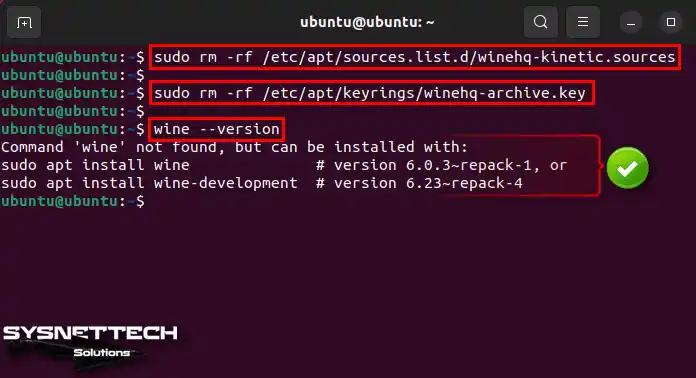
Video
Installing Old Versions
| Ubuntu Version | WineHQ Version | YouTube Video | Slide |
|---|---|---|---|
| 17.10 | 2.x 3.x | Watch 1, Watch 2 | View |
| 18.04 | 3.x 4.x | Watch 1, Watch 2 | – |
| 18.10 | 3.x 4.x 4.x | Watch 1, Watch 2, Watch 3 | View |
| 20.10 | 6.x | Watch | View |
| 22.04 | 7.x | Watch | View |
| 22.10 (NEW) | 7.x | Watch | – |
Frequently Asked Questions (FAQ)
- How do I install Wine on Ubuntu?
- How do I know if Wine is installed?
- How do I see what apps are installed?
- Is Wine safe on Linux?
Conclusion
By installing Wine Stable 9.0 on your Ubuntu system, you will have many advantages. This installation will help you run basic Windows applications and games without any problems.
First of all, by following the steps carefully, you can integrate Windows software into your Ubuntu environment. For example, Wine is a reliable solution for software like Microsoft Office or Adobe Photoshop.
Moreover, with its user-friendly configuration, Wine is a valuable resource for Linux users. As a result, you can enjoy the benefits of both worlds by embracing the flexibility of your Ubuntu system.


This didnt work for me. Tried following all the recommendations from here too (https://askubuntu.com/questions/988145/how-to-install-wine-on-ubuntu-17-10), but they didnt work. Have the same problem as the person who asked the question and nothing has solved it so far.
Got an error trying to add the Winehq repository for 18.04.
Is it a script error ?
Brings the installation to a halt.
Can u help ?
Thank You !!! ;-D
Installed winehq-stable on 22.04, It just worked.
Claus
You’re welcome. Thank you.
Such clear, thorough instructions! Thanks so much! This helped a ton.
Glad to be of help. Thanks for your comment.
please turn off the unselectable feature on your website. Besides that, good tutorial