In this article, I will show you how to upgrade Kali Linux from versions 2022 and 2023 to 2024. I will also take you through the update and upgrade process step by step using the terminal.
First of all, by keeping your Kali system up to date, you improve both stability and security. Before starting this process, the first thing to do is to check your current version. Then, edit the repository list and check if the installed packages are up to date.
How to Upgrade Kali Linux 2022 & 2023 Version to Latest Version 2024?
Upgrading your system whenever a new version of the Kali system is released is important for both system stability and security.
The easiest way to update an old system to the latest version is to use the terminal. You can easily update your computer to the newest version according to your Internet connection speed by just executing specific codes in the terminal.
The 2022.3 distribution and Kernel 5.18 version of Kali Linux released in the second quarter were released to users on August 09, 2022.
The 2022.3 version of Kali basically includes many new tools. This latest version contains 5 new tools: BruteShark, DefectDojo, phpsploit, shellfire, and SprayingToolkit.
Cosmetic changes in this version of the Linux system include mainly the new version of the GNOME desktop environment (42), a few settings for the Xfce desktop environment, new desktop icons, and new design and development for the KDE 5.24 version, and color settings in the terminal.
Additionally, it includes an excellent screensaver feature called Hollywood-activate, which is the subject of hacking movies.
We recommend that you back up your files and documents before upgrading your PC because you will have taken a precaution against any system failures you may encounter.
Suppose you are using the Kali system on a VMware or VirtualBox virtual machine. In that case, you can take a fresh snapshot for a complete system backup.
How to Install Old Version of Kali to Newest on PC
After backing up your computer or virtual machine, run your Kali operating system and open the terminal. To find out the current system version of your system installed on your PC, you can run the “lsb_release -a” command in the terminal or install the ScreenFetch application.
Step 1
After learning the current system version, you need to check your repository list; otherwise, the upgrade will not start. Run the command “sudo nano /etc/apt/sources.list” in the terminal, delete the # character to enable the address with the # character at the beginning, and press CTRL + X / Y / Enter to save the file.
Execute the command ( echo “deb http://http.kali.org/kali kali-rolling main non-free contrib” | sudo tee /etc/apt/sources.list ) to edit the repository address with a single command from the terminal.
echo "deb http://http.kali.org/kali kali-rolling main non-free contrib" | sudo tee /etc/apt/sources.list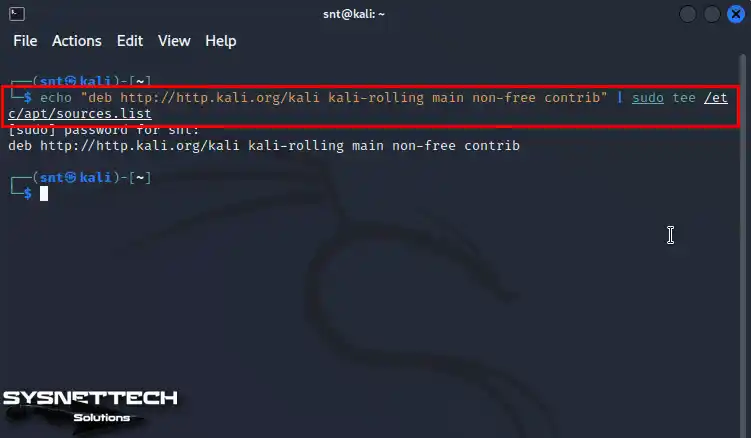
Step 2
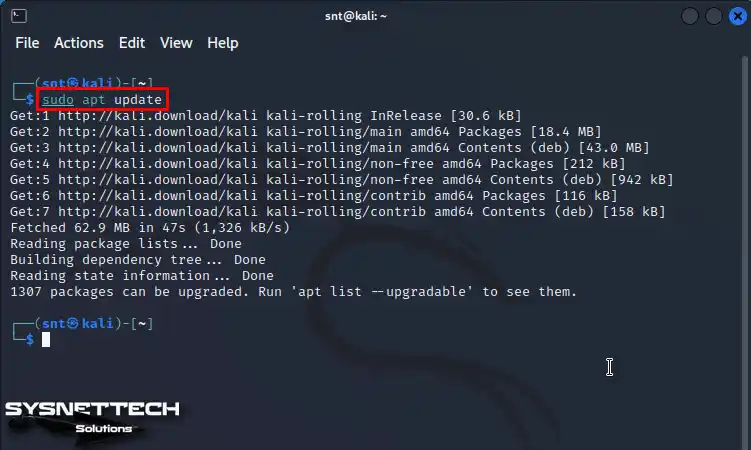
After editing the repository list, execute the “sudo apt update” command in the terminal to check for new versions of the currently installed packages.
sudo apt updateThe sudo apt update command does not upgrade the system version. It only checks for new versions of applications installed on the computer and prepares them for installation.
Step 3
When a new distribution of your system is released that includes bug fixes, updated software, or some additional tools, you will need to upgrade to install it on your computer.
To upgrade your system, type “sudo apt full-upgrade -y” in the terminal. This process will take some time, depending on your internet speed and Ubuntu PC.
sudo apt full-upgrade -y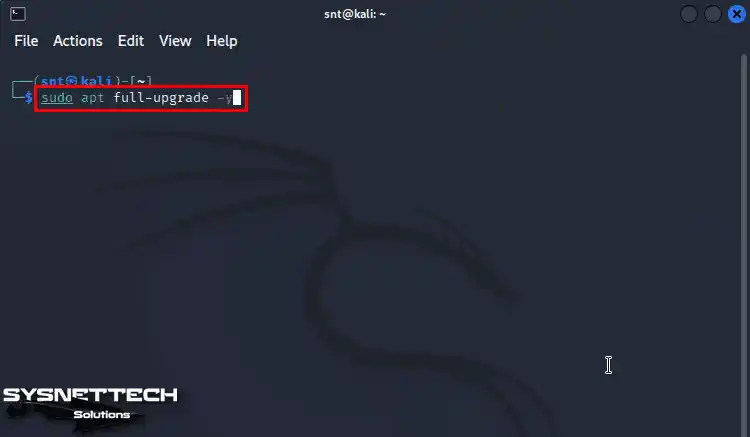
Step 4
After updating Kali Linux to the latest version, execute the “sudo reboot” command in the terminal to restart your computer for the changes to take effect.
sudo reboot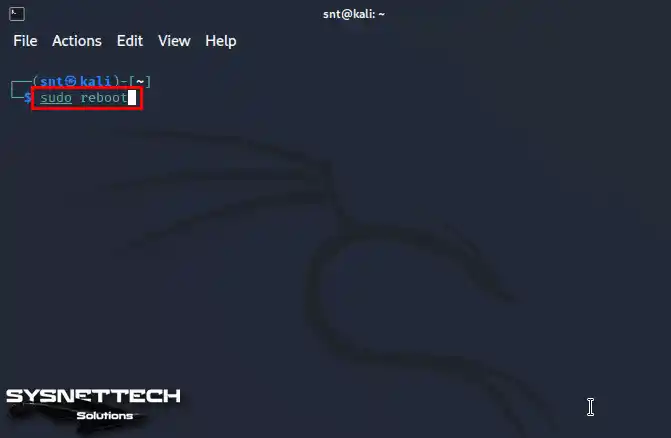
Step 5
After restarting your PC and logging in to your system, open the terminal again and execute the commands below to check the new version you have installed.
lsb_release -a
cat /etc/os-release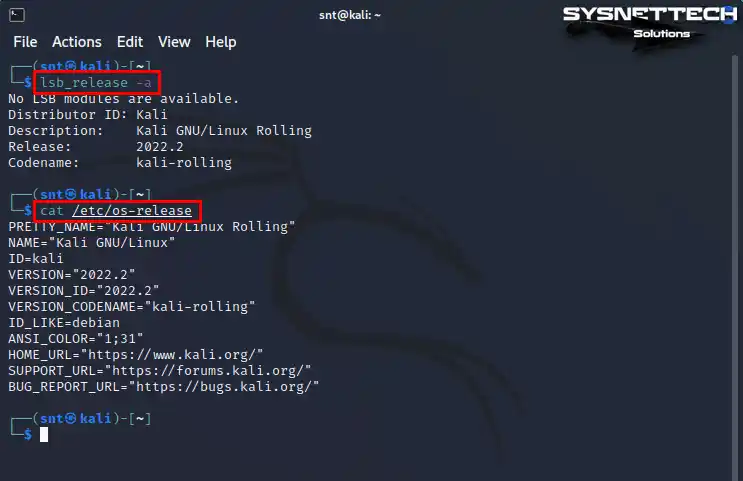
Step 6
You can also use either “uname -a” or “uname -r” to check for the new Kernel version of Kali.
uname -a
uname -r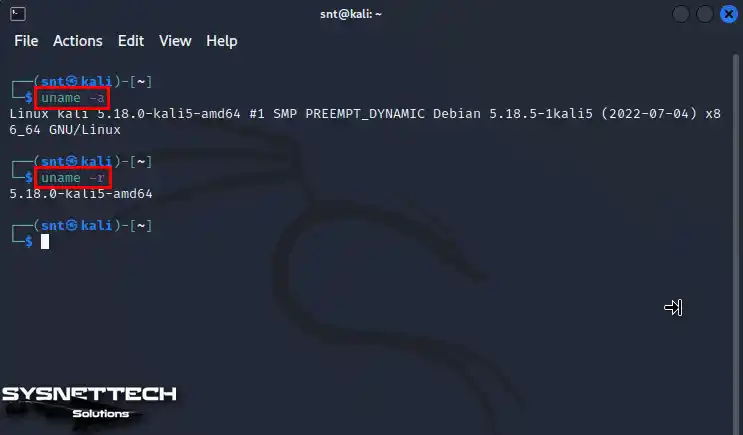
Video
Possible Errors
Kali Linux Login Screen Does Not Come On VMware, Stuck at “GNOME Display Manager Launched”
You have upgraded your Kali PC and restarted it. Still, if the Login screen does not appear, this may be due to insufficient disk space on your virtual machine. If your guest machine in the virtual machine has low disk space, you are likely to encounter this problem.
To solve this problem, restart your system and open Recovery Mode. If it doesn’t work in recovery mode and gets stuck, open Virtual Terminal by pressing Ctrl + Alt + F3.
After typing your username and password, enter the command prompt by pressing Enter and execute the commands below to delete and clean the residual packages on your system after the update and restart your PC again.
sudo apt autoremove
sudo apt autocleanInstalling Old Versions
Conclusion
I definitely recommend keeping your Kali Linux system up to date. In short, with this process, you will maintain the stability and security of your system. Plus, you can start taking advantage of new features.
With the steps I have outlined in this article, you can easily upgrade your Kali OS. However, I definitely recommend backing up your files before you start the upgrade.



probleme apdate my systeme kali please
help me please
Need 2019.4 source list
list
when i upgrade my kali , after some time it shows , unable to fetch some files, how can i recover it , help me please